
How do I create a project?
Getting StartedHandbookA step-by-step guide to creating a new project in Timely.In Timely, your work is logged to Projects, and your Projects are linked to your Clients. Watch this video to learn how to create a new project, set up your project budget, assign users, and add tags.
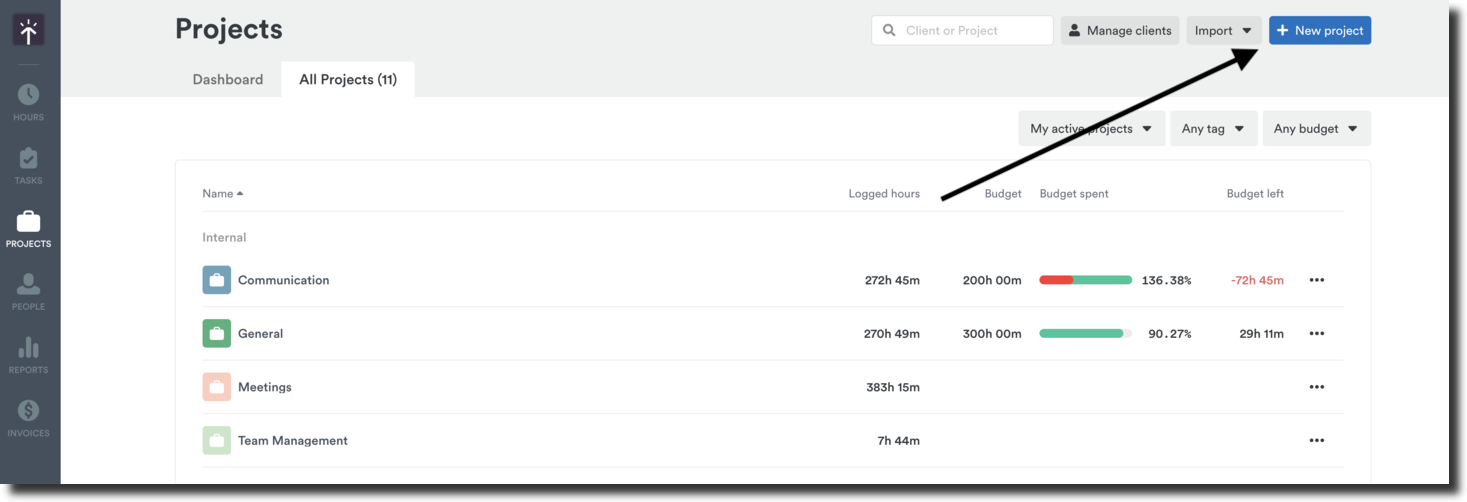
Select Projects from the left navigation bar in Timely to access your Projects page. From here you can also edit, archive, or delete existing projects just by clicking the three dots (…) on a pinned project or by a project name from the All Projects tab.
Create a new project
To create a new project, click the + New project button in the upper right-hand corner.
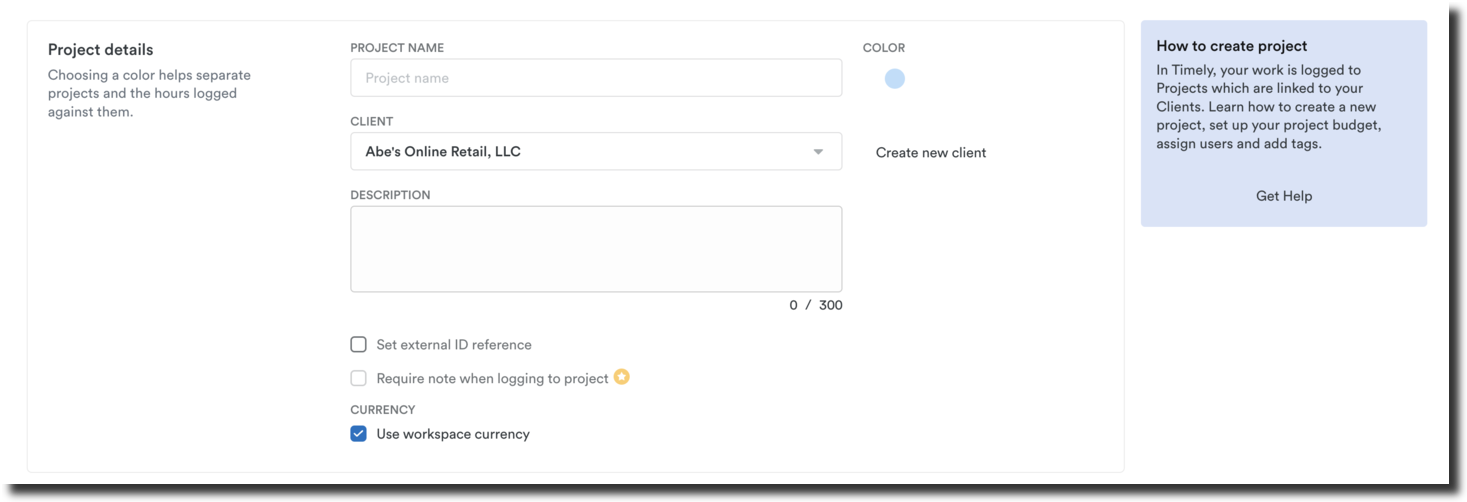
This takes you to a page where you can enter all the details for your new project:
Using project templates
Project templates allow you to quickly create new projects with pre-configured settings, saving time when setting up similar projects. When creating a new project, you’ll see a Template dropdown — select a template to apply its pre-configured settings.
Templates can include:
- Pre-assigned users and billing rates
- Default budget settings
- Required Tag Lists
- Project preferences like notes requirements
When you select a template, all the configured settings will be automatically applied to your new project, though you can still modify any details before creating the project.
Auto-creation trigger sources
When setting up a project template, you can control when it automatically creates projects by configuring the trigger source:
- All sources: The template fires for every newly created client, regardless of how the client was created
- Specific integration (e.g., “jira”): The template only fires when clients are created from that specific integration
- Import side effects: The template only fires on clients created as a side effect of a CSV import
This gives you fine-grained control over which new clients trigger automatic project creation, helping prevent unwanted projects while ensuring the right templates fire at the right times.
Project details explained
Here’s a breakdown of what all the Project details field information is about:
Project name
The project name describes the type of work you are tracking. There’s no need to include the client since projects are always organized under a client. Some of our customers are very specific with project names (for example, Front End Website Design Phase 2) while others are more general (for example, the same project might be called Website). Whatever you choose, remember you can specify your entries with tags later on.
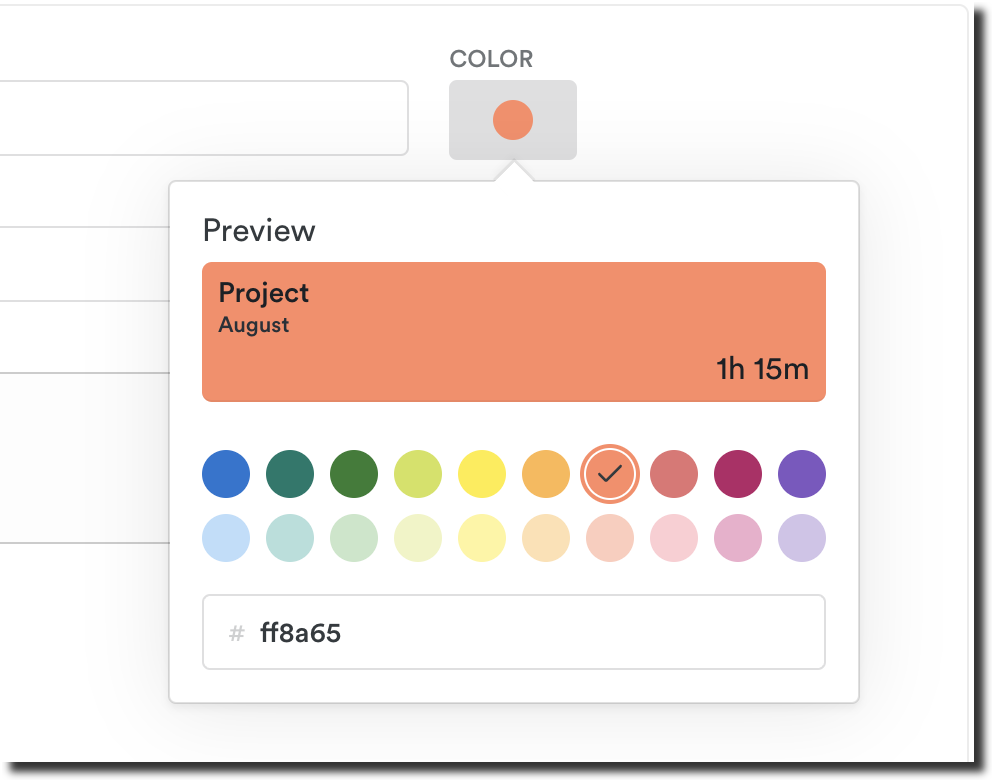
Project color
Using color helps you visually separate projects while viewing the time you log in to the Hours tab. Choose one of the colors picked out by our designers or make your own using the custom color picker!
Use a hex code finder to find the perfect color!
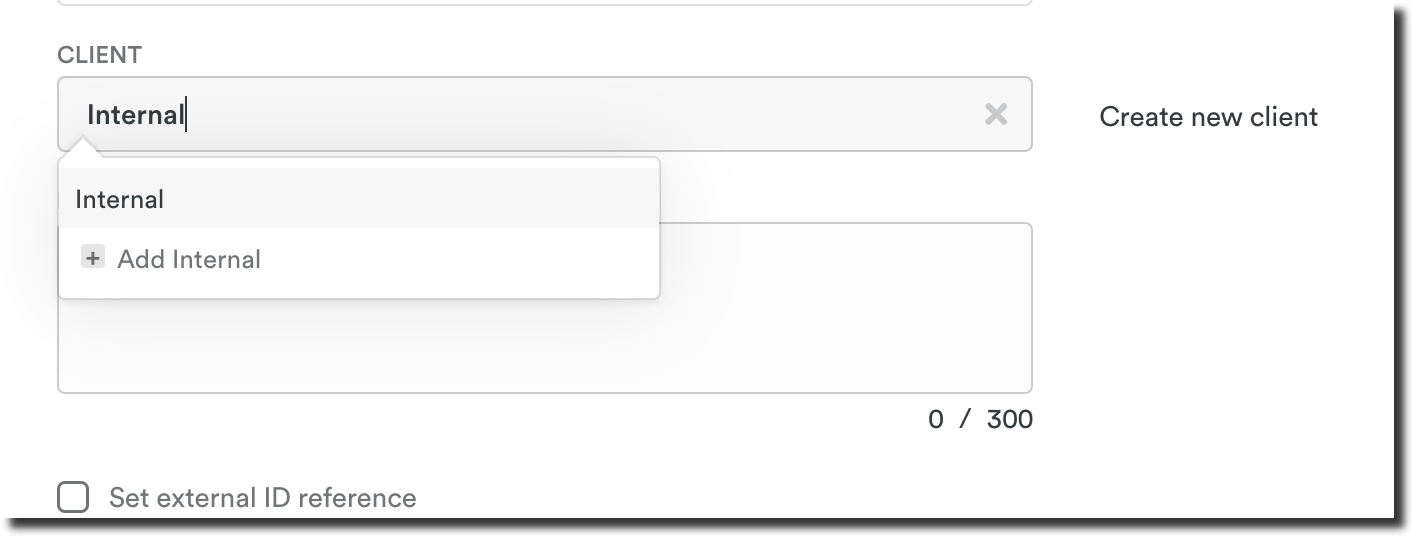
Client
Your hours are billed to a client. Select from existing clients in the drop-down menu or start typing to create a new client. It’s a good idea to assign a project to your own company name if the hours will be used to track internal work:
Once you’ve entered the Project details, you’re ready to enter the rest of your Project preferences.
Description
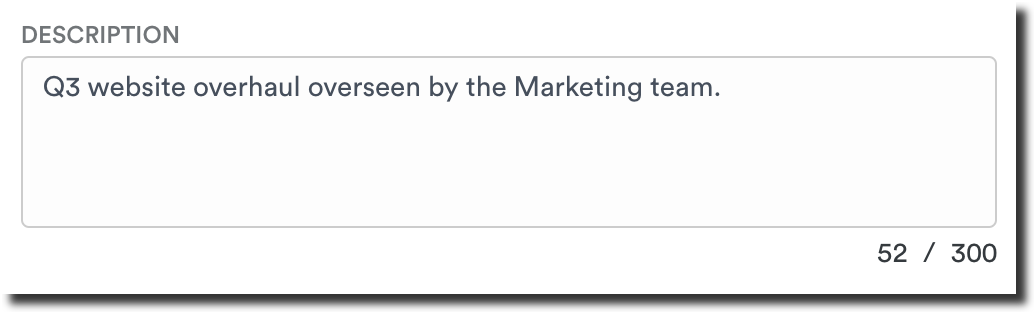
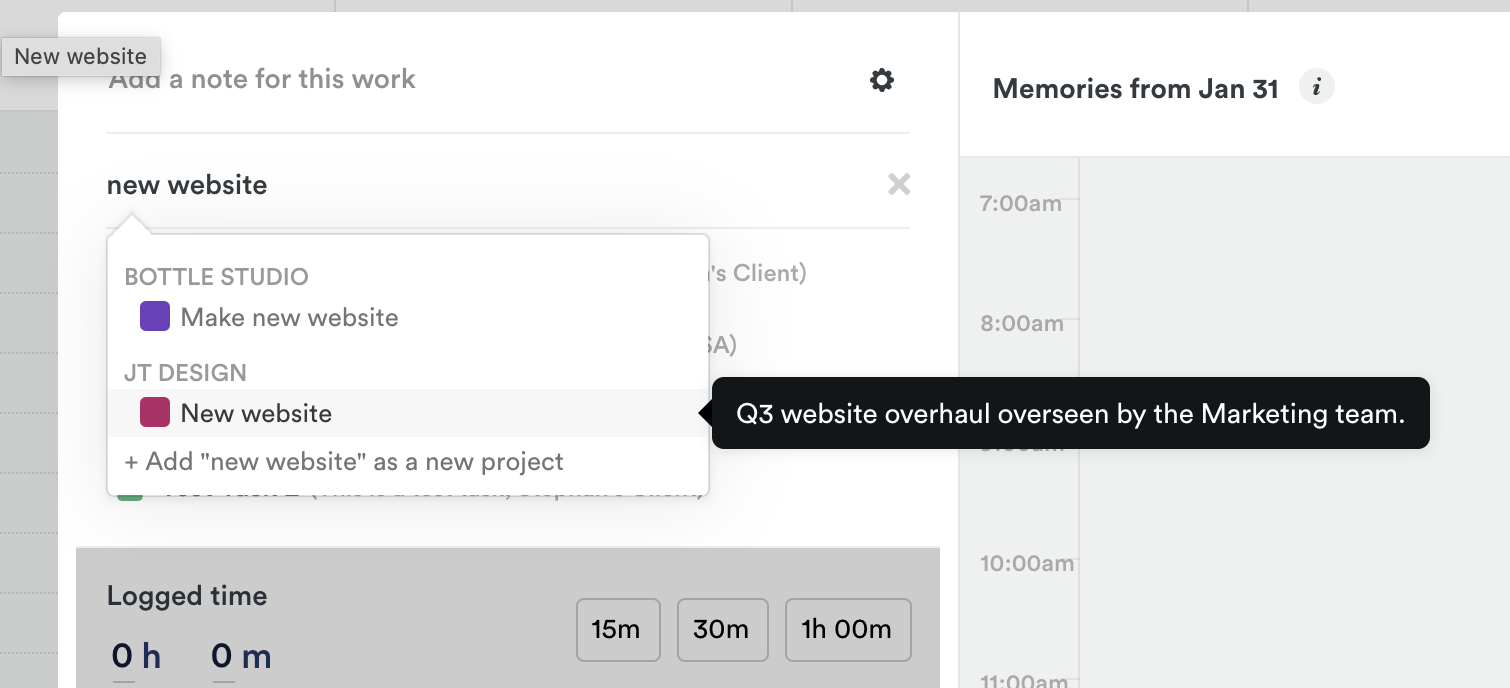
Here you can enter in a brief note describing the project in further detail. This might be helpful when differentiating between similar projects or providing additional details to your team. Project descriptions can now also be exported via CSV or Excel.
Additional options
- Set external ID reference — this field is used by certain integrations or can be used manually to reference how this project might be stored in other platforms utilized alongside Timely. For example a unique ID number in your employee payroll system.
- Require note when logging to project — This feature is available for those on our Premium or Unlimited subscription plans and allows admins to require users to enter in a brief note to each time entry assigned to this project.
- Use workspace currency — For those on our Unlimited subscription plan, you can indicate here if you would like this specific project to use another denomination beyond the workspace standard. You can read more about this feature here.
- Allow only one tag — Available on Unlimited and Enterprise plans, this setting restricts users to selecting only one tag per time entry for this project, which can be useful for simplified tracking and reporting.
Project preferences
Here are all the added extras that make projects in Timely such a resourceful tool.
Assign users and rates
Select the users you want to access the project.
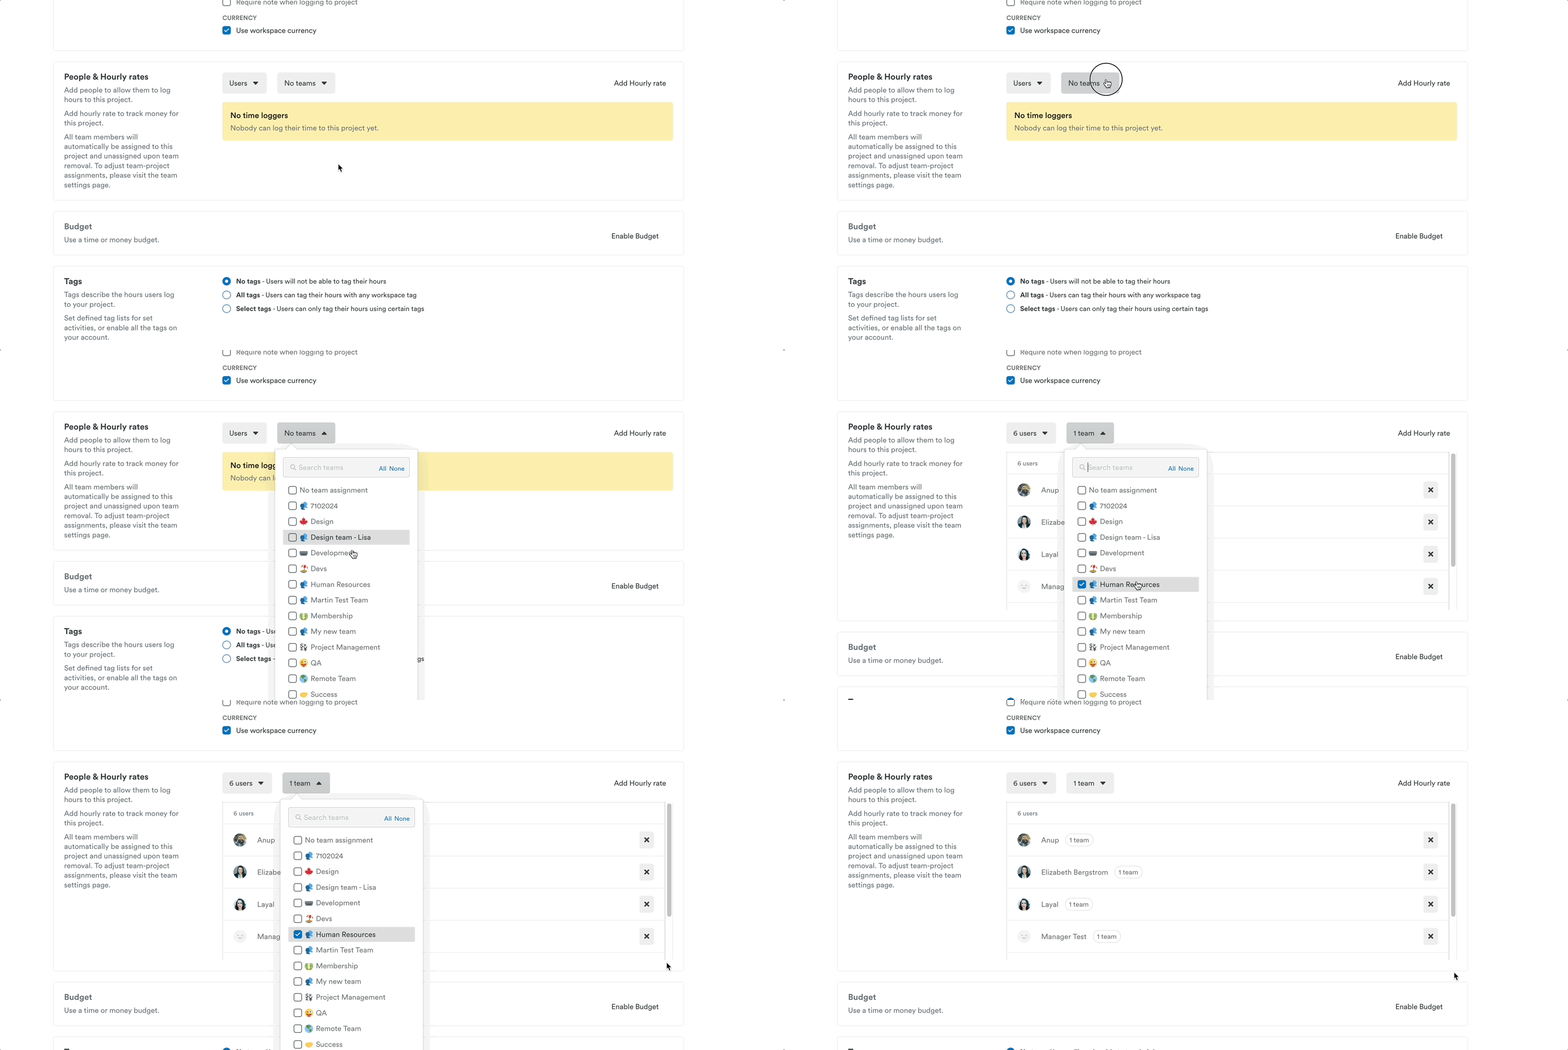
All billable projects have an hourly rate. If your project is billable, click the Add Hourly rate option. Selecting individual rates will automatically assign the user’s default rate to the project. You can edit individual hourly rates as needed. Selecting Same Rate for Everyone will assign the hourly rate you specify for everyone on the project.
Assign a Budget Type
You can choose between a Time or Money budget. While the Time budget summarizes all hours spent on a project to indicate progress, the Money budget also calculates the hourly rate multiplied by logged hours per user to create the logged money for the project.
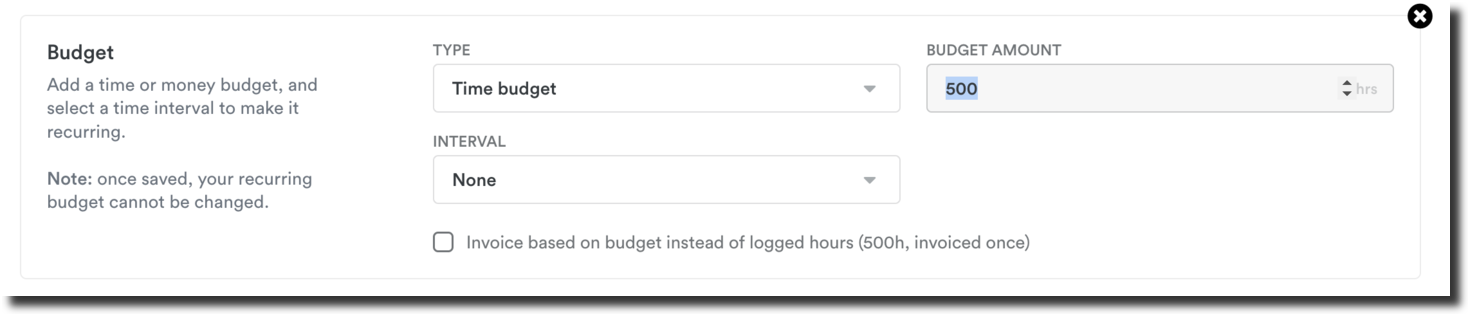
If no budget option is selected, the project will automatically be created as no budget.
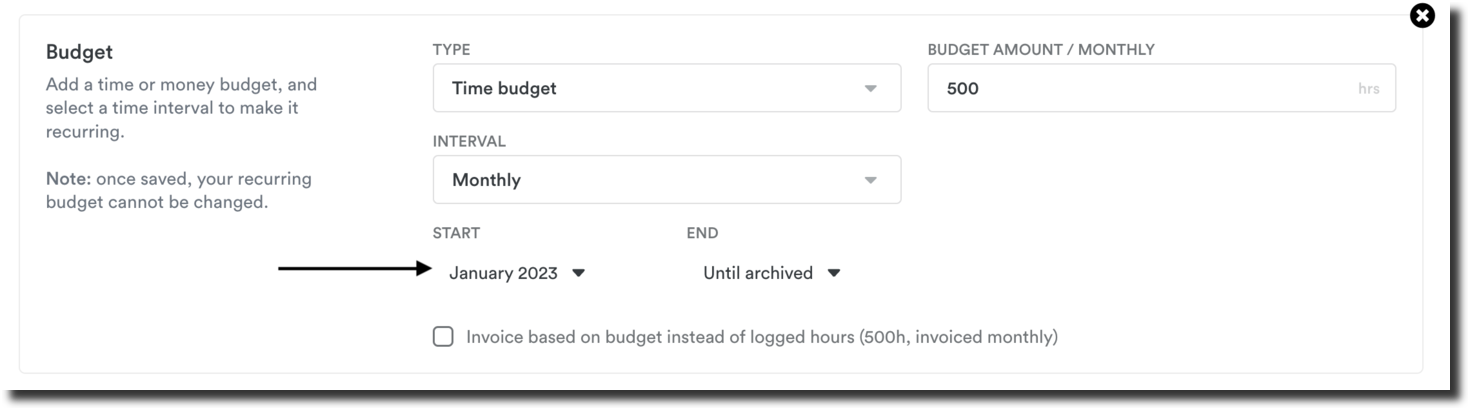
Set a Recurring Budget
For all users except those on the Starter plan, you’ll also see the Interval tab. This lets you set a weekly or monthly budget. Read more about how recurring budgets work here.
Add Tag Lists
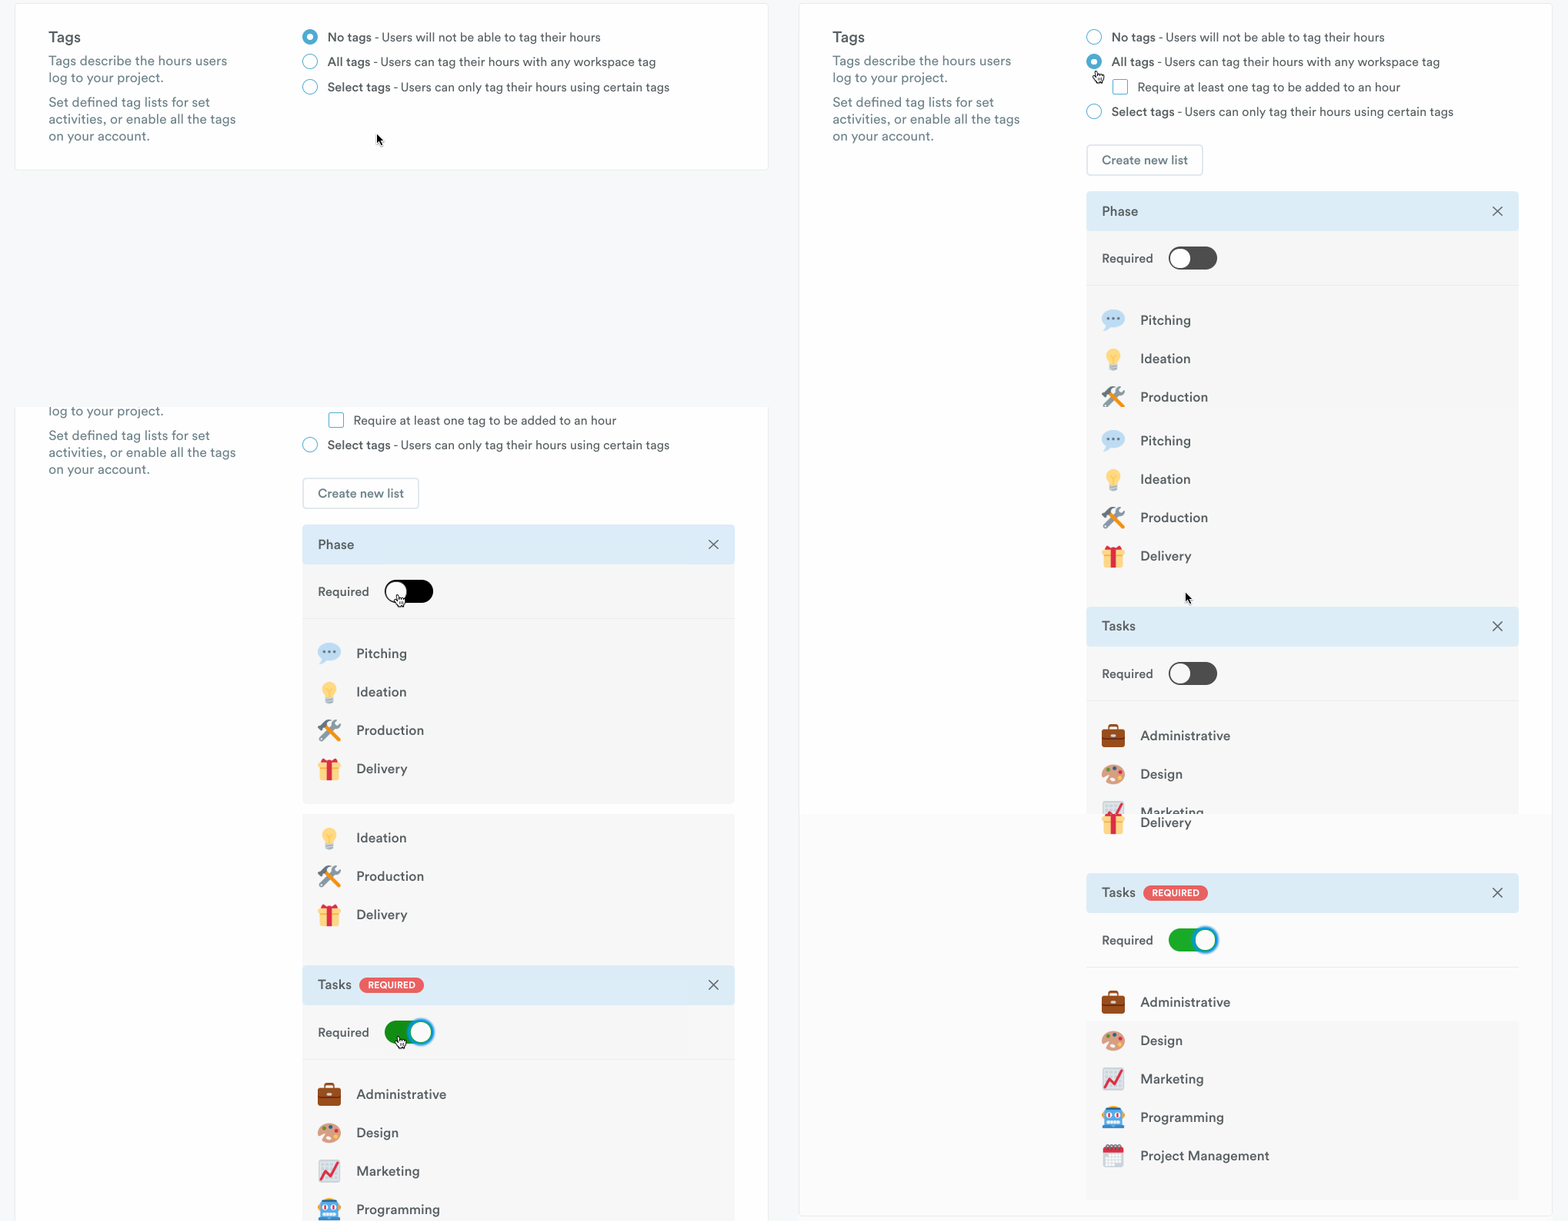
Tags can be used as sub-projects, sub-tasks, or just a simple way to track project phases. This section lets you specify tags that are available for a project and which are required. Read more about how to use tag lists.
Default Tags
Managers and Admin level users within Timely can pre-select the specific Tags that should be assigned for each Time Entry assigned to a Project — taking the burden off of users as they log their time. No additional clicks and no more forgotten Tags! You can learn more about this feature here.
Once everything is set and configured how you’d like, go ahead and click the “Create Project” button in the top right hand corner to finalize. You are now ready to create an entry and log your time!
Last updated June 15, 2026
Have feedback for this article or need more help? Contact us now.