Classic: Time Tracking with Memory
Time Tracking: ClassicHandbookLog hours directly from your captured memories using Timely's intuitive drag-and-drop entry builder.Timely’s drag-and-drop entry builder is the quickest way to create and edit time entries by assigning your tracked activities (a.k.a. memories). It’s super intuitive—just click the individual memories or memory groups arranged on your timeline and watch your day come together!
Whether you’re planning your work or reviewing what’s been captured, this tool makes logging your time a breeze, giving you more time to focus on what really matters.
The timeline experience
Easily manage your memories in one convenient place, neatly laid out across a sleek and user-friendly timeline. This visual setup helps you quickly assign your tracked activities to projects, making time management effortless and efficient!
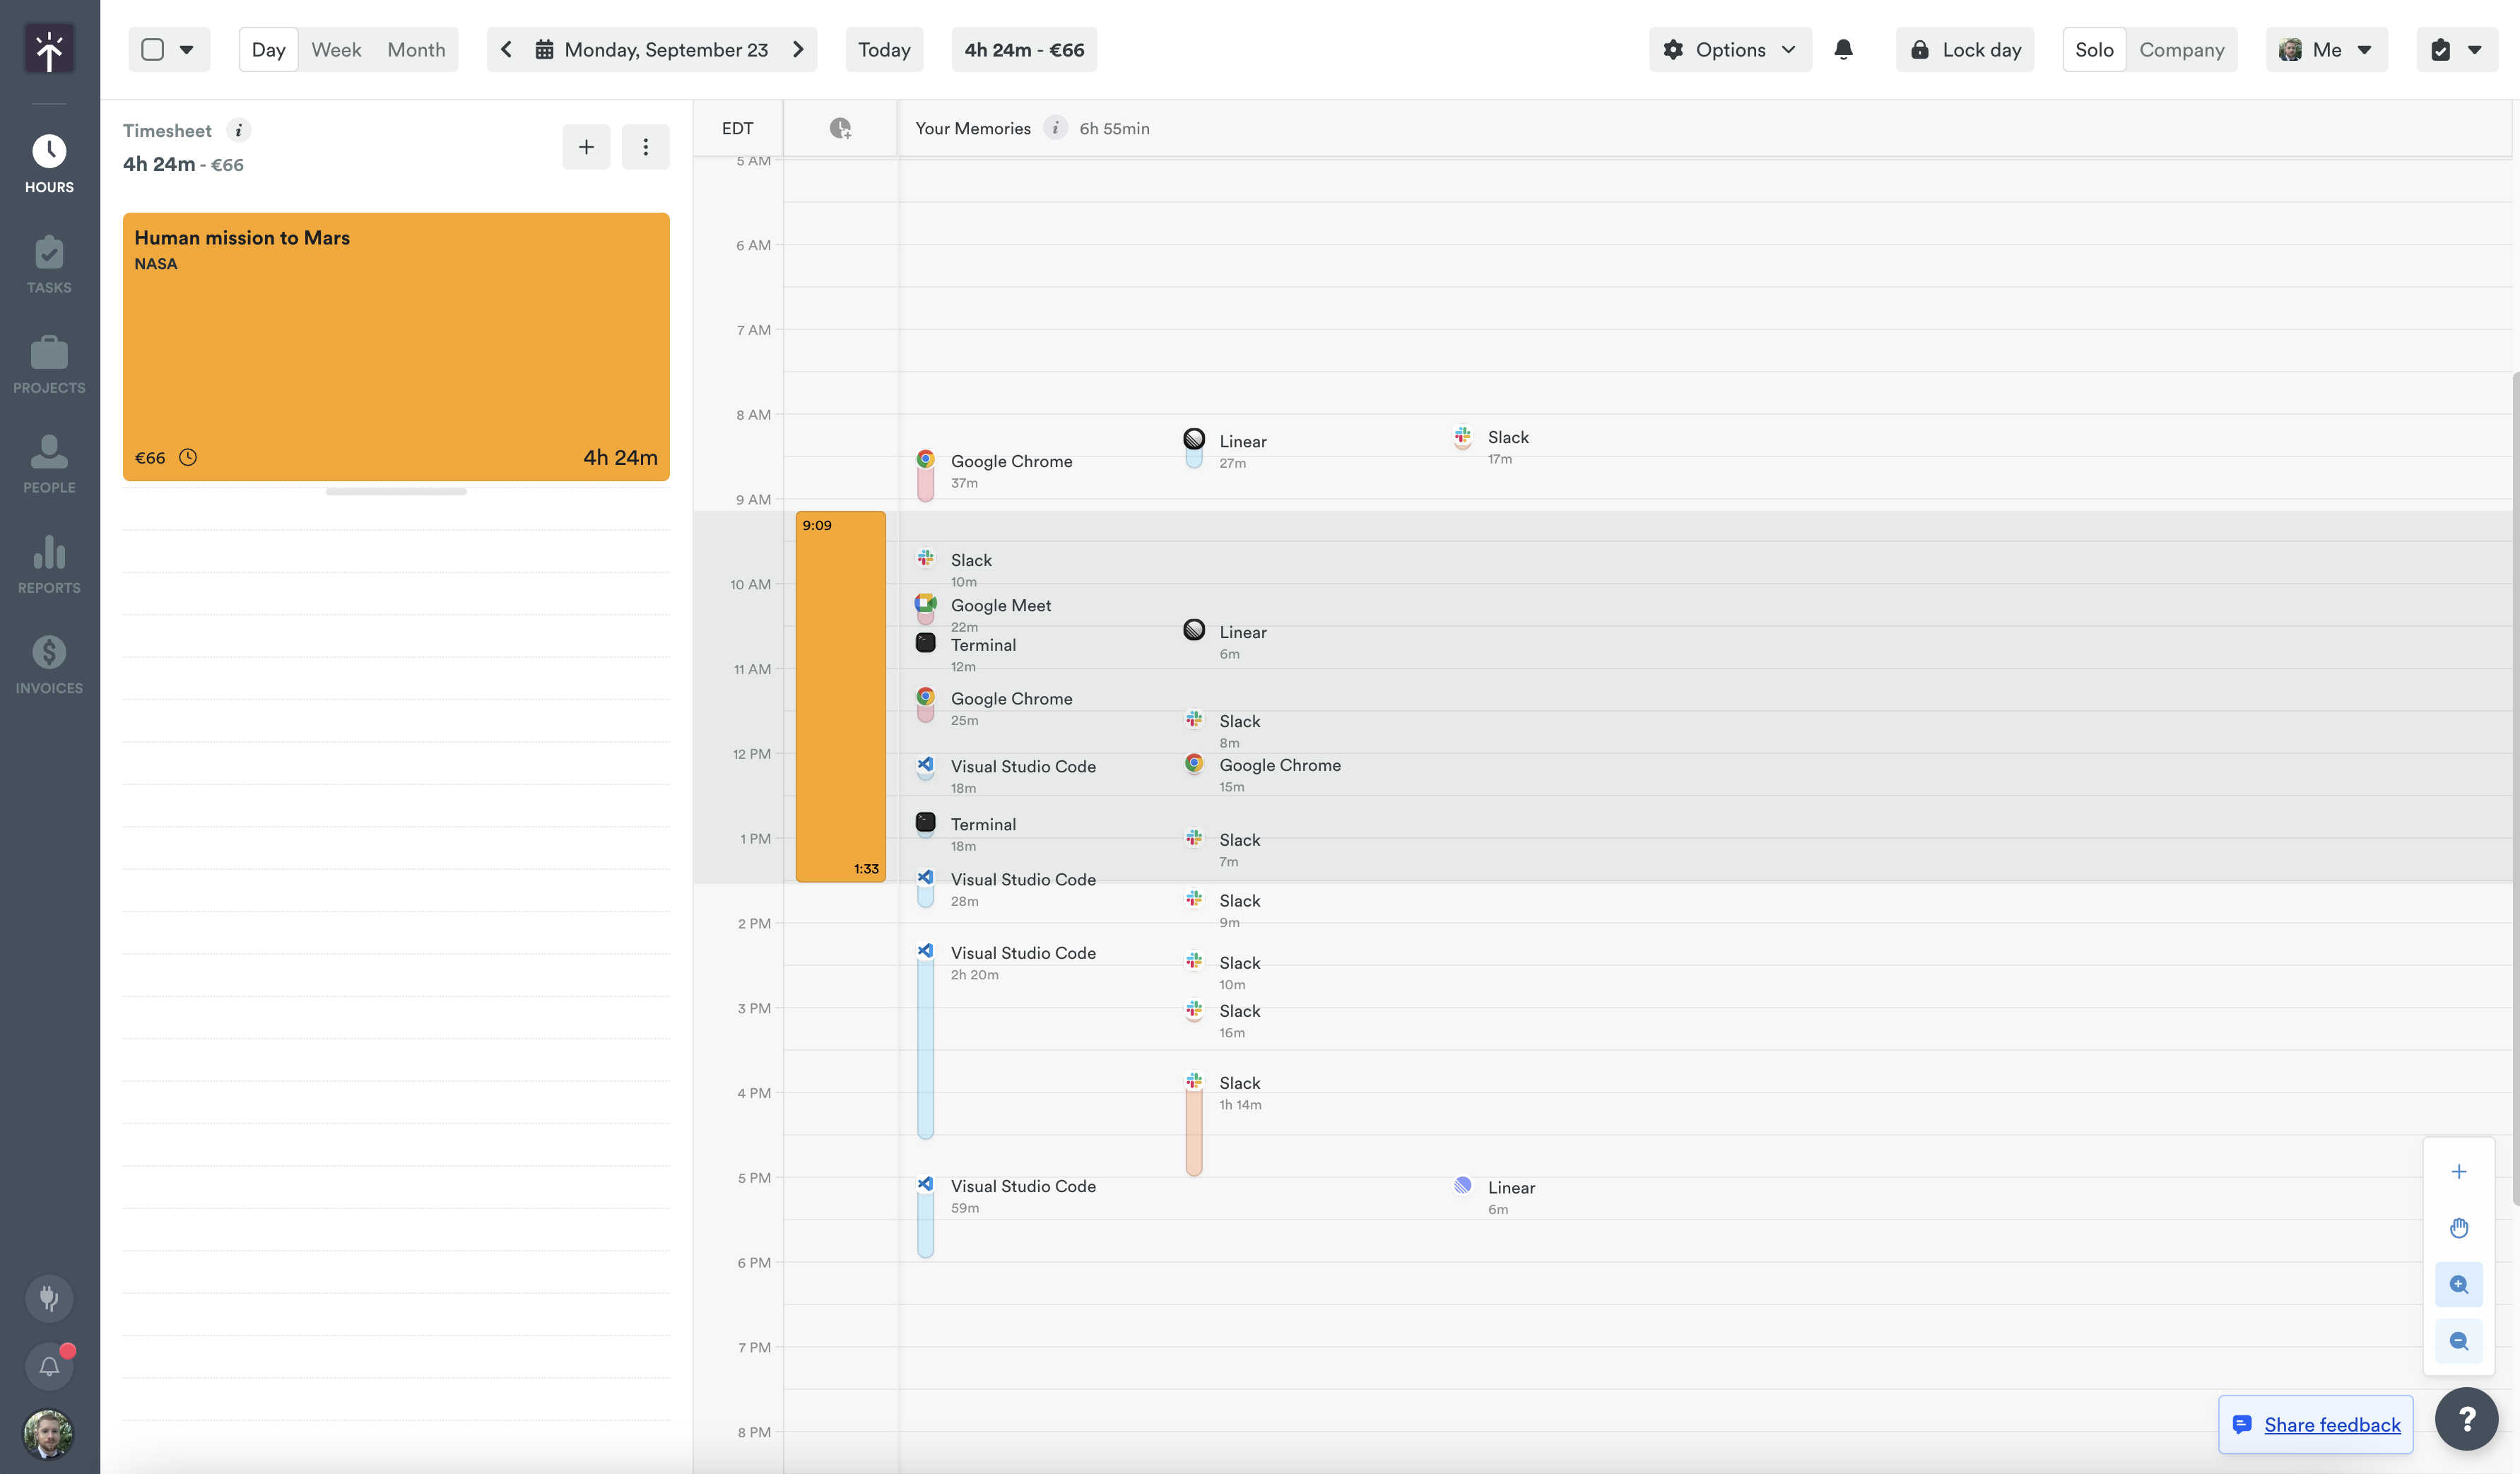
- Timesheet is the column where the time entries you created have their home, alongside planned time and Timely AI draft entries
- Your Memories are found in the section to the right, where you can click and select the captured memories to create and edit time entries
Create a new entry
- From Day > List View in the entry editor, select your first memory and drop in the area on the left to create a new entry. Continue to add related memory events which belong to the same project
- Select your project or task
- Select any desired or required tags
- Add notes if you’d like
- Click “Save” to finalize
As you add memories to your time entry you’ll notice that its duration increases along with a helpful column in the memories section to denote the duration. You can click and drag this column to adjust the duration of your time entry manually, if needed.
Update an existing entry
When editing a prior time entry, simply click the desired time entry and then click the additional memories you’d like to add. You’ll see the time entry expand with the additional editing options while making those changes.
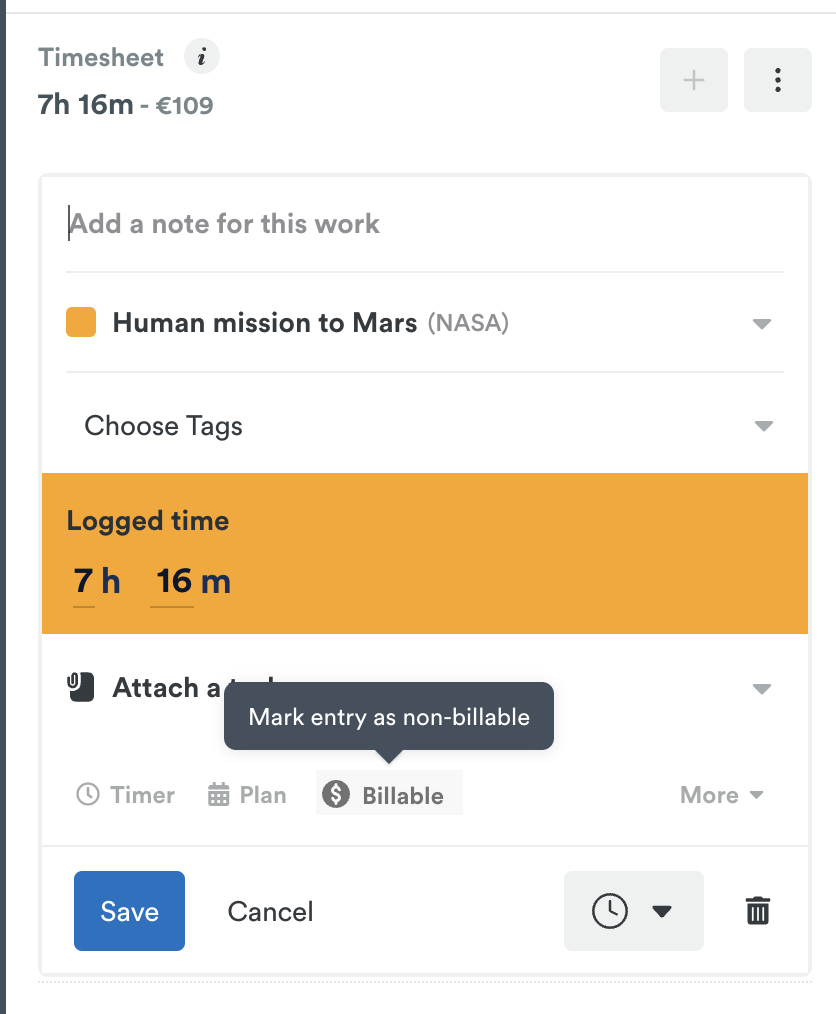
Marking an entry billable or non-billable
When logging time to projects with an assigned hourly rate, you have the option to designate that time as either billable or non-billable. This can be helpful for situations where you may need to track administrative or operational tasks that don’t necessarily need to be charged to a client. Those hours are logged to the project, but do not count towards the project’s monetary budget or the monetary total of an invoice.
To make this selection simply click the ”$ Billable” button amongst the various time options. If you need to change it back, click the “Non-billable” button in the same location.
AI Draft Suggestions
As you use Timely more and more with the Timely AI features enabled, you’ll begin to notice AI Draft suggestions populate your Hours view.
Your AI draft suggestions will continue to improve as Timely learns how you assign your memories over time. Continue to edit these drafts and assign your memories to teach Timely your habits and practices.
Week and Month Views
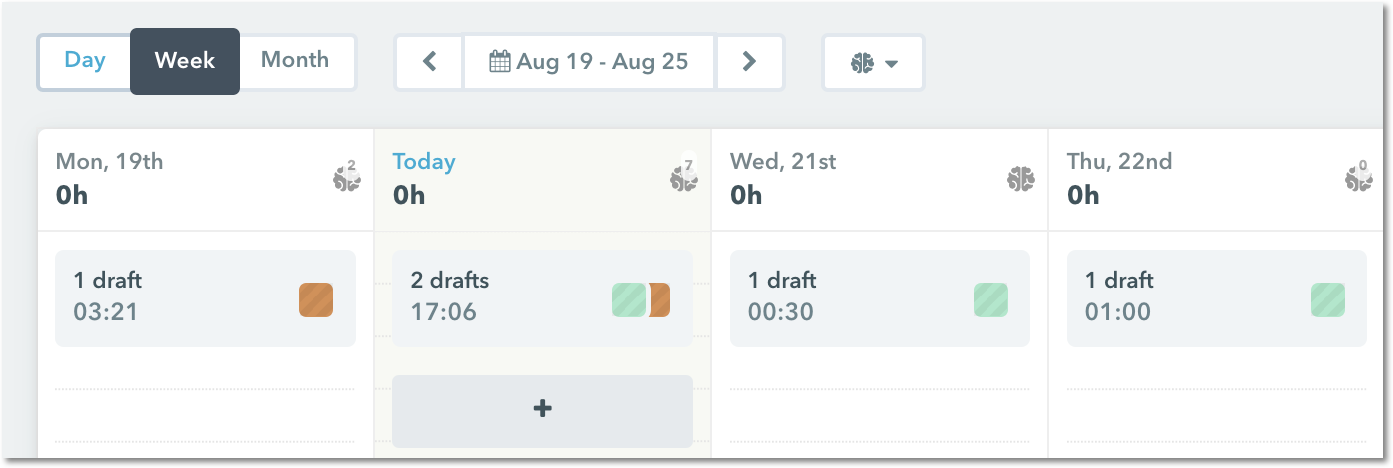
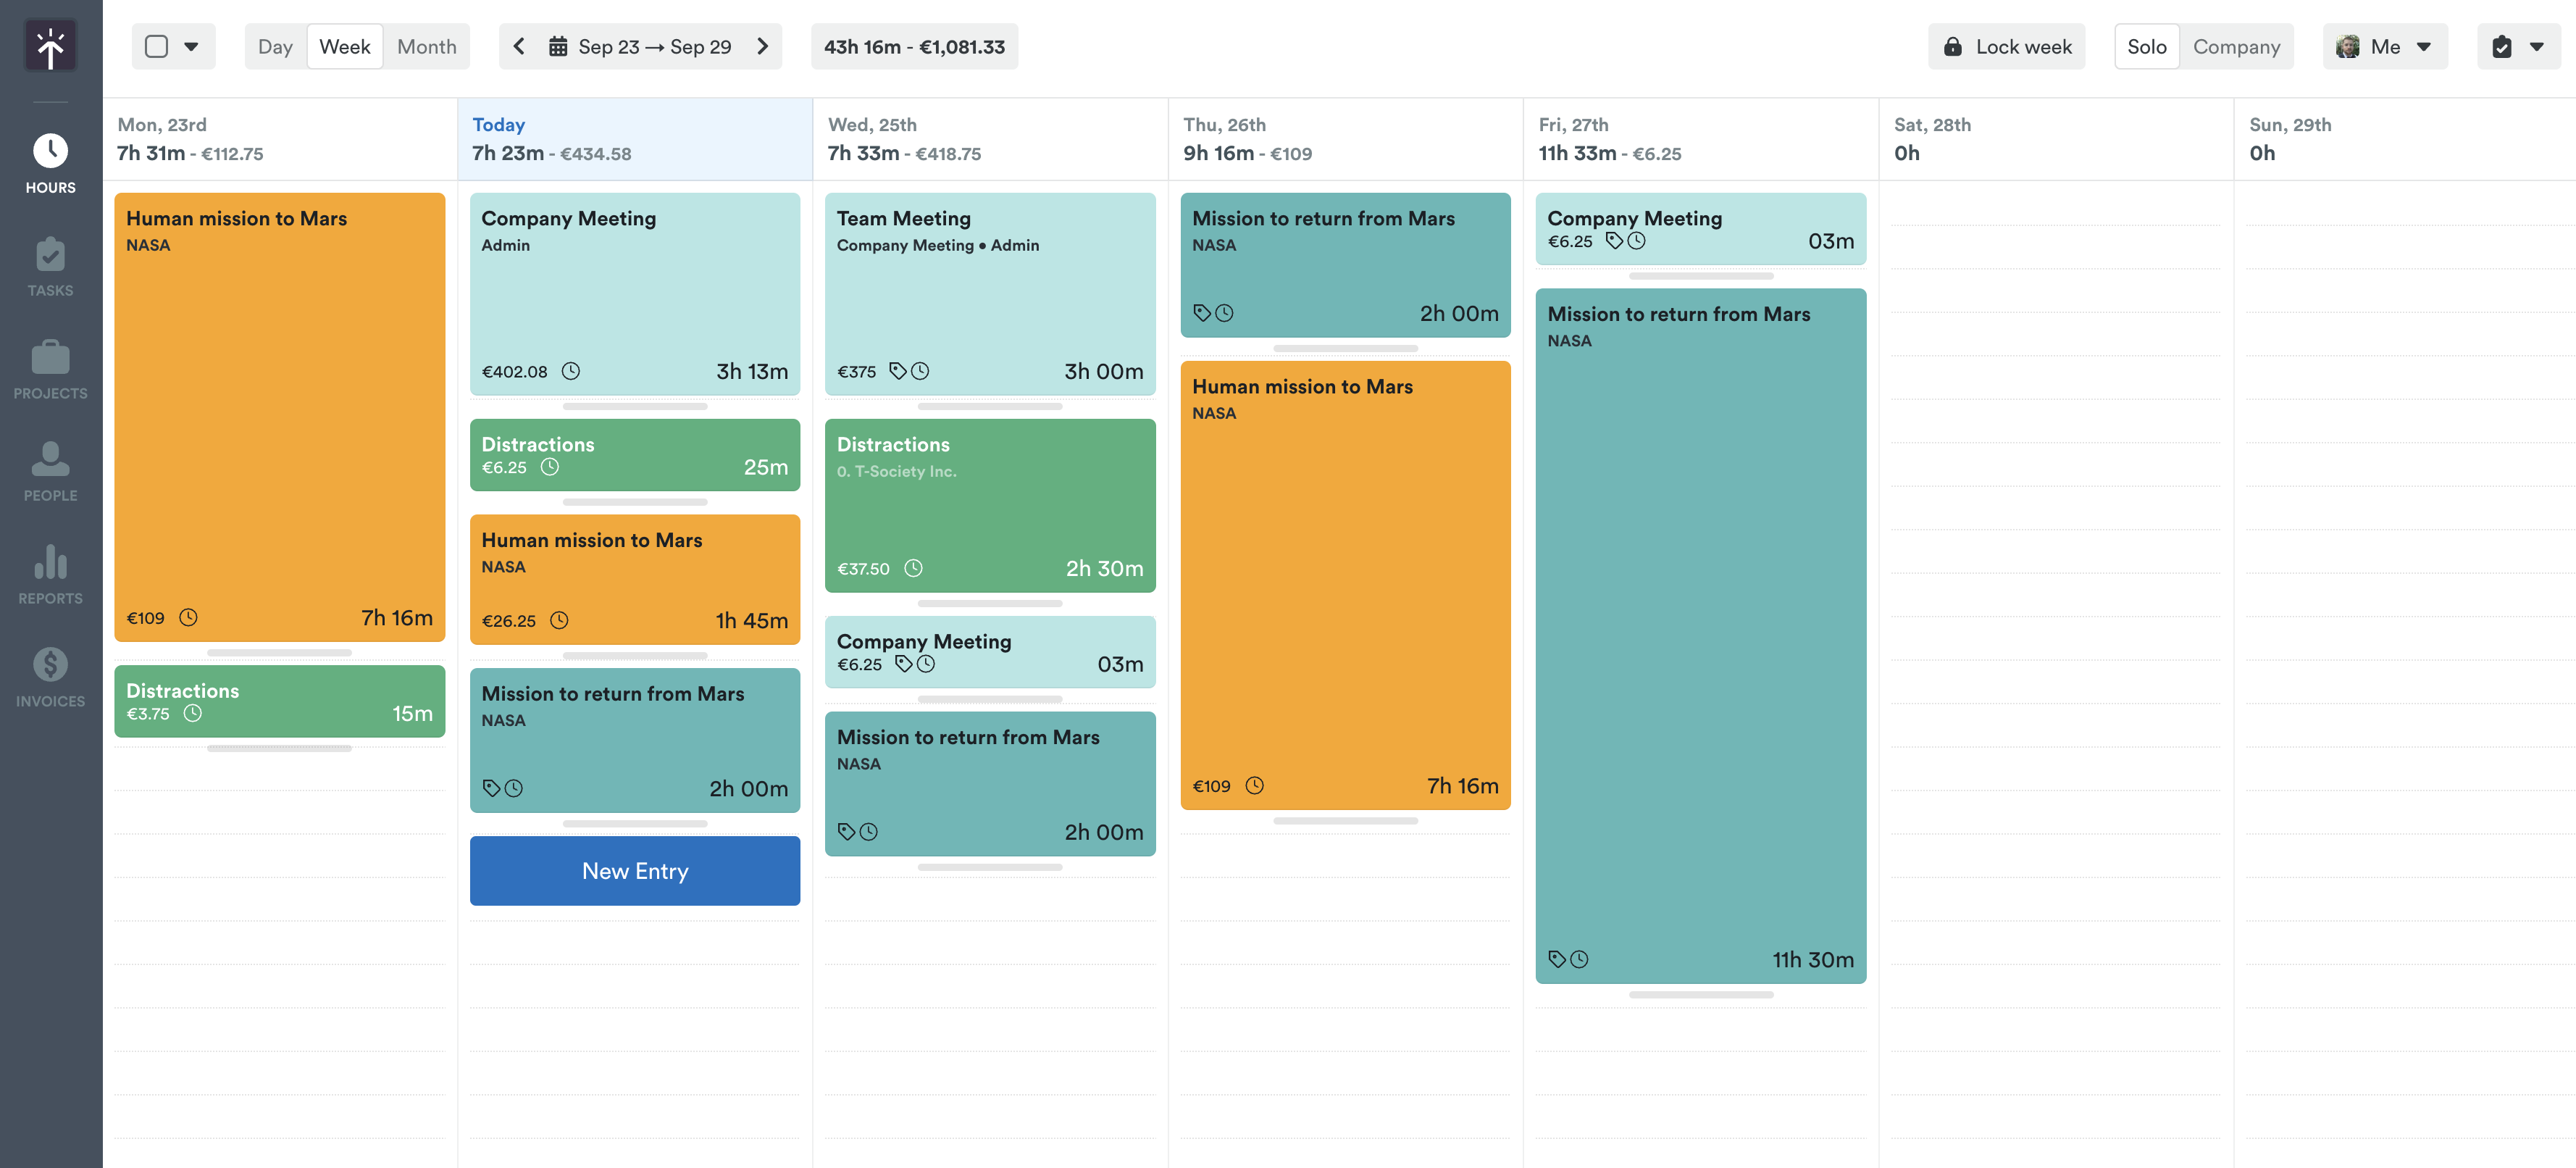
Week view gives a beautiful visual overview of what you’ve logged and planned for the week.
The brain icon in each column shows the number of unlogged memories for that day. Clicking the brain icon will redirect you to Day view where you’ll be able to log your hours as shown above.
Each column represents a single day of the week with your time entries, planned time, and AI drafts arranged accordingly. Each column displays a running total of the hours logged, and if they are billable, will also include the monetary totals.
Similarly, the month view provides a higher level view of your work across the whole calendar month, with easy access to add or edit time entries as needed.
Last updated April 16, 2026
Have feedback for this article or need more help? Contact us now.