Connecting Timely with Okta
IntegrationsSingle Sign-On (SSO)HandbookManage users and access all in one place using Okta single sign-on for Timely.Adding new users to Timely and managing their access has never been easier with our Okta single sign-on integration!
Set-up instructions
First, log into your Okta admin account and click on the Applications dropdown in the left-hand sidebar. Click Applications, then click the “Create app integration” button along the top.

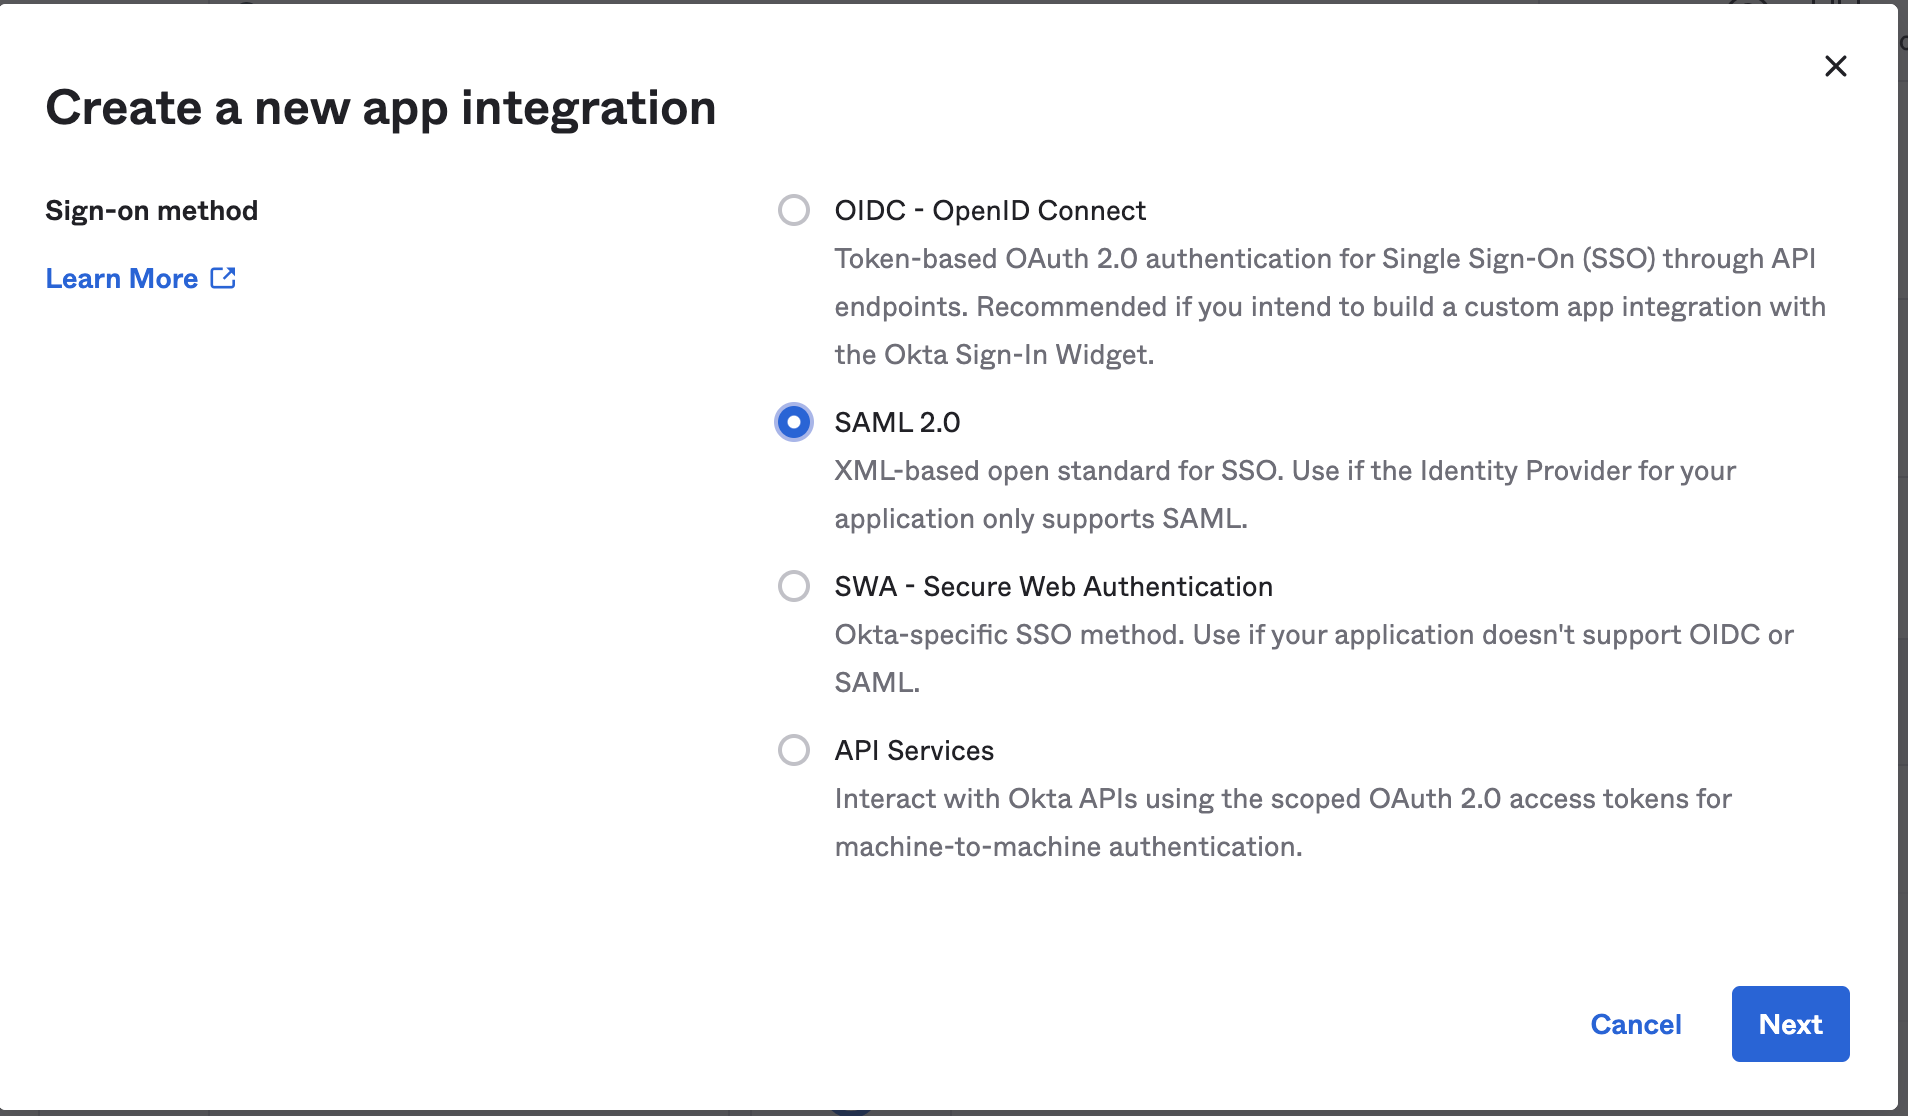
Make sure you select the SAML 2.0 option as the “Sign-on method” and then click “Next”.
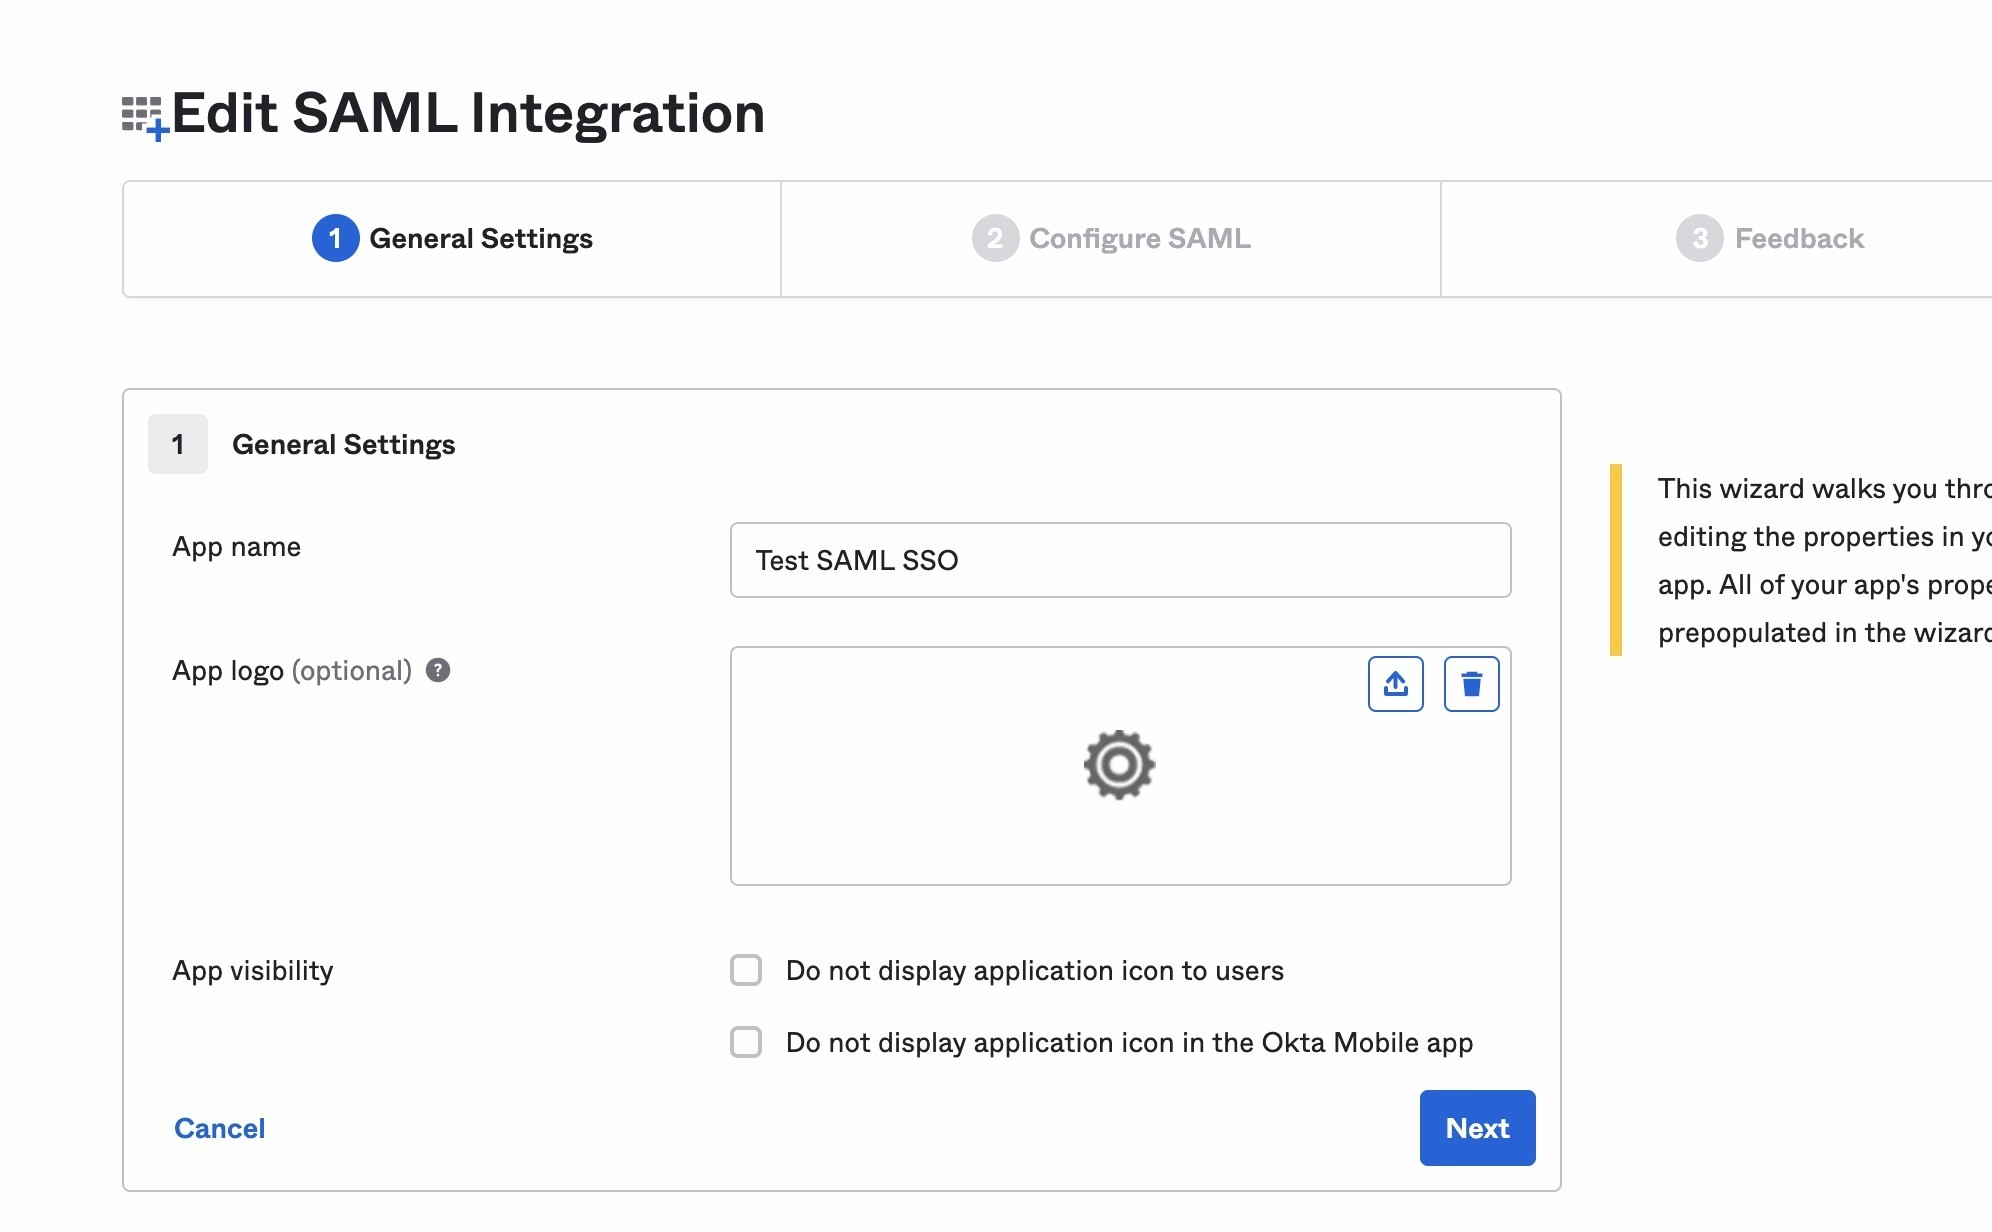
Enter in and select the various options under the General Settings tab as you’d like and then click “Next”.
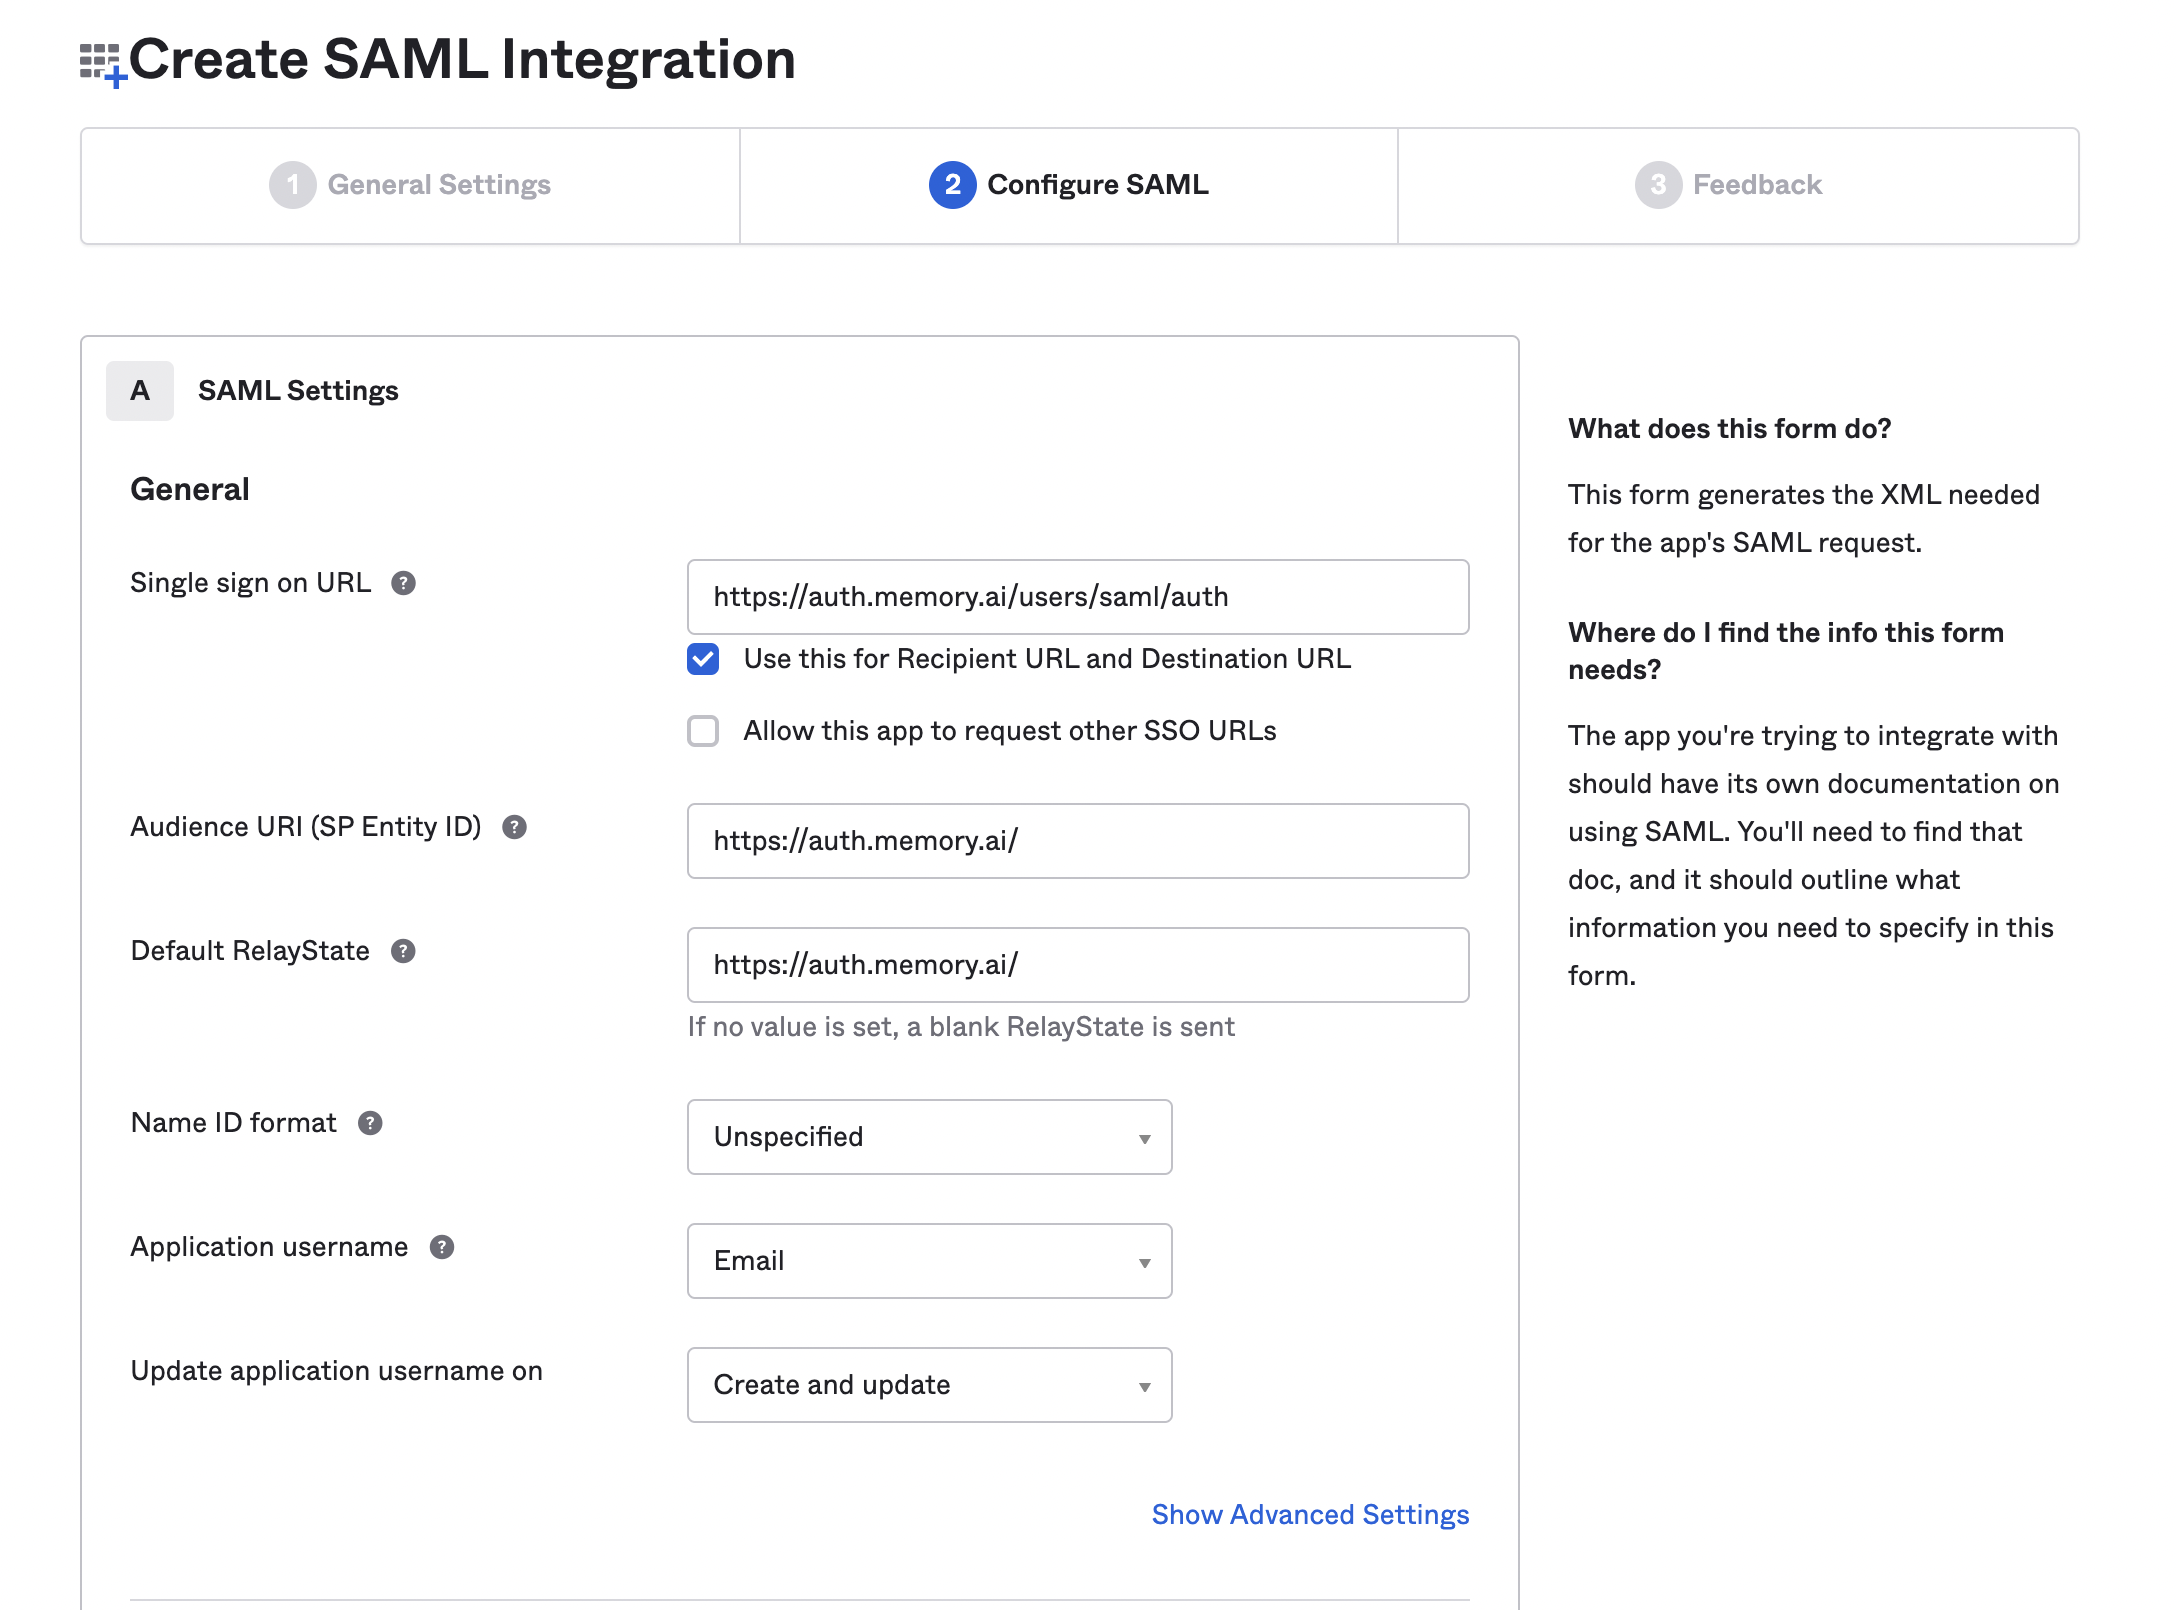
Enter the following attributes under SAML Settings:
- Single sign on URL:
https://auth.timely.com/users/saml/auth - Audience URI:
https://auth.timely.com/ - Default RelayState:
https://auth.timely.com/ - Name ID format: Unspecified
- Application Username: Email
Scroll down and enter the following Attribute Statements:
| Name | Name format | Value |
|---|---|---|
| firstName | Unspecified | user.firstName |
| emailAddress | Unspecified | user.email |
| employeeNumber | Unspecified | user.login |
| lastName | Unspecified | user.lastName |
Once you’ve entered all your Attribute Statements, scroll down to the very bottom and click the “Next” button to finalize this new SSO app.
Now you’ll need to access that newly created SSO app in Okta. Click the Applications drop-down from the sidebar, then click Applications. Click your new SSO app and then the “Sign on” header along the top.
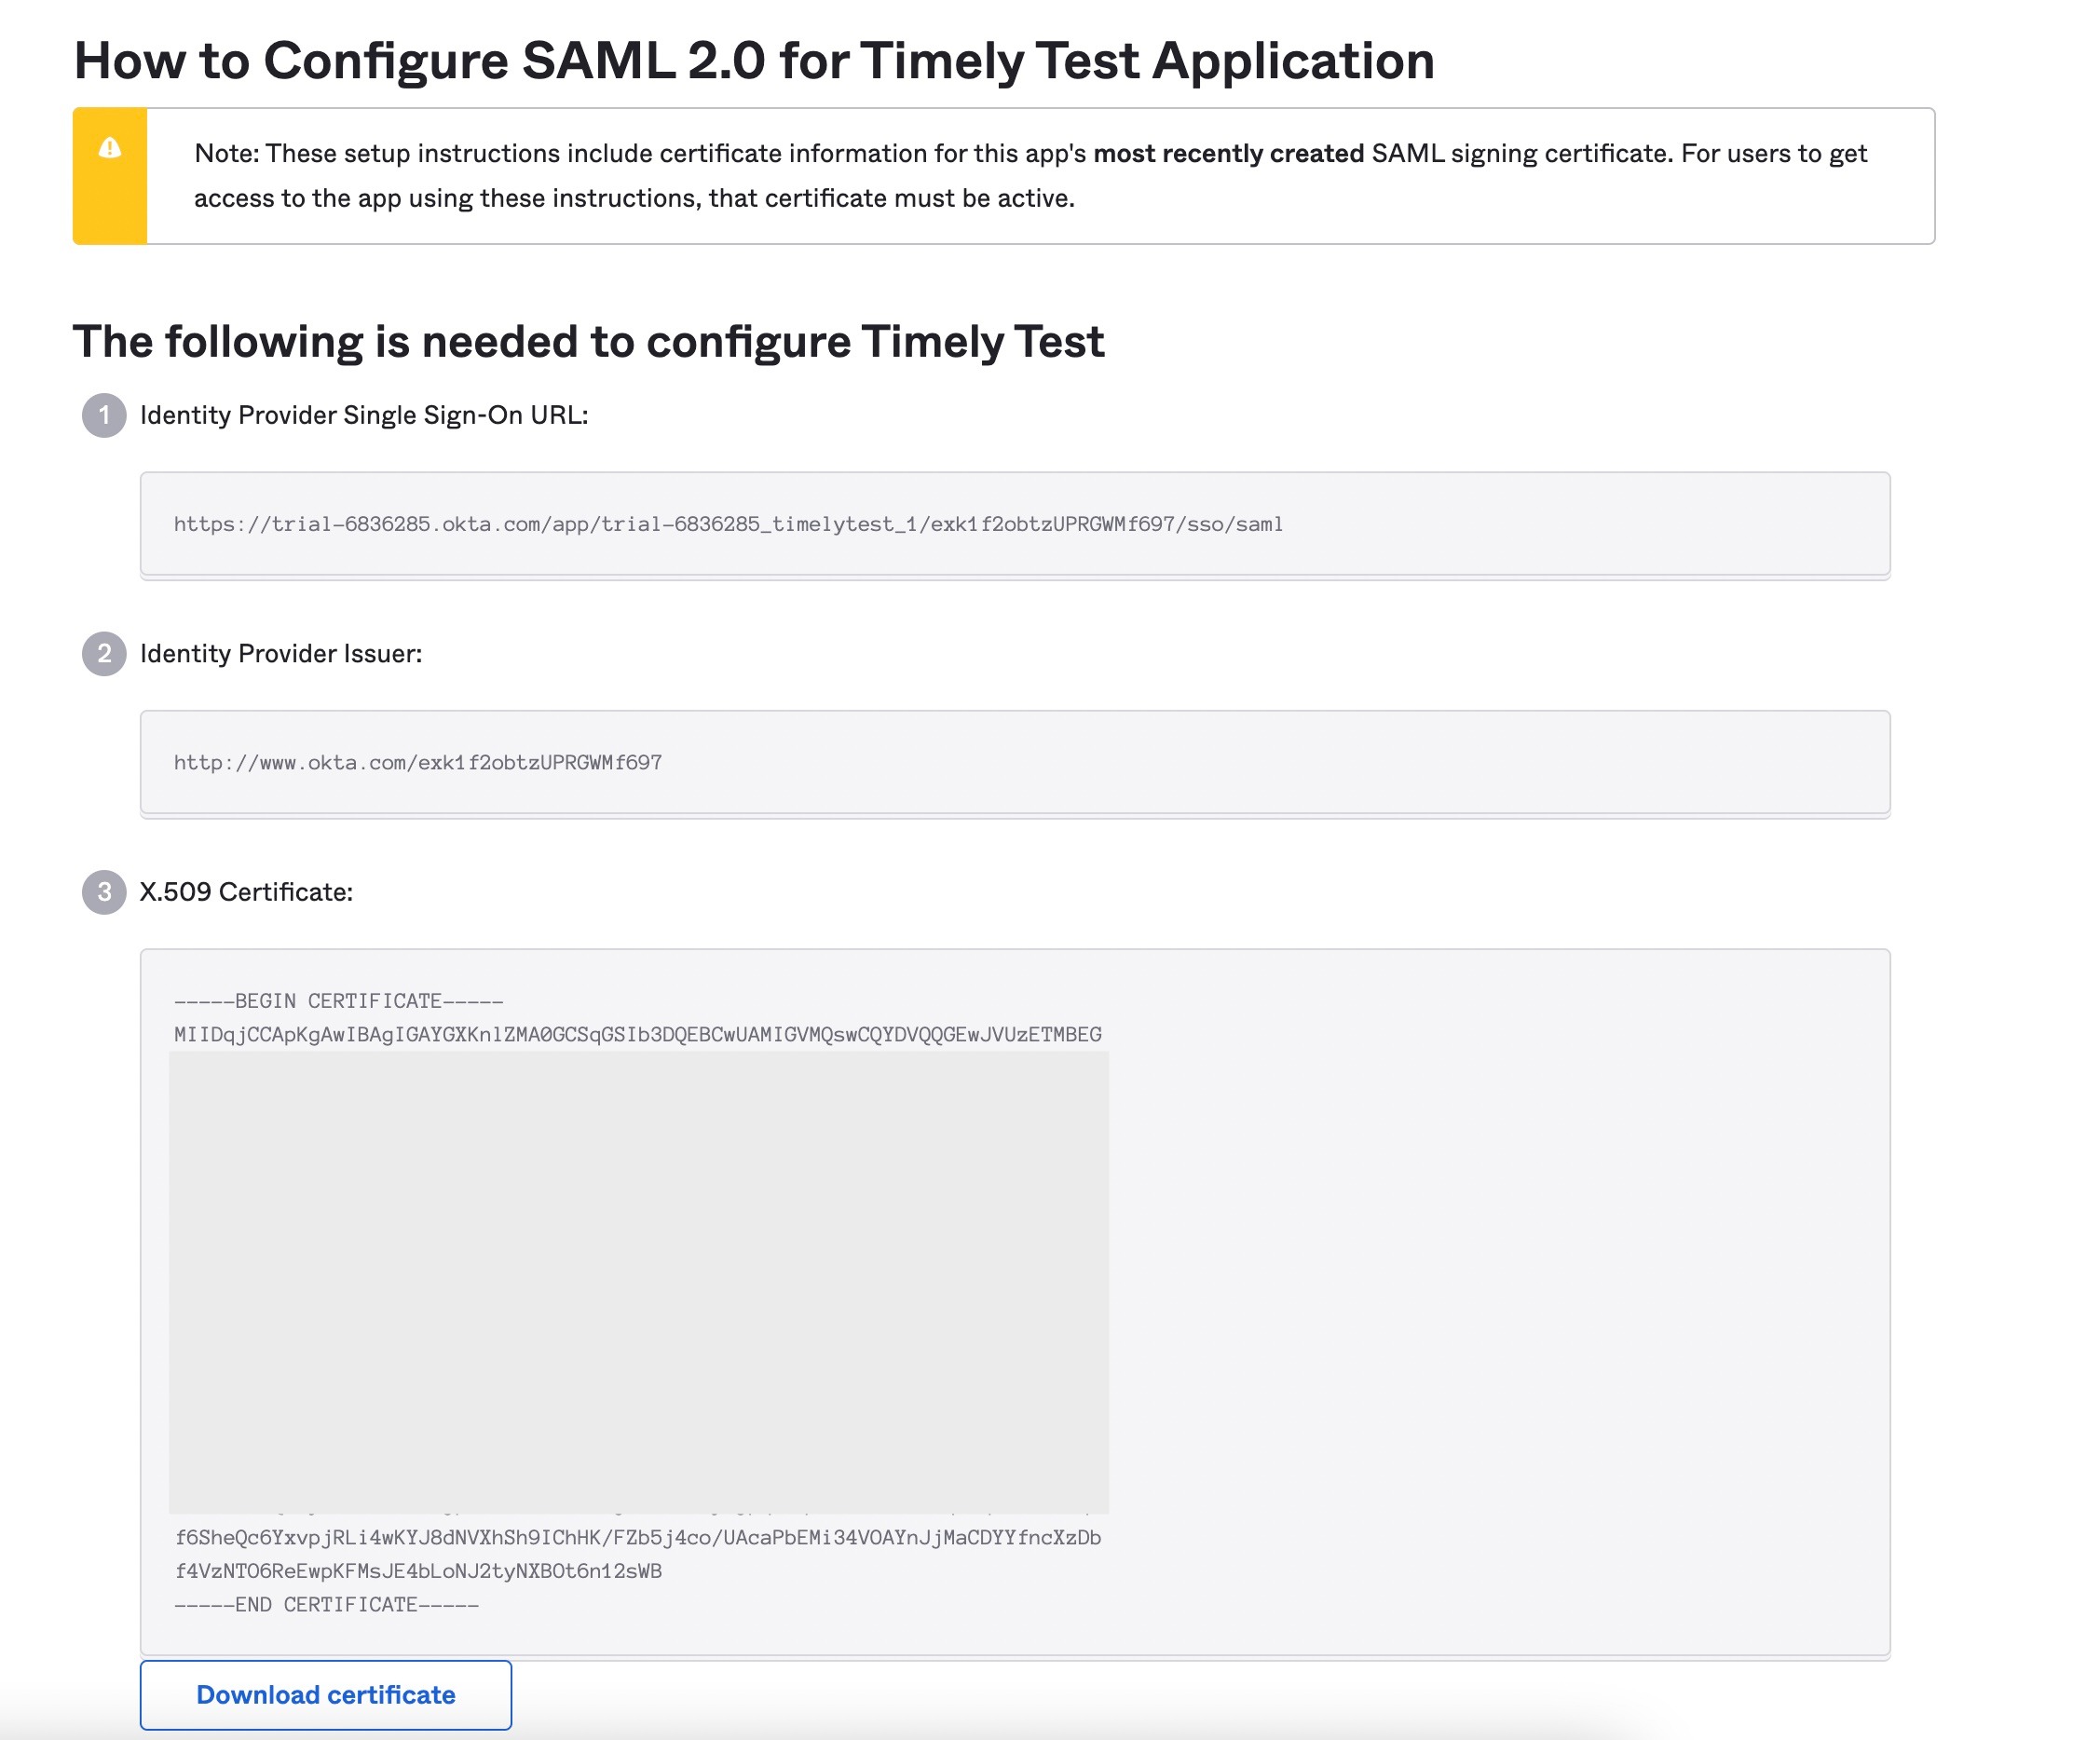
From the Sign On tab, collect the following values to share with Timely:
| Value | What it is | Where to find it |
|---|---|---|
| Entity ID | Unique identifier for the IdP | Identity Provider Issuer |
| SSO Target URL | IdP endpoint where SAML authentication requests are sent | Identity Provider Single Sign-On URL |
| SLO Target URL | IdP endpoint for Single Logout requests | Identity Provider Single Logout URL |
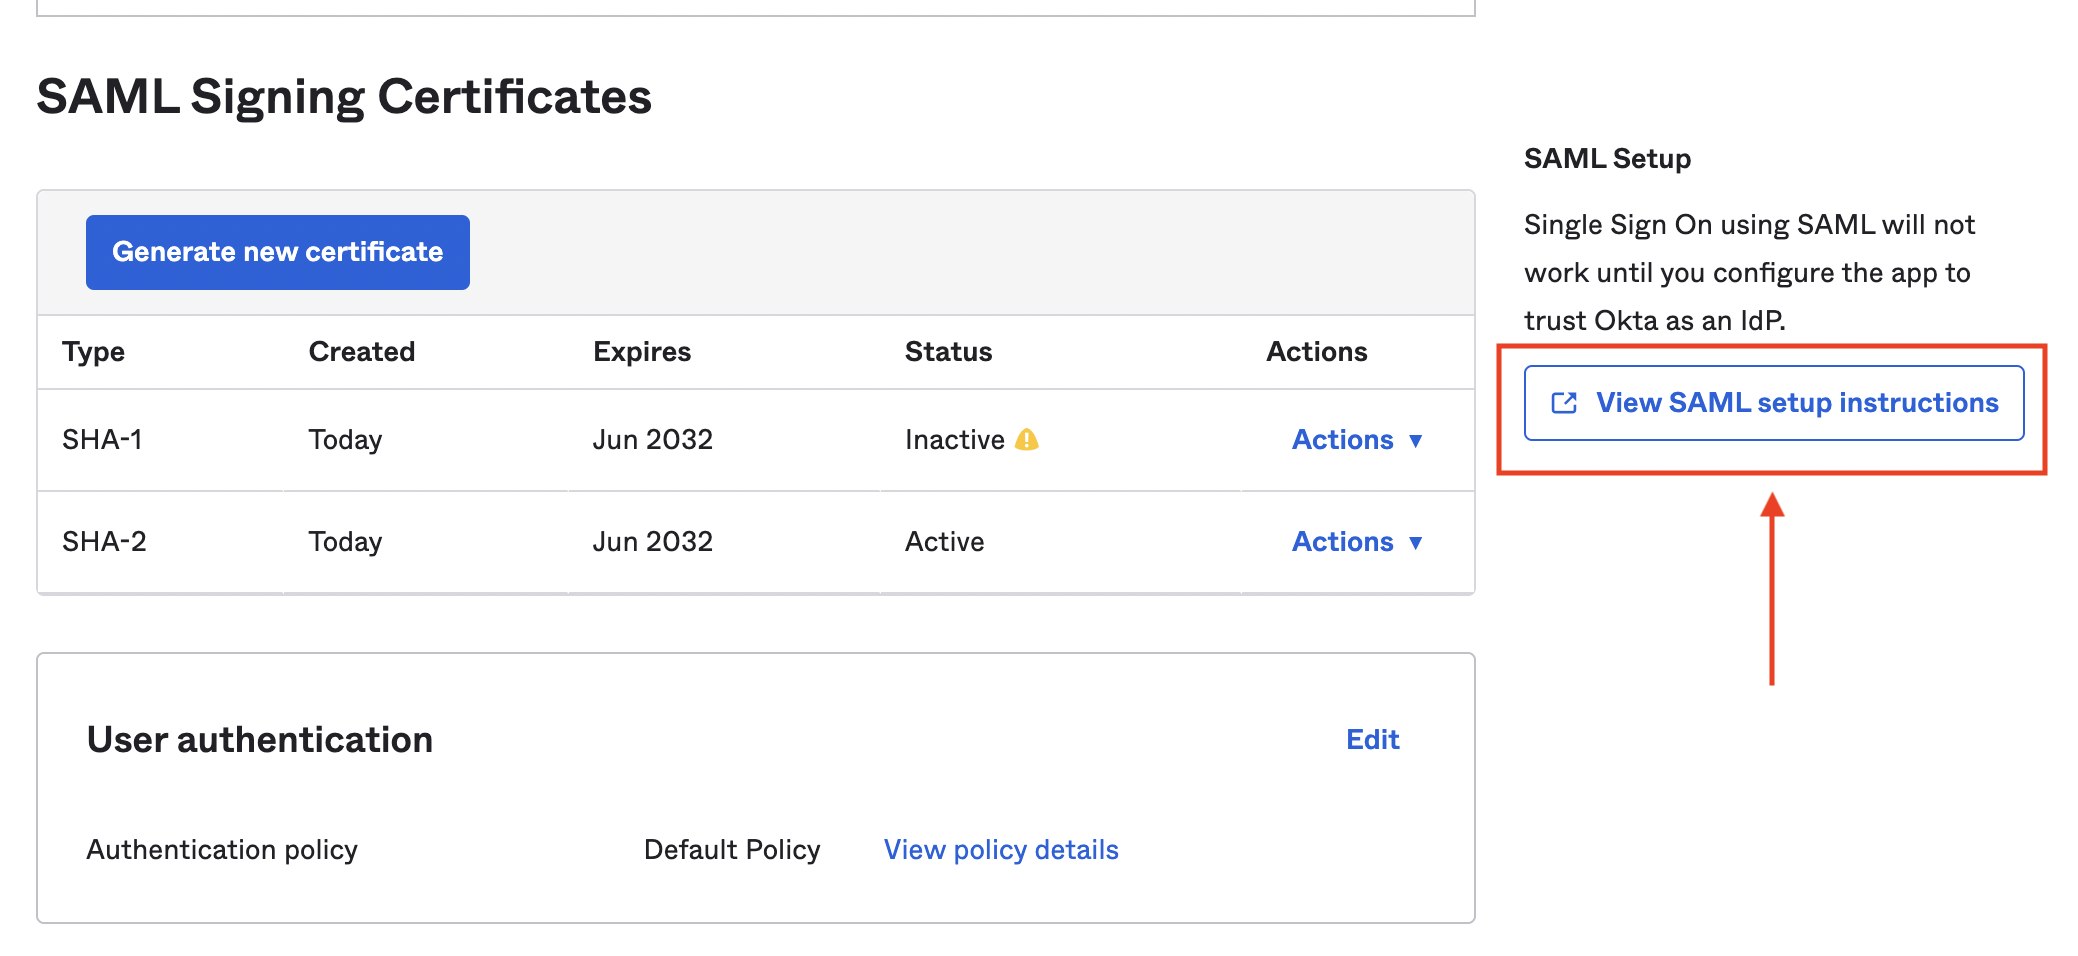
| IdP Certificate | X.509 certificate used to verify SAML response signatures | SAML Signing Certificates — download the active certificate |
If your Okta admin console shows the older layout instead, click the “View SAML setup instructions” button at the bottom of the Sign On tab to find the same fields, and use the “Download certificate” button for the certificate.
Completing setup
You’re all set! Contact the Support Team at Timely by emailing us at [email protected] to finalize the integration.
In that email, please include:
- The Entity ID, SSO Target URL, and SLO Target URL from the table above
- The downloaded certificate — paste or attach the full PEM-encoded certificate, including the BEGIN/END lines
- A list of the email domains in use by your organization (e.g. “@organization.com” or “@companyname.org”)
We’ll circle back to let you know once everything has been confirmed and enabled on our end!
Troubleshooting SAML login issues
If you encounter errors during SAML login, Timely now displays a unified error page with detailed information to help diagnose the issue:
- Reference ID: A unique identifier for the error occurrence
- Reason code: Specific code indicating the type of error
- Issuer checksum: Information about the identity provider
- Timestamp: When the error occurred
Common SAML error scenarios include:
- Replay protection: The sign-on response has already been used
- Request correlation: The response doesn’t match an authentication request we issued
- Cross-tenant issues: The assertion belongs to a different account
- Invalid assertions: The SAML response format is incorrect
If you see a SAML error page, please include all the support details when contacting [email protected] for assistance.
Last updated June 18, 2026
Have feedback for this article or need more help? Contact us now.