Billable Hours Guide
Tips, Tricks & Best PracticesBest PracticesHandbookTurn accurate time tracking into higher profits with a workspace set up for billable work, profitability reporting, and clear non-billable categories.Turn accurate time tracking into higher profits
Every missed hour is lost revenue. With Timely, you can log billable work automatically, price projects properly, and avoid overservicing. Use these tools to monitor and boost your margins with confidence.
Want reports like these?
Follow the step-by-step guide below to see exactly where your billable hours are going, across clients, projects, and teams.
1. Clients, Projects and Tags
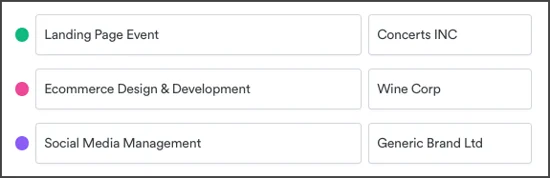
Create Projects for major deliverables or workstreams. Use Tags to organize related work within each project. Assign multiple Projects to a single Client when they reflect the same department or stakeholder.
For example:
- Client: Concerts INC
- Project: Landing Page Event X
- Tags: UX Design, SEO, Front-End Dev, Copywriting, etc.
Please note: to track billable hours and profitability, make sure to check the Hourly Rate box in the project section.
2. Internal Activities
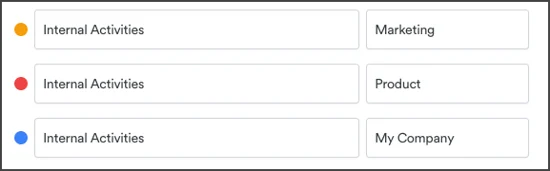
To account for non-client activities, create a client in Timely using your own company or specific department name. Then add a project called Internal Activities, and use tags to specify the type of work.
For example:
- Client: [Your Company or Department Name]
- Project: Internal Activities
- Tags: Weekly Standup, 1:1s, Time Tracking, Admin, Training, Comms
3. People: cost and billable rates
Always set cost and billable rates when adding new users. This ensures accurate project profitability and utilization reporting from day one. You can update these rates later or adjust them for specific projects as needed.

Bonus: group users into Teams to track profitability at the team level.
4. Projects: hourly rate
To generate accurate reports, add hourly rates to all external (client) projects. This marks the project as billable and enables Timely to calculate revenue and profitability metrics.
This step is crucial to enable the Billable vs Non-Billable report, helping you see where time is spent.
For better forecasting, add a budget (in hours or money) to track progress and performance.

Note: if a project has its own billable rate, it will override the individual user rate.
5. Logging Hours
All time entries linked to billable projects are marked as billable by default. Entries on projects without an hourly rate (see point above) are marked non-billable. This ensures your reports reflect true revenue potential and internal overhead.
Need exceptions? Admins can manually mark specific hours on client projects as non-billable — for example, time spent on unbilled communication, rework, or goodwill tasks agreed with the client.
6. Reporting like a pro
Use the Billable vs Non-Billable filter in Reports to see how time is divided across revenue-generating and non-revenue work. This includes both internal activities (like admin or training) and client time you’ve agreed not to charge for (like rework, communication, or onboarding support).
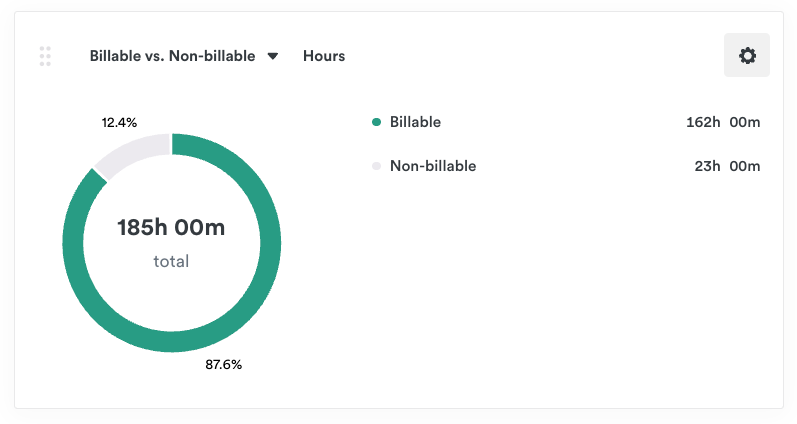
Also: use the Profit and Profitability views to spot your most and least profitable clients, projects, and teams.

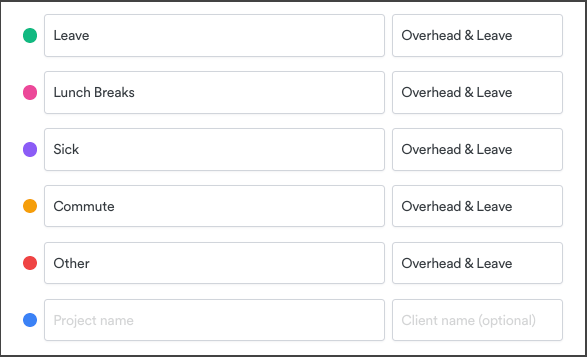
7. Pro Tip: Include Offline Time
For reports to be accurate, and truly useful, you’ll need to account for offline time as well. Define clear categories up front, so it’s easy for the team to log non-working time without friction.
A simple setup might include:
- Client: Overhead & Leave
- Projects: Leave, Lunch Breaks, Sick, Commute, Other
Timely’s Toolbox
Key features to help you log smarter, not harder.
Last updated June 3, 2026
Have feedback for this article or need more help? Contact us now.