Connecting Timely with Microsoft Entra ID (Azure AD)
IntegrationsSingle Sign-On (SSO)HandbookInvite Microsoft Entra ID users to Timely and enable single sign-on for faster access.For teams that use Microsoft Entra ID (formerly Azure AD), you can connect it directly to Timely to add existing and new users automatically.
Timely supports two configuration options: SAML SSO (single sign-on) and OAuth 2.0 SSO. OAuth 2.0 SSO is available for Microsoft Entra ID and Microsoft accounts.
Import and sync Azure AD users to Timely
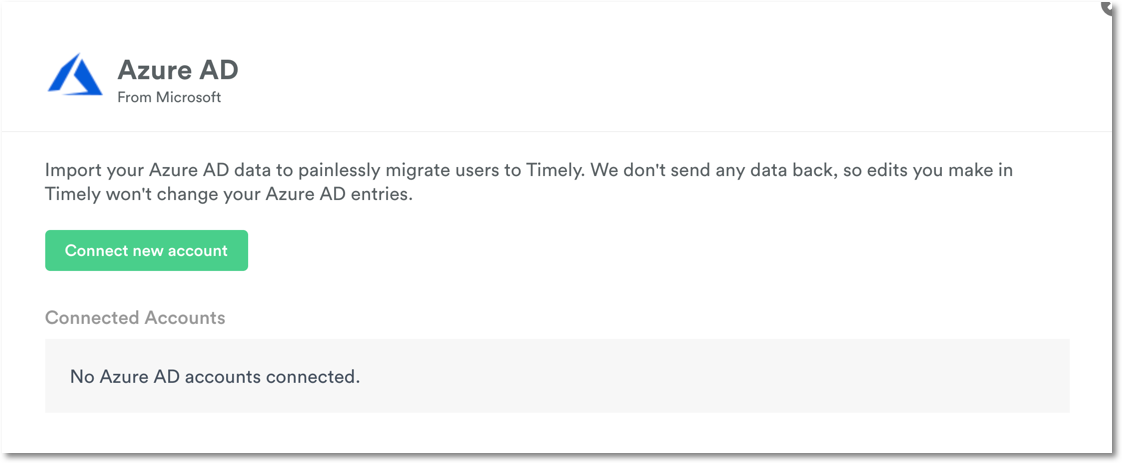
- Head to Settings > Integrations within Timely, then click “Microsoft Azure AD”
- Enter your tenant ID (found in the “Properties” section of your Azure Active Directory)
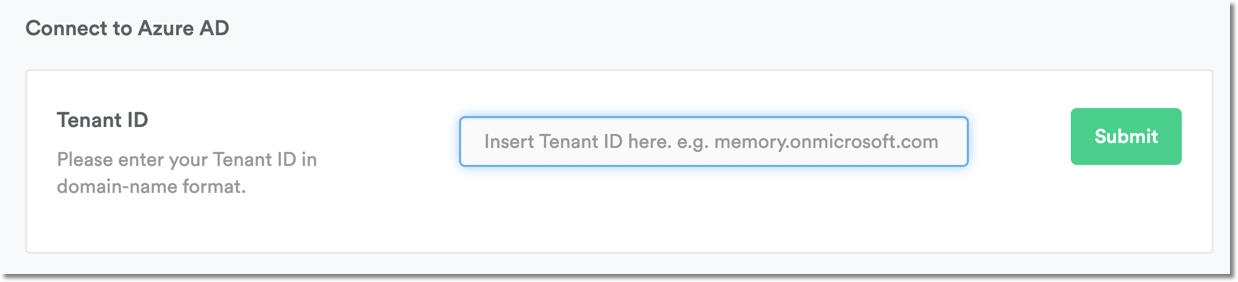
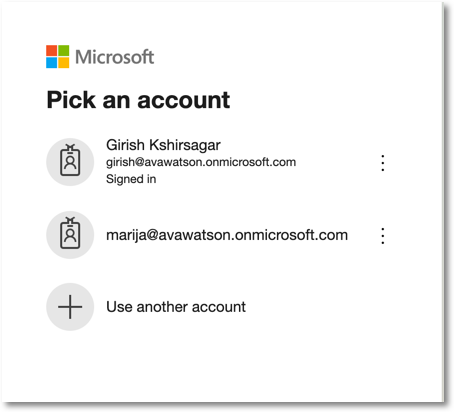
- Submit that ID then select the account you want to connect
- Check the “Consent on behalf of your organization” checkbox, then click “Accept”
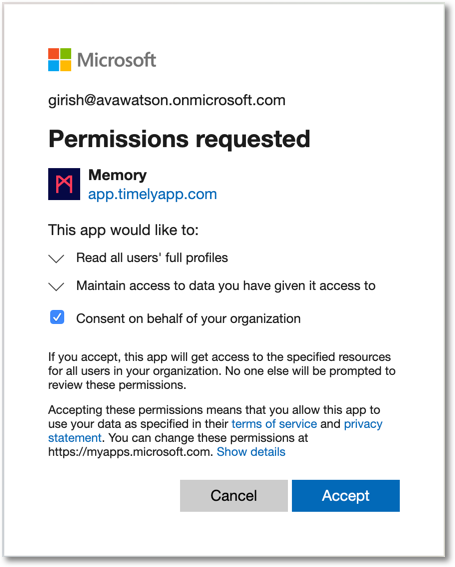
After accepting, Azure AD users will be synced to Timely.
Setting up SAML SSO
These steps can also be done independently to set up SAML SSO without syncing users.
Create an enterprise application
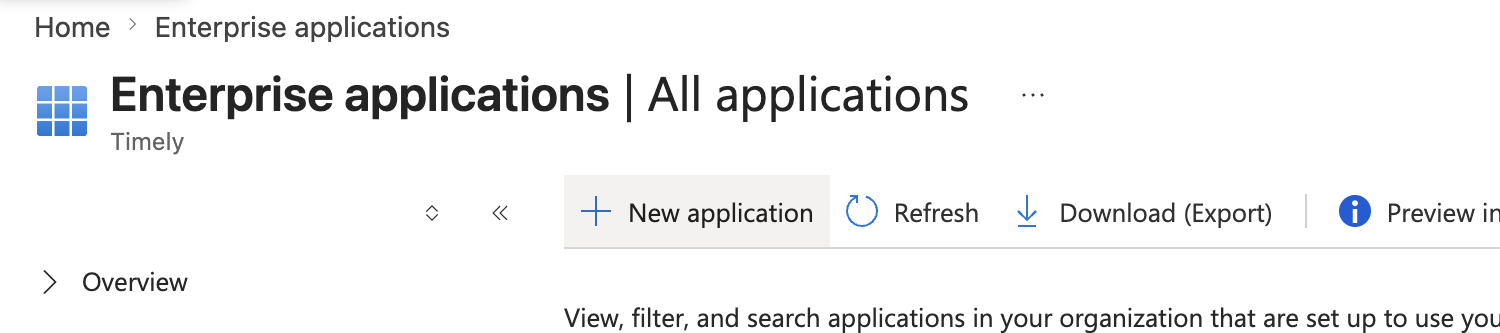
- In the Azure portal, head to Microsoft Entra ID > Enterprise applications, then click New application
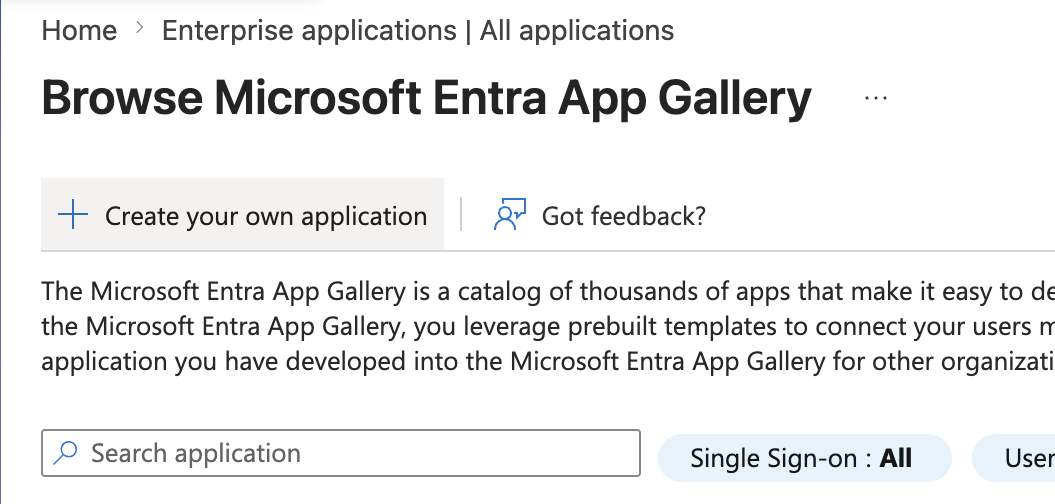
- Click Create your own application
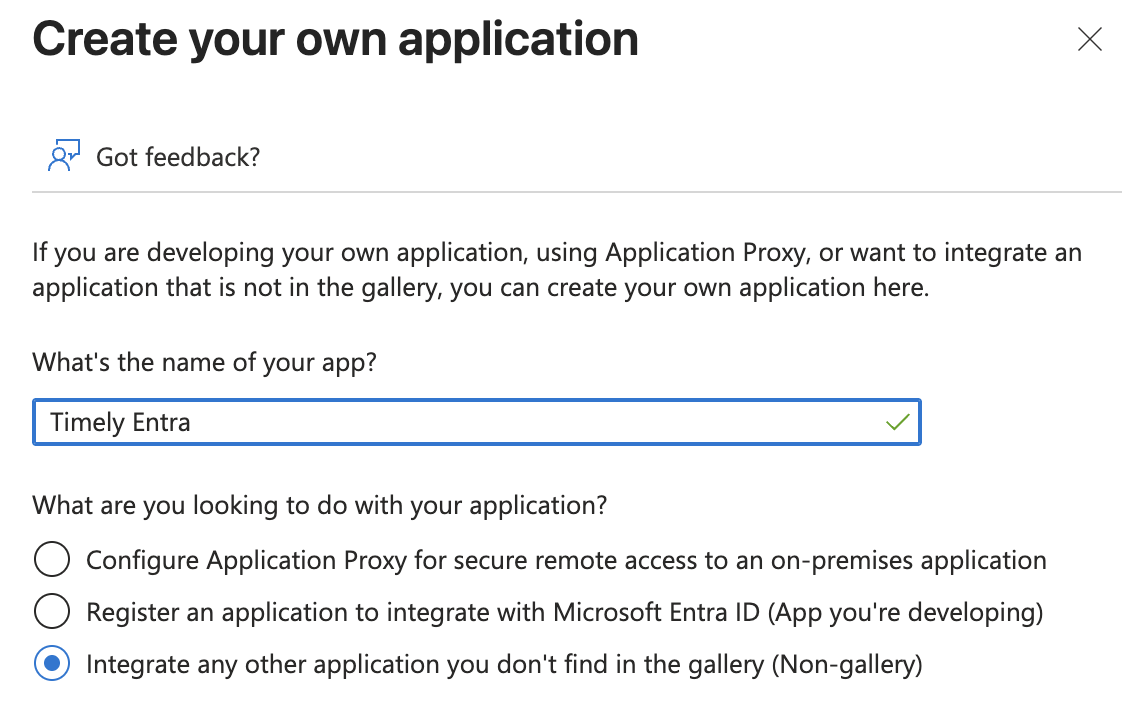
- Give the application a name (e.g. “Timely SSO”), select Integrate any other application you don’t find in the gallery (Non-gallery), then click Create
Configure SAML
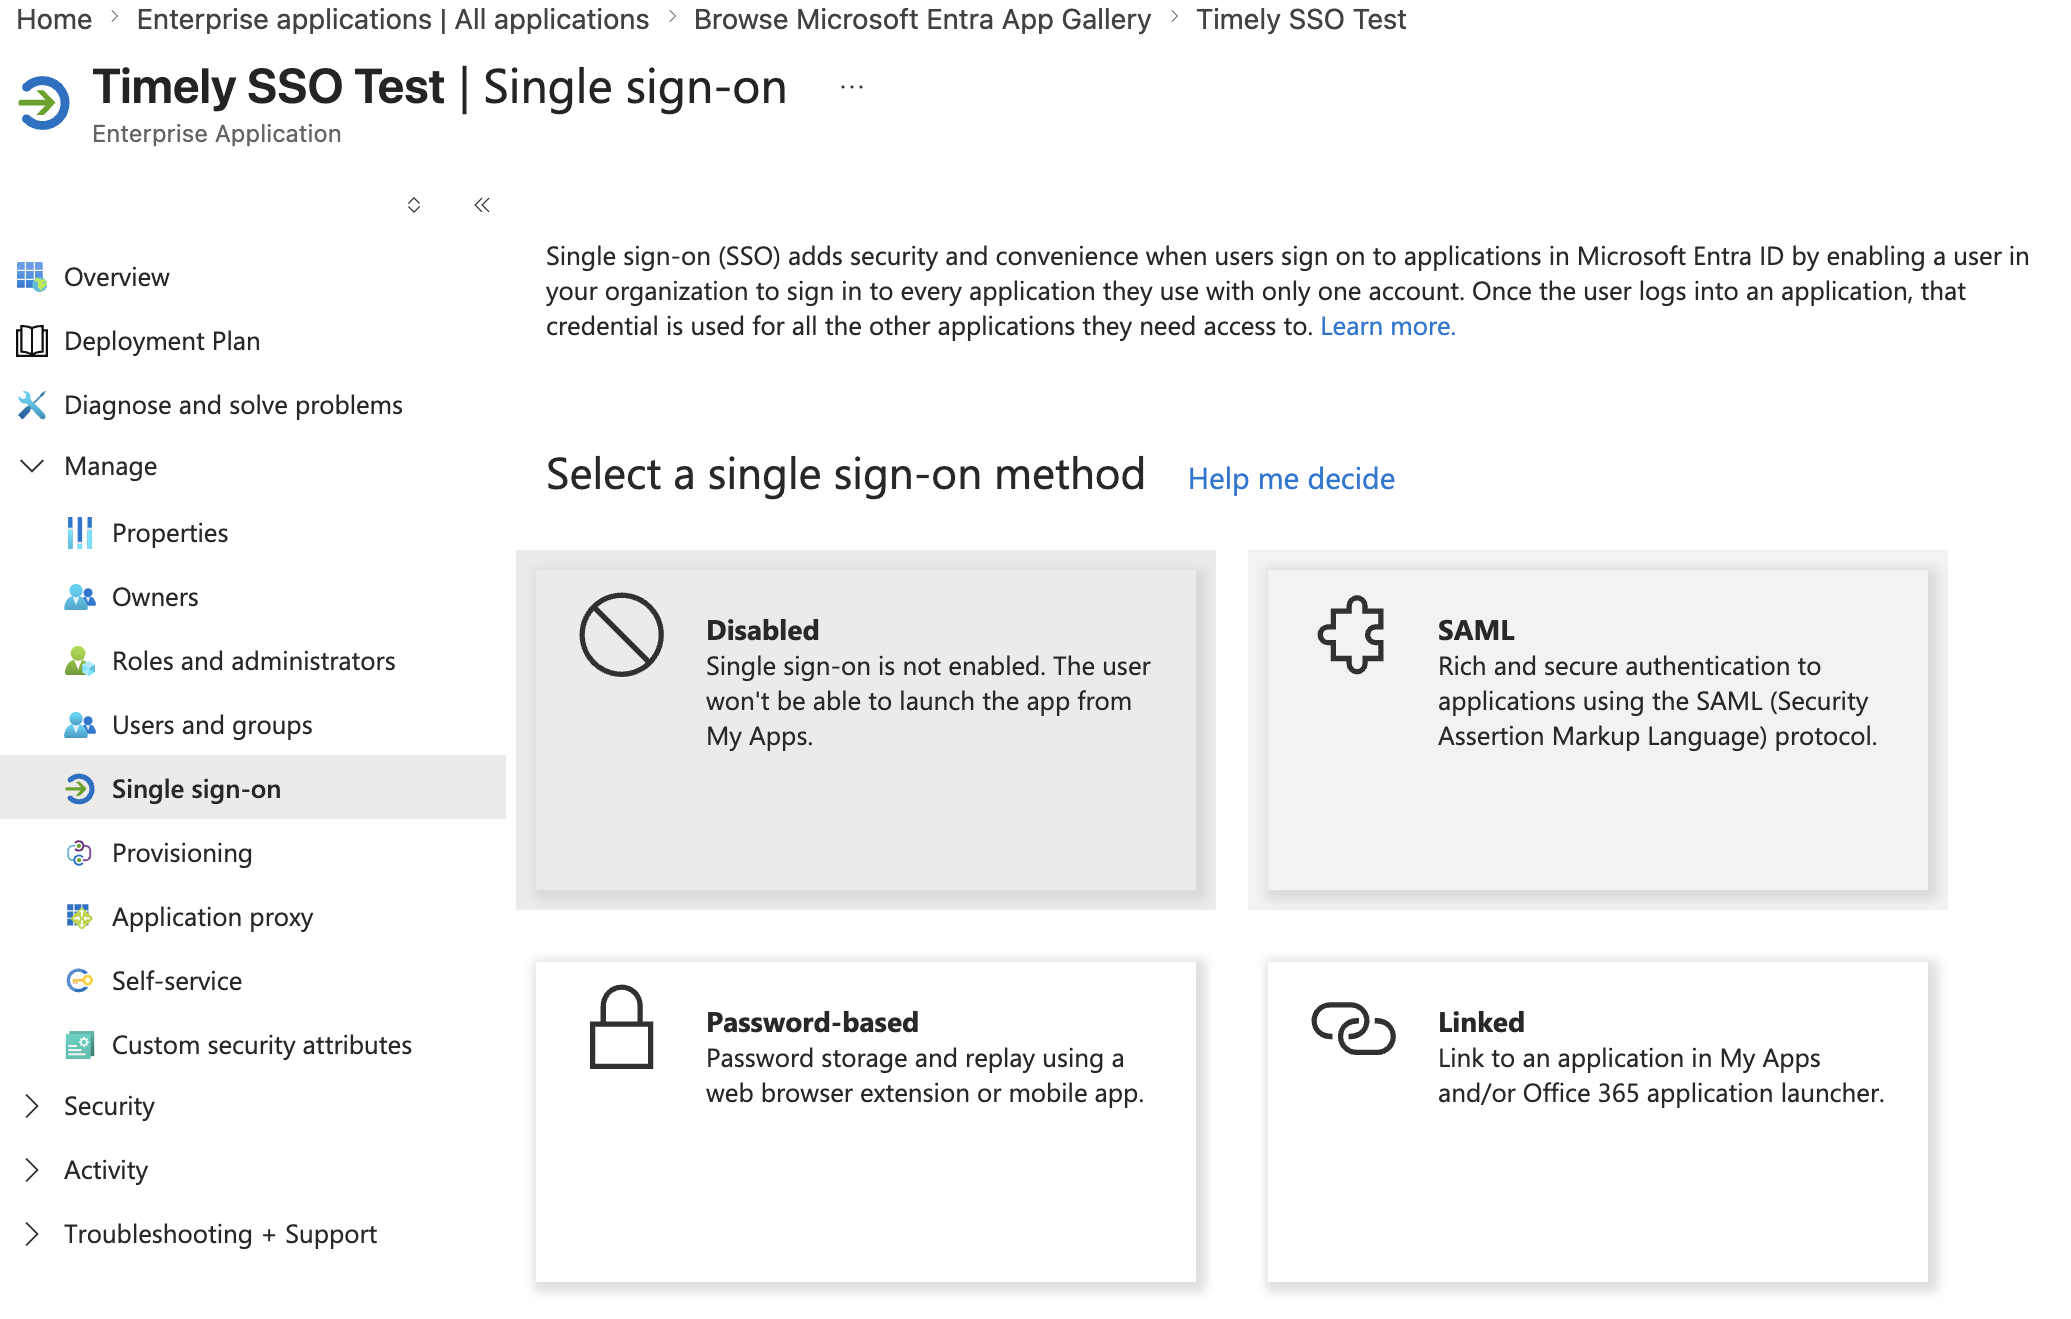
- In the new application, under Manage, select Single sign-on
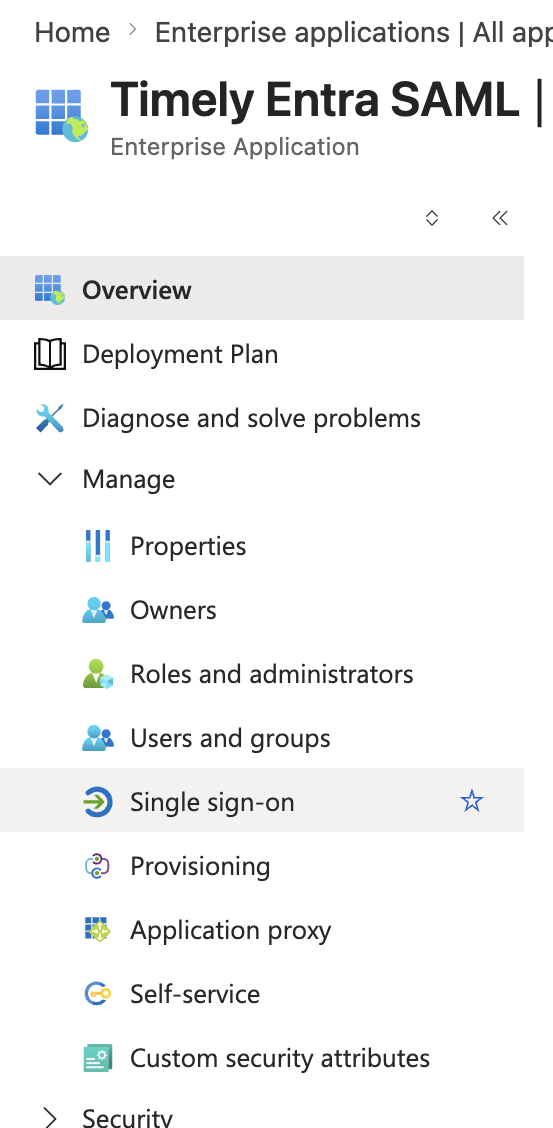
- Select SAML as the single sign-on method
- Click the edit icon for Basic SAML Configuration
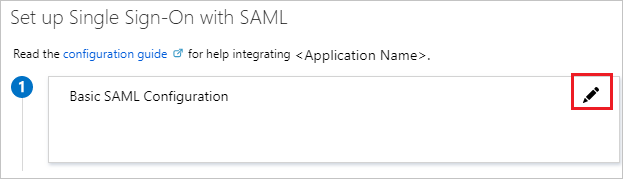
- Enter these values, then save:
- Identifier (Entity ID):
https://auth.timely.com/ - Reply URL (Assertion Consumer Service URL):
https://auth.timely.com/users/saml/auth
- Identifier (Entity ID):
Collect the values Timely needs
Once the SAML configuration is saved, collect the following from the Single sign-on page of your application:
| Value | What it is | Where to find it |
|---|---|---|
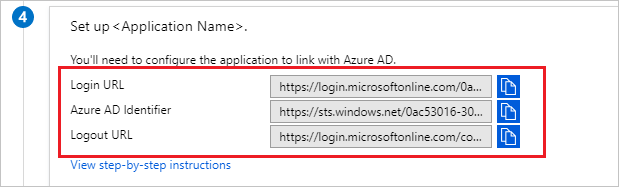
| Entity ID | Unique identifier for the IdP | Azure AD Identifier (labelled Microsoft Entra Identifier in newer portals) in the “Set up” section |
| SSO Target URL | IdP endpoint where SAML authentication requests are sent | Login URL in the “Set up” section |
| SLO Target URL | IdP endpoint for Single Logout requests | Logout URL in the “Set up” section |
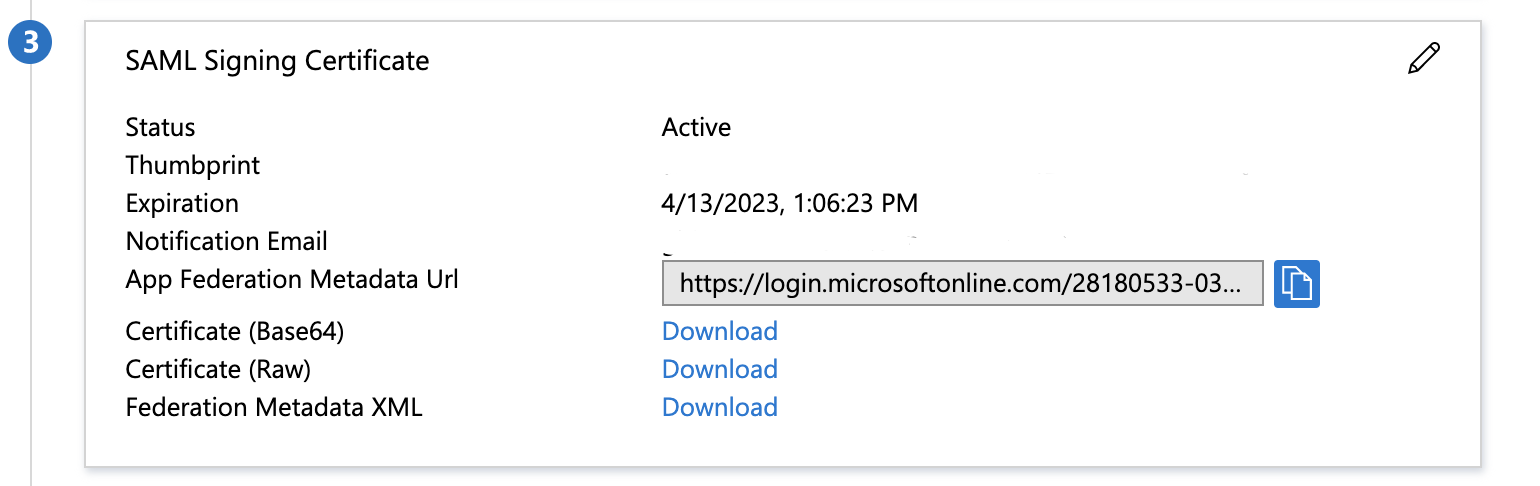
| IdP Certificate | X.509 certificate used to verify SAML response signatures | SAML Signing Certificate section — download Certificate (Base64) |
Completing the SAML SSO process
Email [email protected] with:
- The Entity ID, SSO Target URL, and SLO Target URL from the table above
- The Certificate (Base64) — paste or attach the full PEM-encoded certificate, including the BEGIN/END lines
- Email domains for all current and future users
- Optional: List of departments to limit synced users
Troubleshooting SAML login issues
If you encounter problems during SAML authentication, Timely displays a comprehensive error page with specific details:
- Reference ID: Unique identifier for troubleshooting
- Reason code: Specific error type (replay, correlation, tenant mismatch, etc.)
- Issuer checksum: Identity provider information
- Timestamp: When the error occurred
Common Azure AD SAML issues include:
- Incorrect Reply URL: Ensure the Reply URL in Azure AD matches
https://auth.timely.com/users/saml/authexactly - Certificate expiration: Check that your SAML signing certificate is valid
- User attribute mapping: Verify that required attributes (email, first name, last name) are properly mapped
- Replay attempts: Each SAML response can only be used once for security
When contacting support about SAML errors, include all details from the error page for faster resolution.
Troubleshooting OAuth (Microsoft sign-in) issues
”We couldn’t verify your email address with Microsoft”
If a user sees this message when signing in with their Microsoft account, it means Timely received a valid token from Microsoft but could not confirm that the email address in that token is verified by your organisation’s Azure tenant.
Why this happens
Timely requires Microsoft to attest that an email address belongs to the signing-in user before linking it to an existing Timely account. This attestation is provided by a claim called xms_edov in the Microsoft token. When this claim is absent — which can happen in federated tenants or tenants where the email domain has not been verified in Azure — Timely refuses to link the account as a security precaution. This is not a bug in Timely; it is intentional protection against a class of account-takeover attack.
Who is affected
Users whose Azure tenant has not completed email-domain verification in Microsoft Entra ID, or whose tenant uses a federated identity setup that does not emit the xms_edov claim.
What to do
- Contact your IT administrator. Ask them to verify your organisation’s email domain in Microsoft Entra ID. Once the domain is verified, the claim will be included in future tokens and sign-in will succeed.
- Contact Timely support. If your organisation uses a federated setup that cannot emit the required claim, email [email protected] and ask for a manual account link. Include your Timely account email address and your Microsoft account email address so the team can assist.
FAQs
Can I configure SAML SSO without importing users automatically?
Yes — skip the “Integrations” section in Timely and begin with the SAML SSO SP configuration steps above. Then email [email protected] to finalize.
Do I need to do anything after setting up the integration?
New team members will be added as Employee-level users without project access. You’ll want to edit them individually to set the right projects, rates, and privileges.
Do employees need to set anything up?
Nope! They’ll be able to use SSO as soon as the setup process is finished.
What about users added to Azure AD later?
The import continues automatically — new users will be caught and connected for you.
Can I choose specific users or groups to import?
By default, all valid users sync. To limit by department, contact [email protected] before connecting the integration.
Last updated June 23, 2026
Have feedback for this article or need more help? Contact us now.