Time entry states
People & Team ManagementHandbookCreate your own custom time states within Timely to manage approval workflows.With Time Entry States you can assign custom statuses to time entries. These custom entry states make it much easier to review and approve your employee’s timesheets right within Timely, see the status of a time entry at a glance, and enable admins to create their own custom entry states to meet the needs of their business workflows.
Creating a new custom time state
To get started, head over to Settings and then select the new States option:
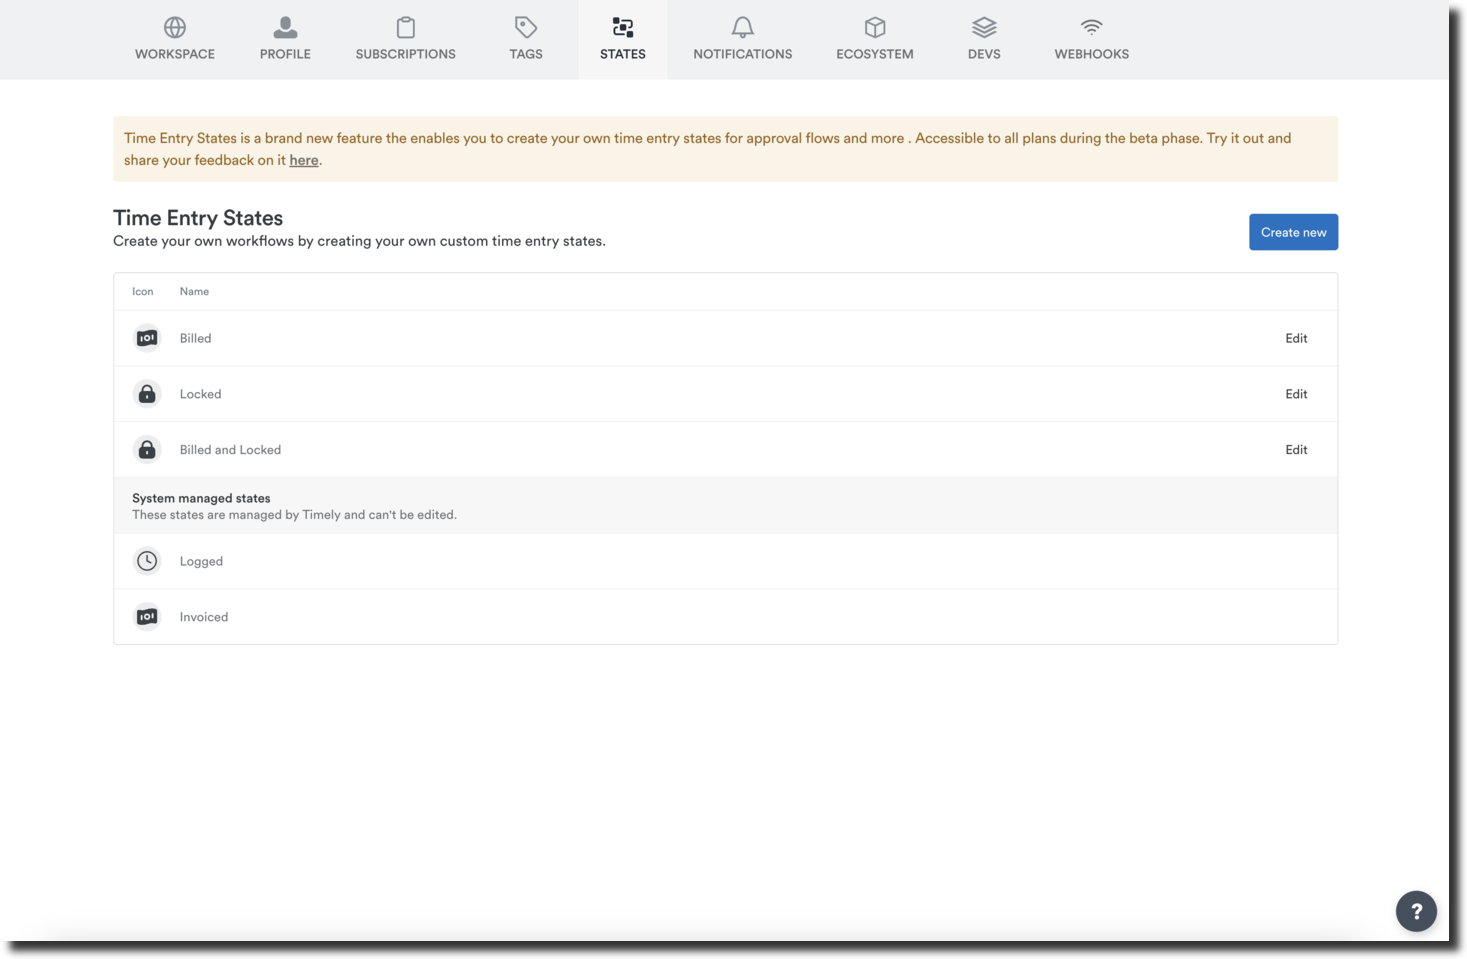
You’ll see three pre-built states you can use, edit, or remove:
- Billed
- Locked
- Billed and Locked
The two system states, Logged and Invoiced, are related to a function within Timely and can’t be edited or removed.
Click the “Create new” button to begin setting up your new time state:
Clicking the edit icon at the top will allow you to enter the name of that particular time state, while clicking the symbol to its left will let you customize the color or icon that represents this phase in your workflow:
Under the Permissions section you’ll be able to customize which users in your workspace can assign time entries to this particular state. You can select Managers, Employees, and Team Leads. Admin level users will always have full access to all the time states within the workspace.
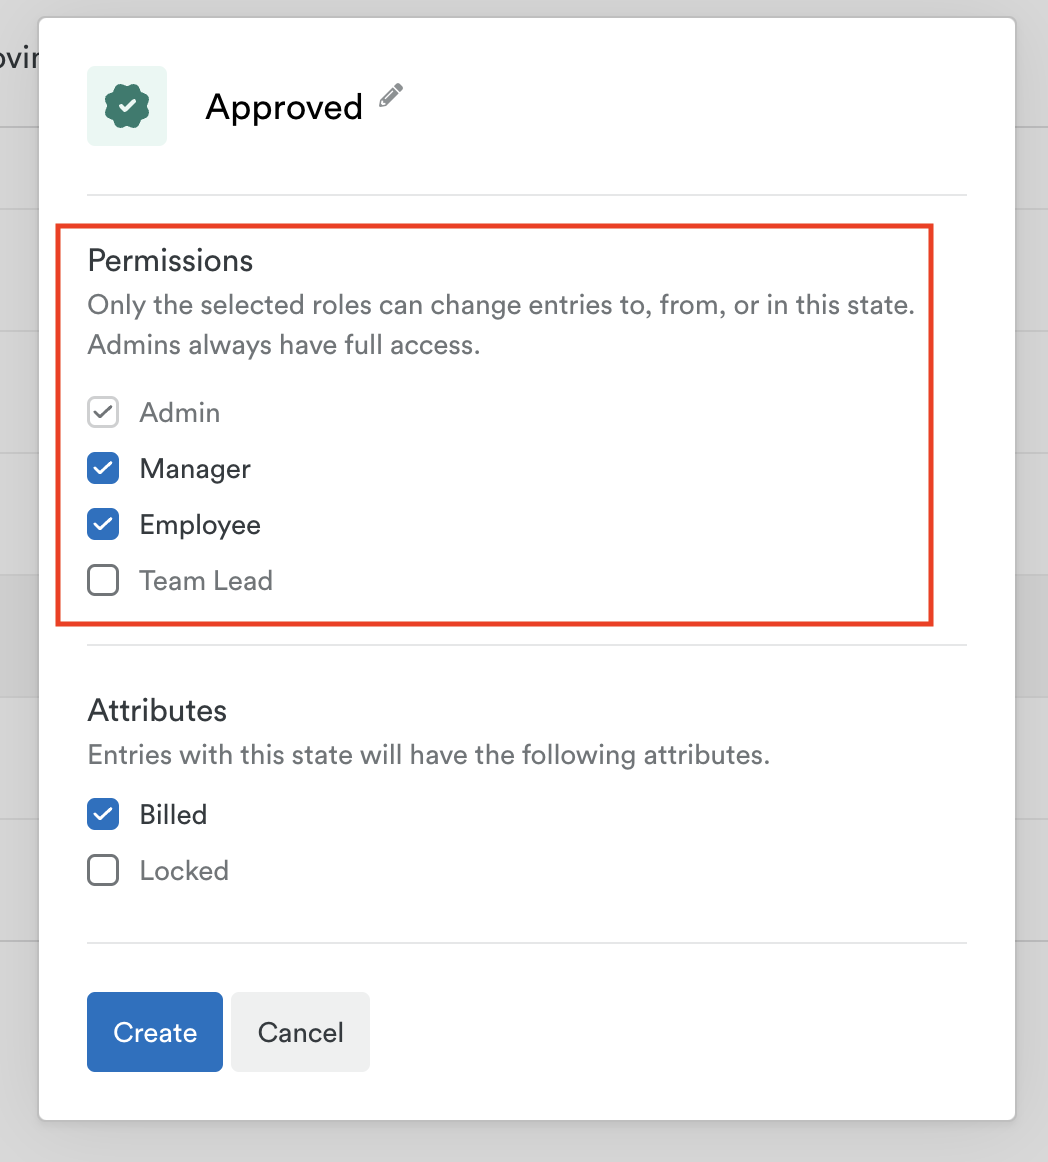
Next, make a selection under the Attributes header if time entries assigned to this state should be marked as “Billed” or “Locked”. This is useful if you have completed invoicing for a particular set of hours and wish to indicate as such or prevent further editing.

Once everything looks good, click the “Create” button to finalize your selections.
Editing a custom time state
From the Workflow section, just click the “Edit” button to the right of any time state and make your changes:
Just like when creating a new time state, you can update the name, icon, color, and permissions or attributes. The two system managed states, Logged and Invoiced, can not be edited.
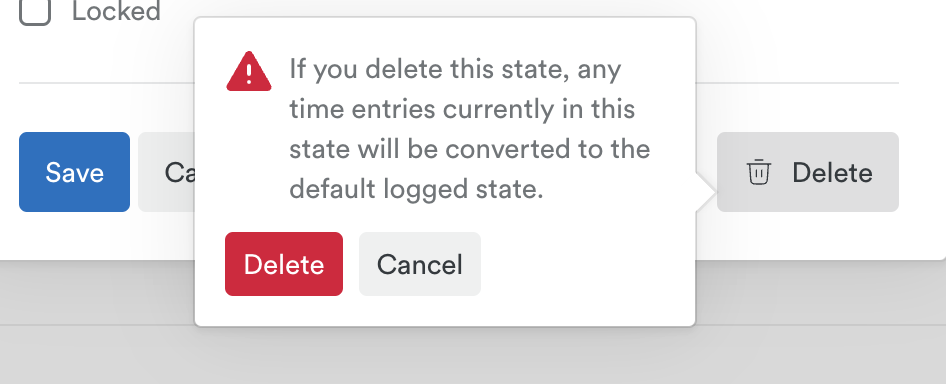
Deleting a custom time state
Click the “Edit” button to the right of the time state in question and then click the “Delete” button.
Assigning time entries to a custom time state
Once your states are in place, users can begin assigning a time state to their entries from either the Hours view or when reviewing a timesheet.
From the Hours view, simply click any existing time entry (or entries — you can assign a state to multiple entries) and then click the selector box in the right hand corner. You’ll see the bulk editing options along the top and can click the “update state” option:
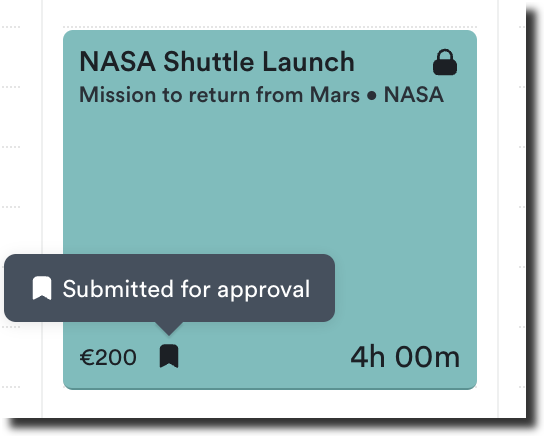
Once that state has been applied, you will see the state’s symbol in the bottom corner:
The time state is then visible when looking at a user or project’s Timesheet and further updates can be made from that view as well:
Reviewing or reporting on time states
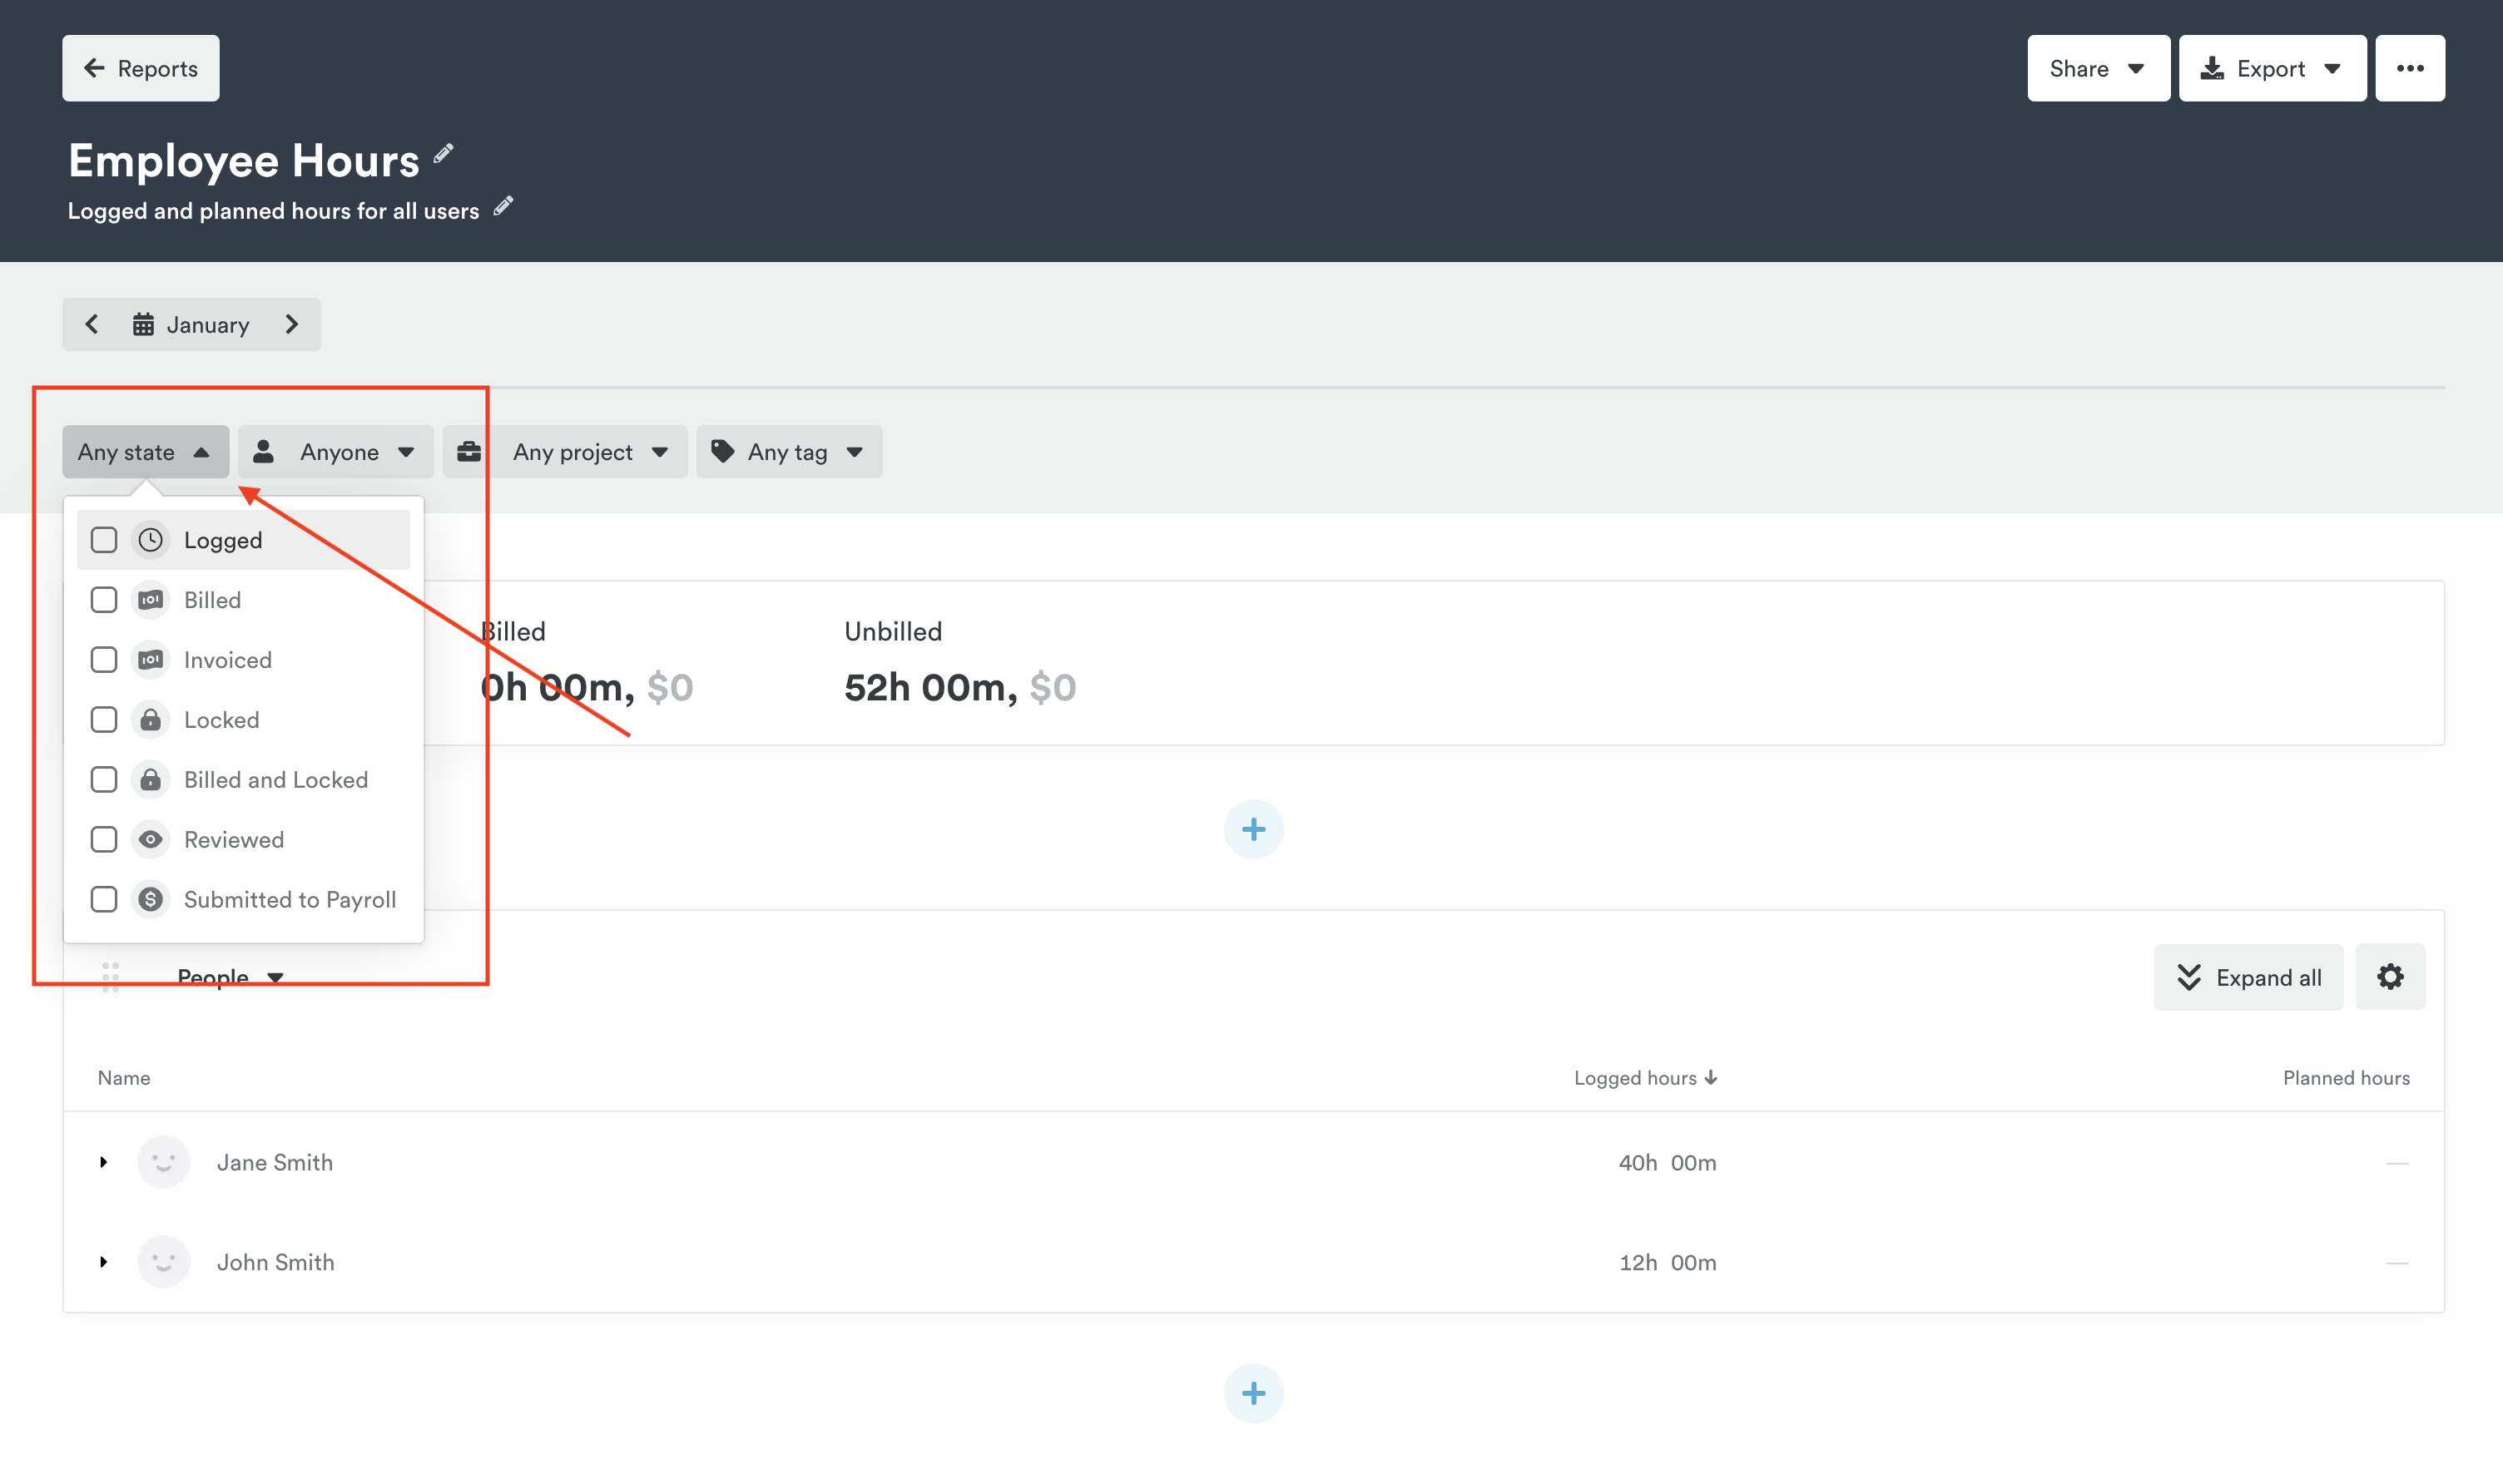
You can easily sort and review the different time states when looking at Timesheets for either an individual user or project. By default you’ll see all the hours logged in that Timesheet for the selected time period, but can click the “Any state” drop down along the top to filter by a specific state.

Just like from the Hours view, you can then select multiple entries and update their state when needed.
Likewise, you’ll see a new state drop down when configuring your custom reports in Timely.
FAQs
I’m still not 100% sure how it benefits me, can you give me a real life example?
Say you have a team of employees and are an admin who handles payroll. Where previously you might have had to follow up with all your employees directly to see if their hours have been logged and everything is final before payroll, now you can use custom time states to communicate where in the payroll process those hours are.
For example: an employee has completed their workweek, checked their hours in Timely are correct, and updates those hours with the “Submitted for approval” status. You as their Admin can go into their timesheet, see those hours with the matching status, and update them to “Approved” once everything looks good. You might then update those hours again to the “Done” status once payroll has been run.
How many custom time states can I create for my workspace?
The sky is the limit, but keep in mind that the more states you have the more crowded that drop down selector will be. We’d recommend keeping things short and simple to prevent confusion.
Last updated April 1, 2026
Have feedback for this article or need more help? Contact us now.