Automate Time Tracking with Zapier: Google Calendar & Timely
IntegrationsZapier & AutomationHandbookAutomatically create time entries in Timely whenever new Google Calendar events are added.Overview
If you’re looking to save time and skip manual data entry, you can use Zapier to automatically create a time entry in Timely whenever a new event is added to your Google Calendar.
New to Zapier? Start with our introductory article and sample Zaps for inspiration.
Google Calendar Zap setup
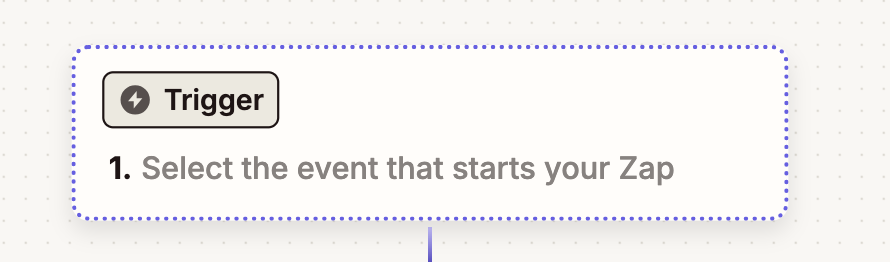
- Head to your Zapier account and create a new Zap
- Click the “Trigger” option
- Select Google Calendar as the App
- Under Trigger Event, select “New Event”
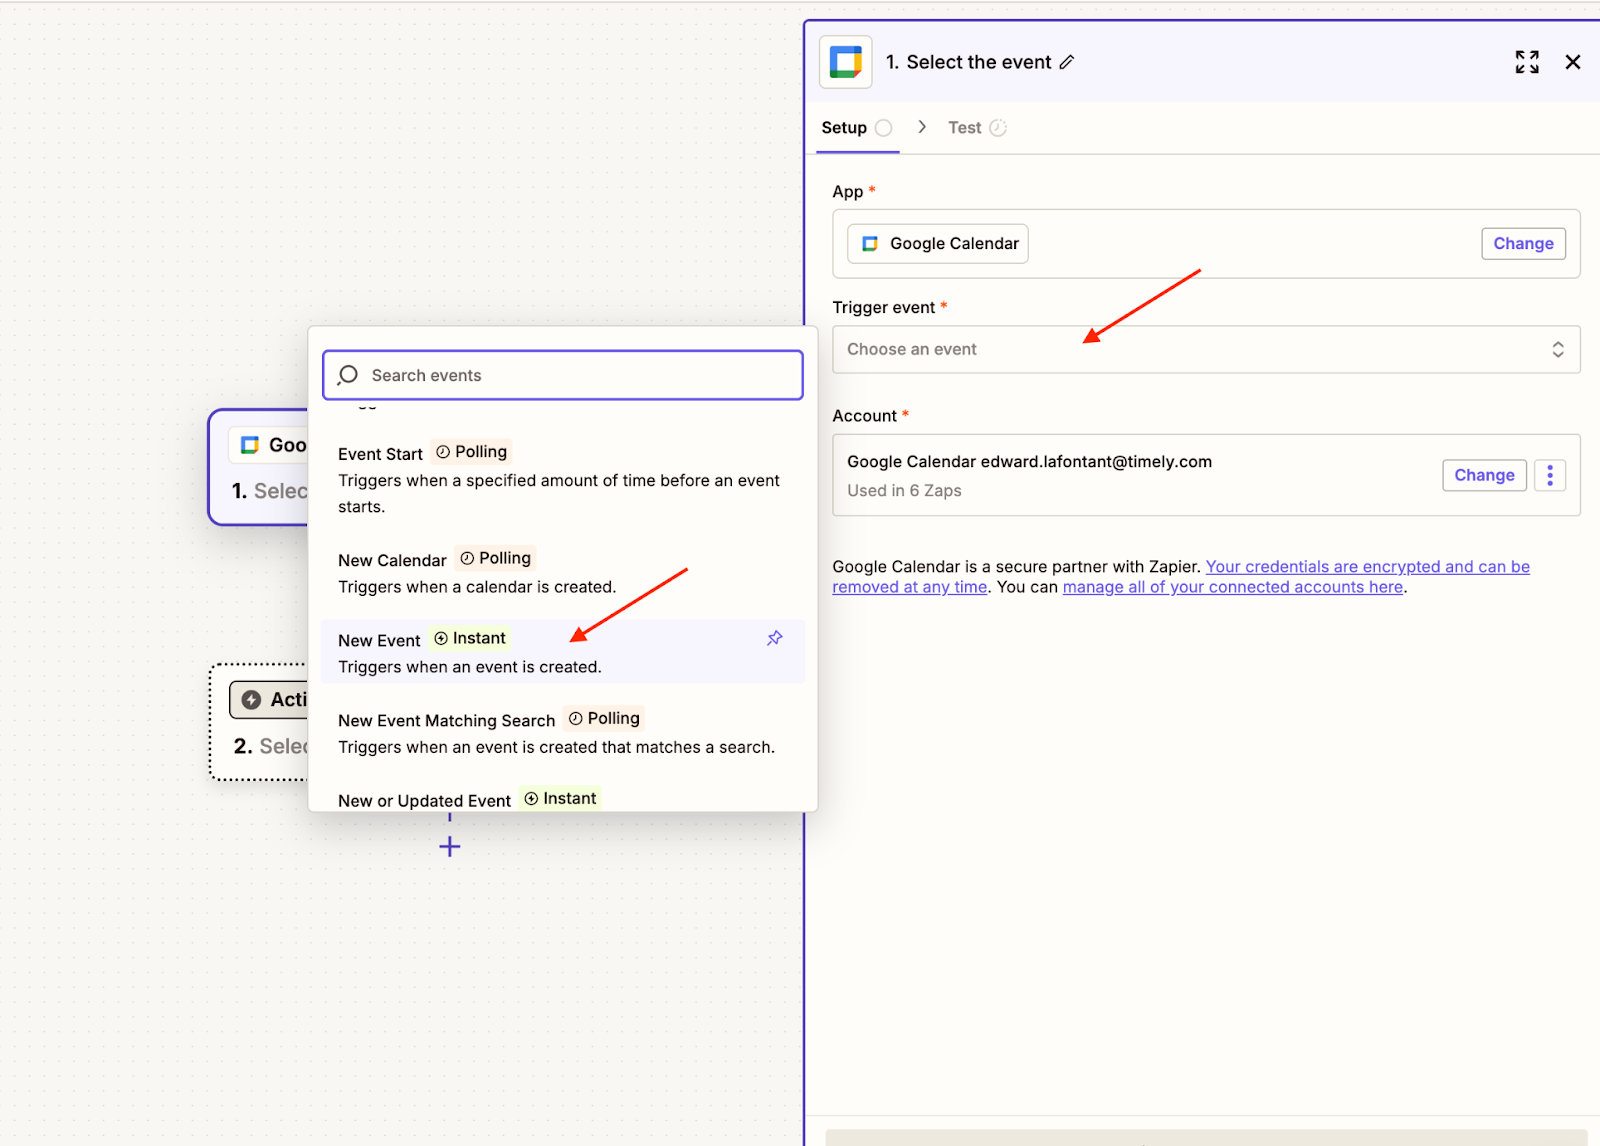
- Connect your Google Calendar account and click “Continue”
- Select the specific calendar, then “Continue”
- Click “Test Trigger” to verify the connection
Timely Zap setup
- Select “Timely Time Tracking” for the App
- Under Action Event, choose “Log Time Entry”
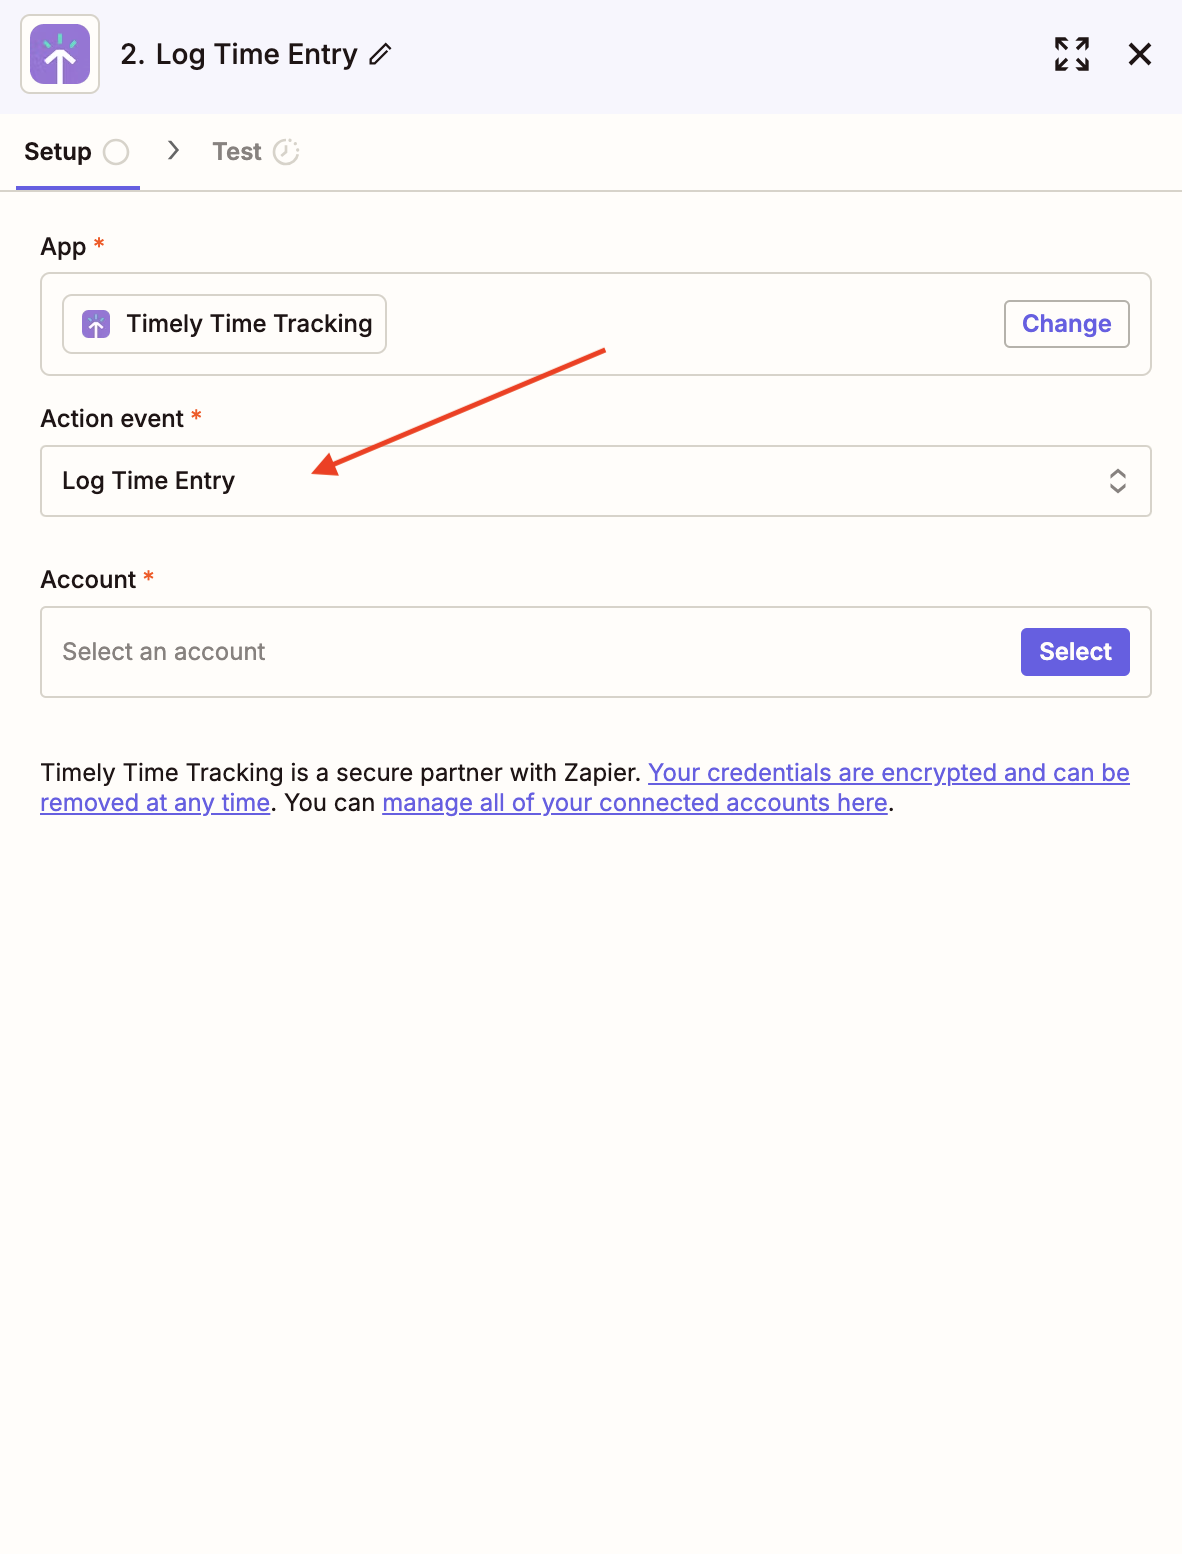
- Connect and select your Timely Account
- Choose your Workspace
- Set the Date field to “Start Date Pretty:” (click the ”+” button)
- Select the Project for the entry
- Set “Logged Duration (In hours)” to “0” (required for the Zap to function)
- Set “Logged Duration (in minutes)” to “Duration (minutes):”
- Set “Timestamp (Start)” to “Event Begins:”
- Set “Timestamp (End)” to “Event Ends:”
- Fill out any additional fields
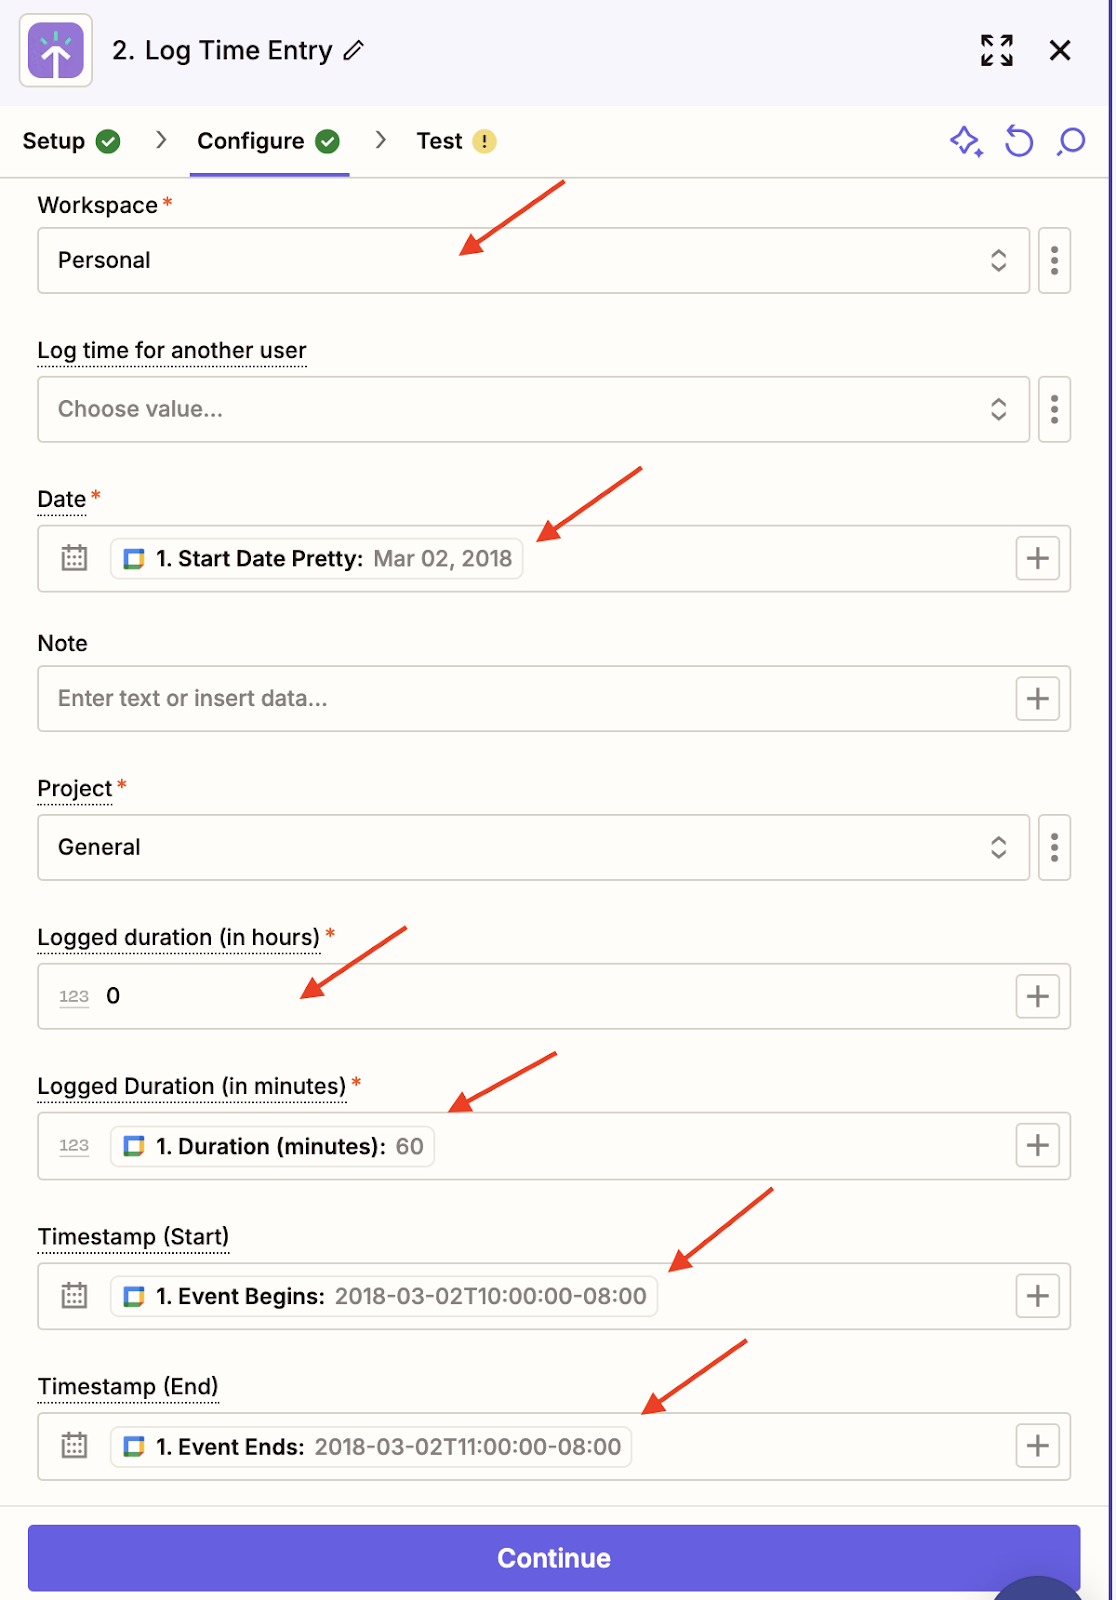
- Click “Continue”, test the step, and if successful, click “Publish”
Once published and turned on, time entries will auto-populate based on your calendar activity!
Last updated April 15, 2026
Have feedback for this article or need more help? Contact us now.