Classic: The Timeline View
Time Tracking: ClassicHandbookExplore Timely's updated Timeline view with enhanced flexibility, customization, and a fresh approach to visualizing your time.Logging hours on the Classic timeline
See your entire day at a glance with the Summary lane
If the timeline feels a bit overwhelming at first—you’re not alone! To help you ease into memory-based time tracking, we’ve introduced the Summary lane, which simplifies what you see by showing just the most active memory for each block of time (by default, that’s every 15 minutes).
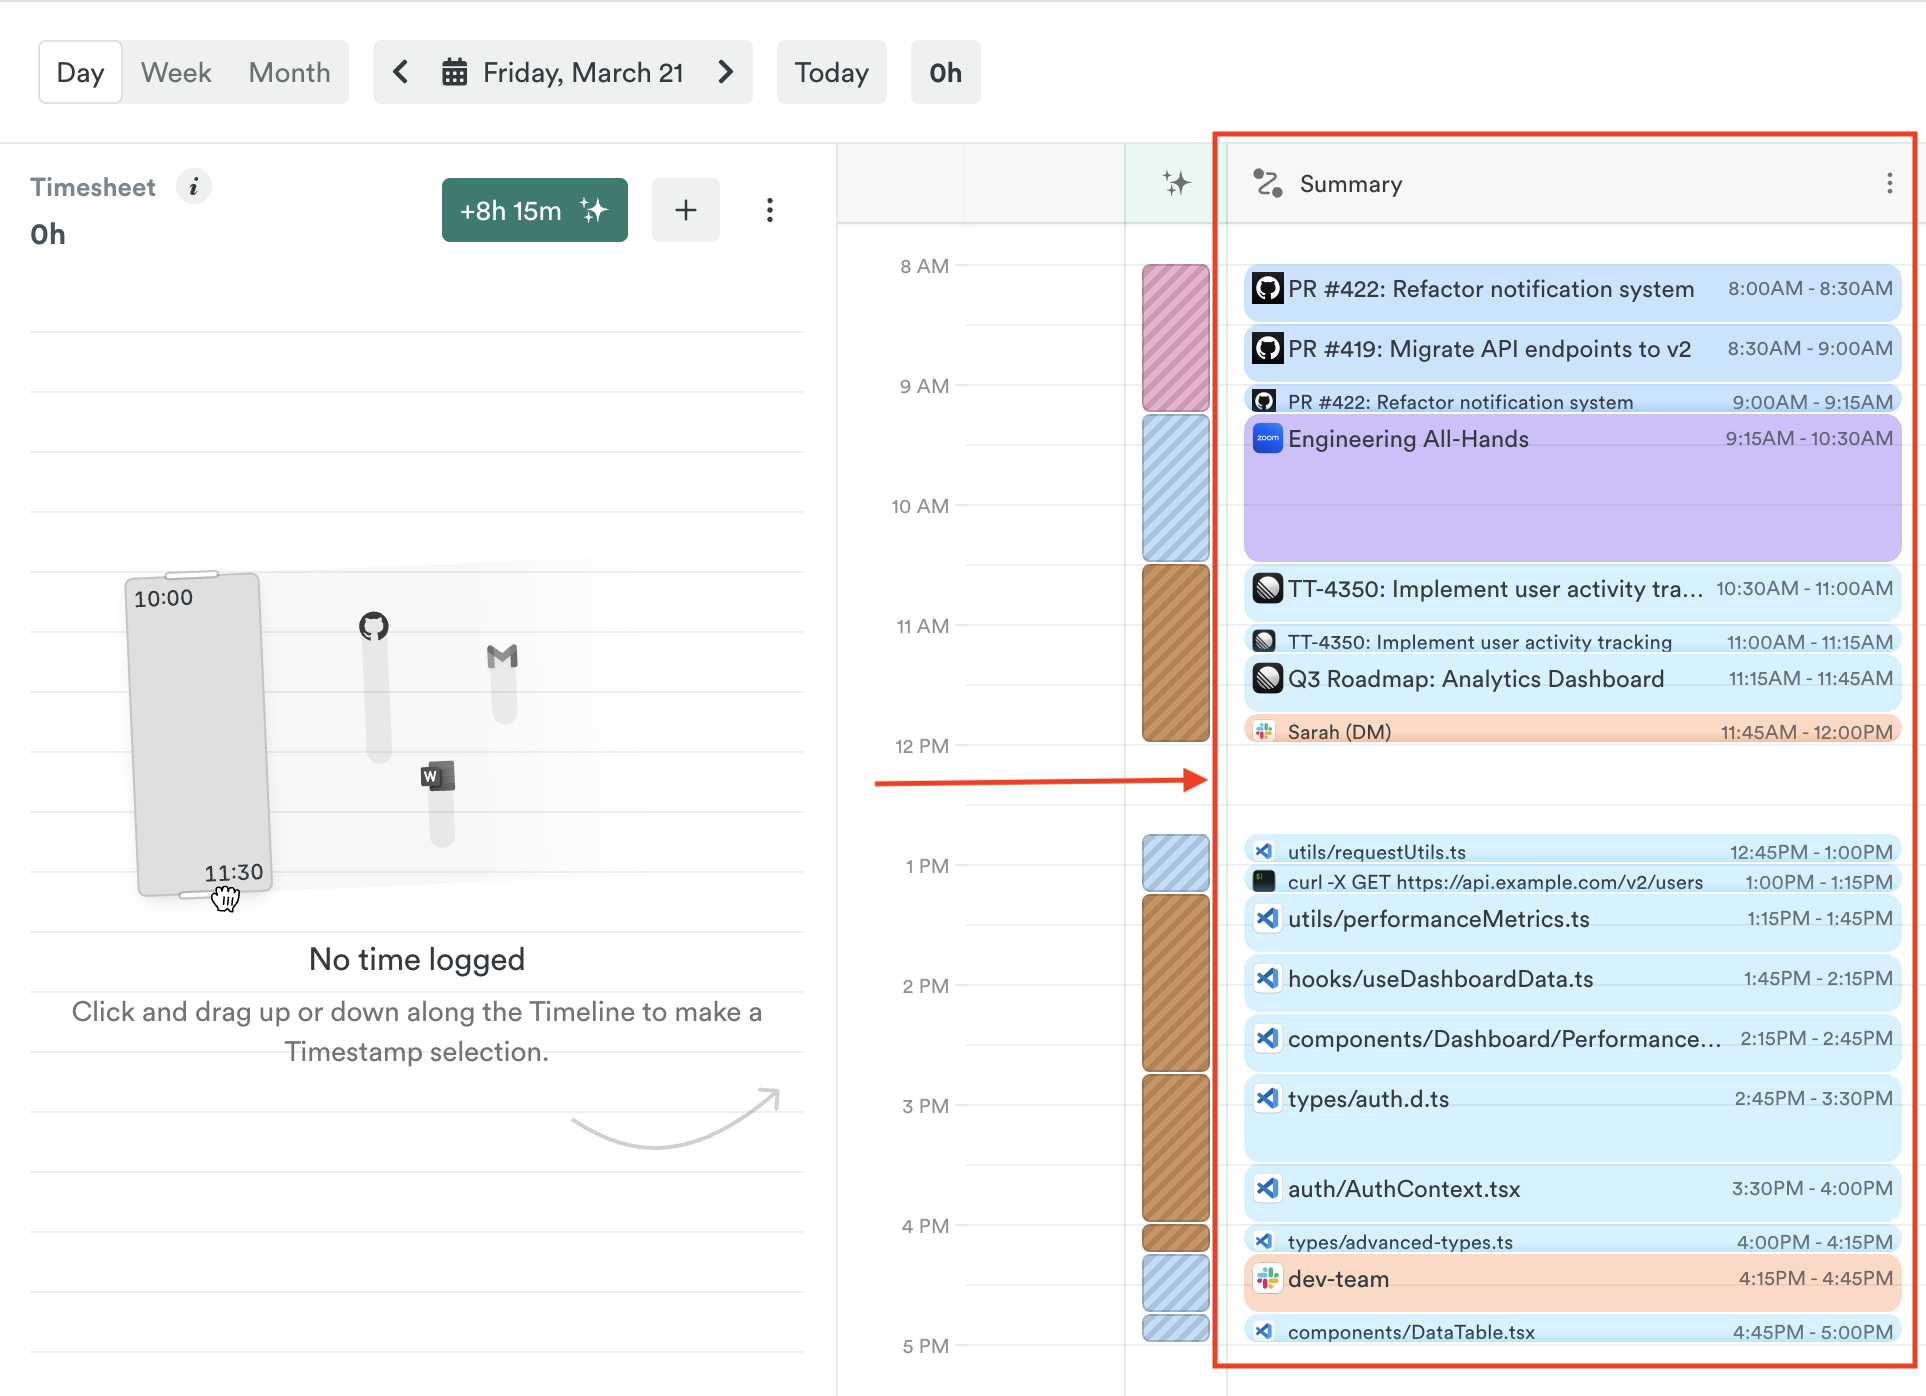
Instead of showing everything all at once, the Summary lane gives you a cleaner overview so you can quickly get a feel for how your day looked—perfect for when you’re just getting started or need a quick glance. Think of it like a highlight reel of your activity.
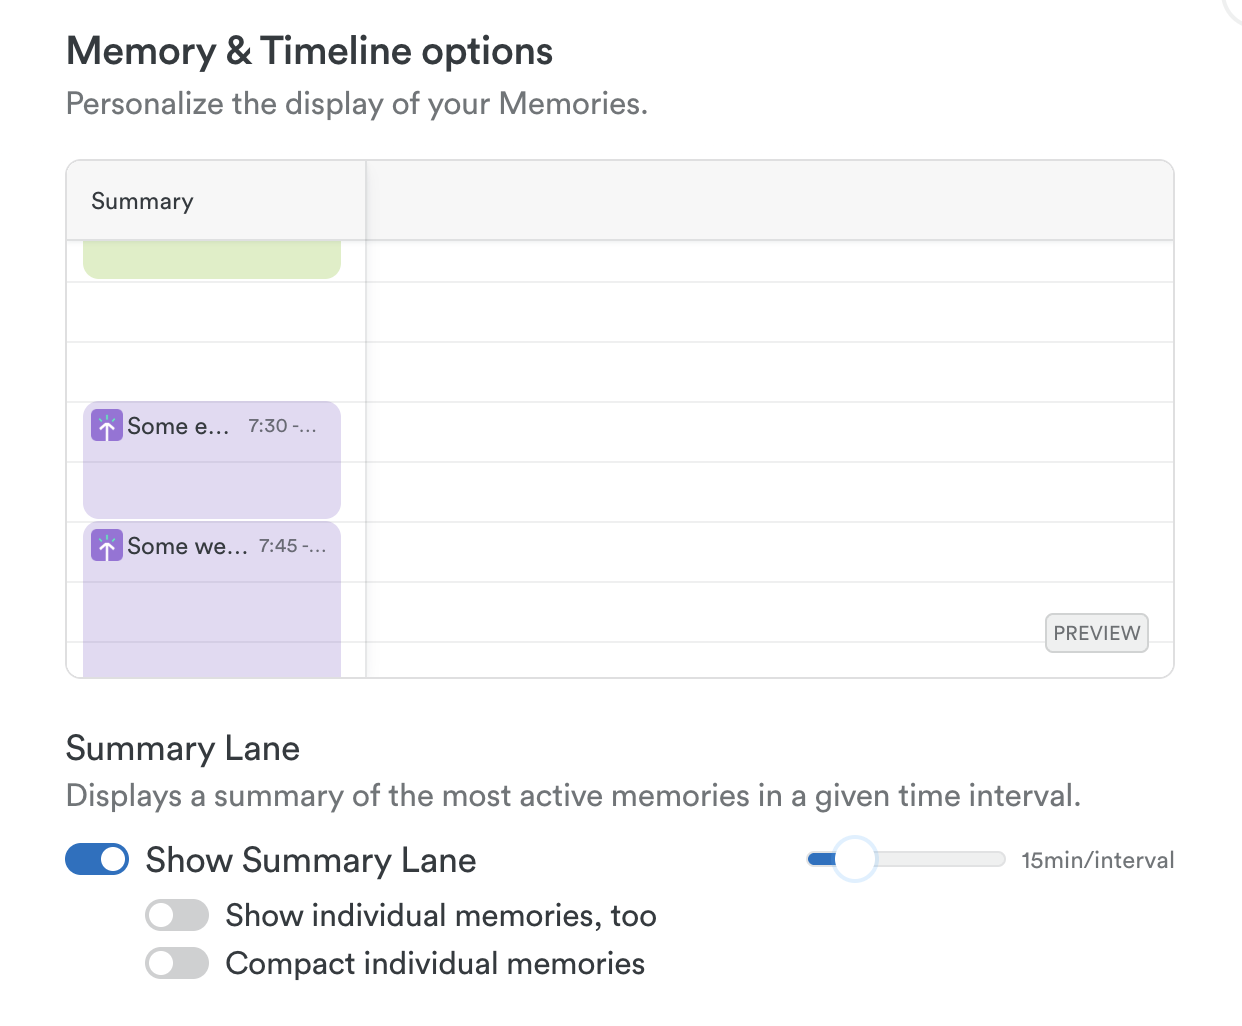
Want more detail? You can easily adjust the time blocks, turn on additional memory lanes, or fully disable the Summary lane if you’d rather see the full picture. It’s all up to you—no pressure, just preferences.
Let Timely’s AI Timesheet Assistant lend a hand
As you review your day in the Classic Timeline, you might spot the Timesheet Assistant button at the top, along with a dedicated column showing AI-generated draft suggestions. These are based on your recent activity—kind of like a friendly shortcut to help you fill in the blanks.
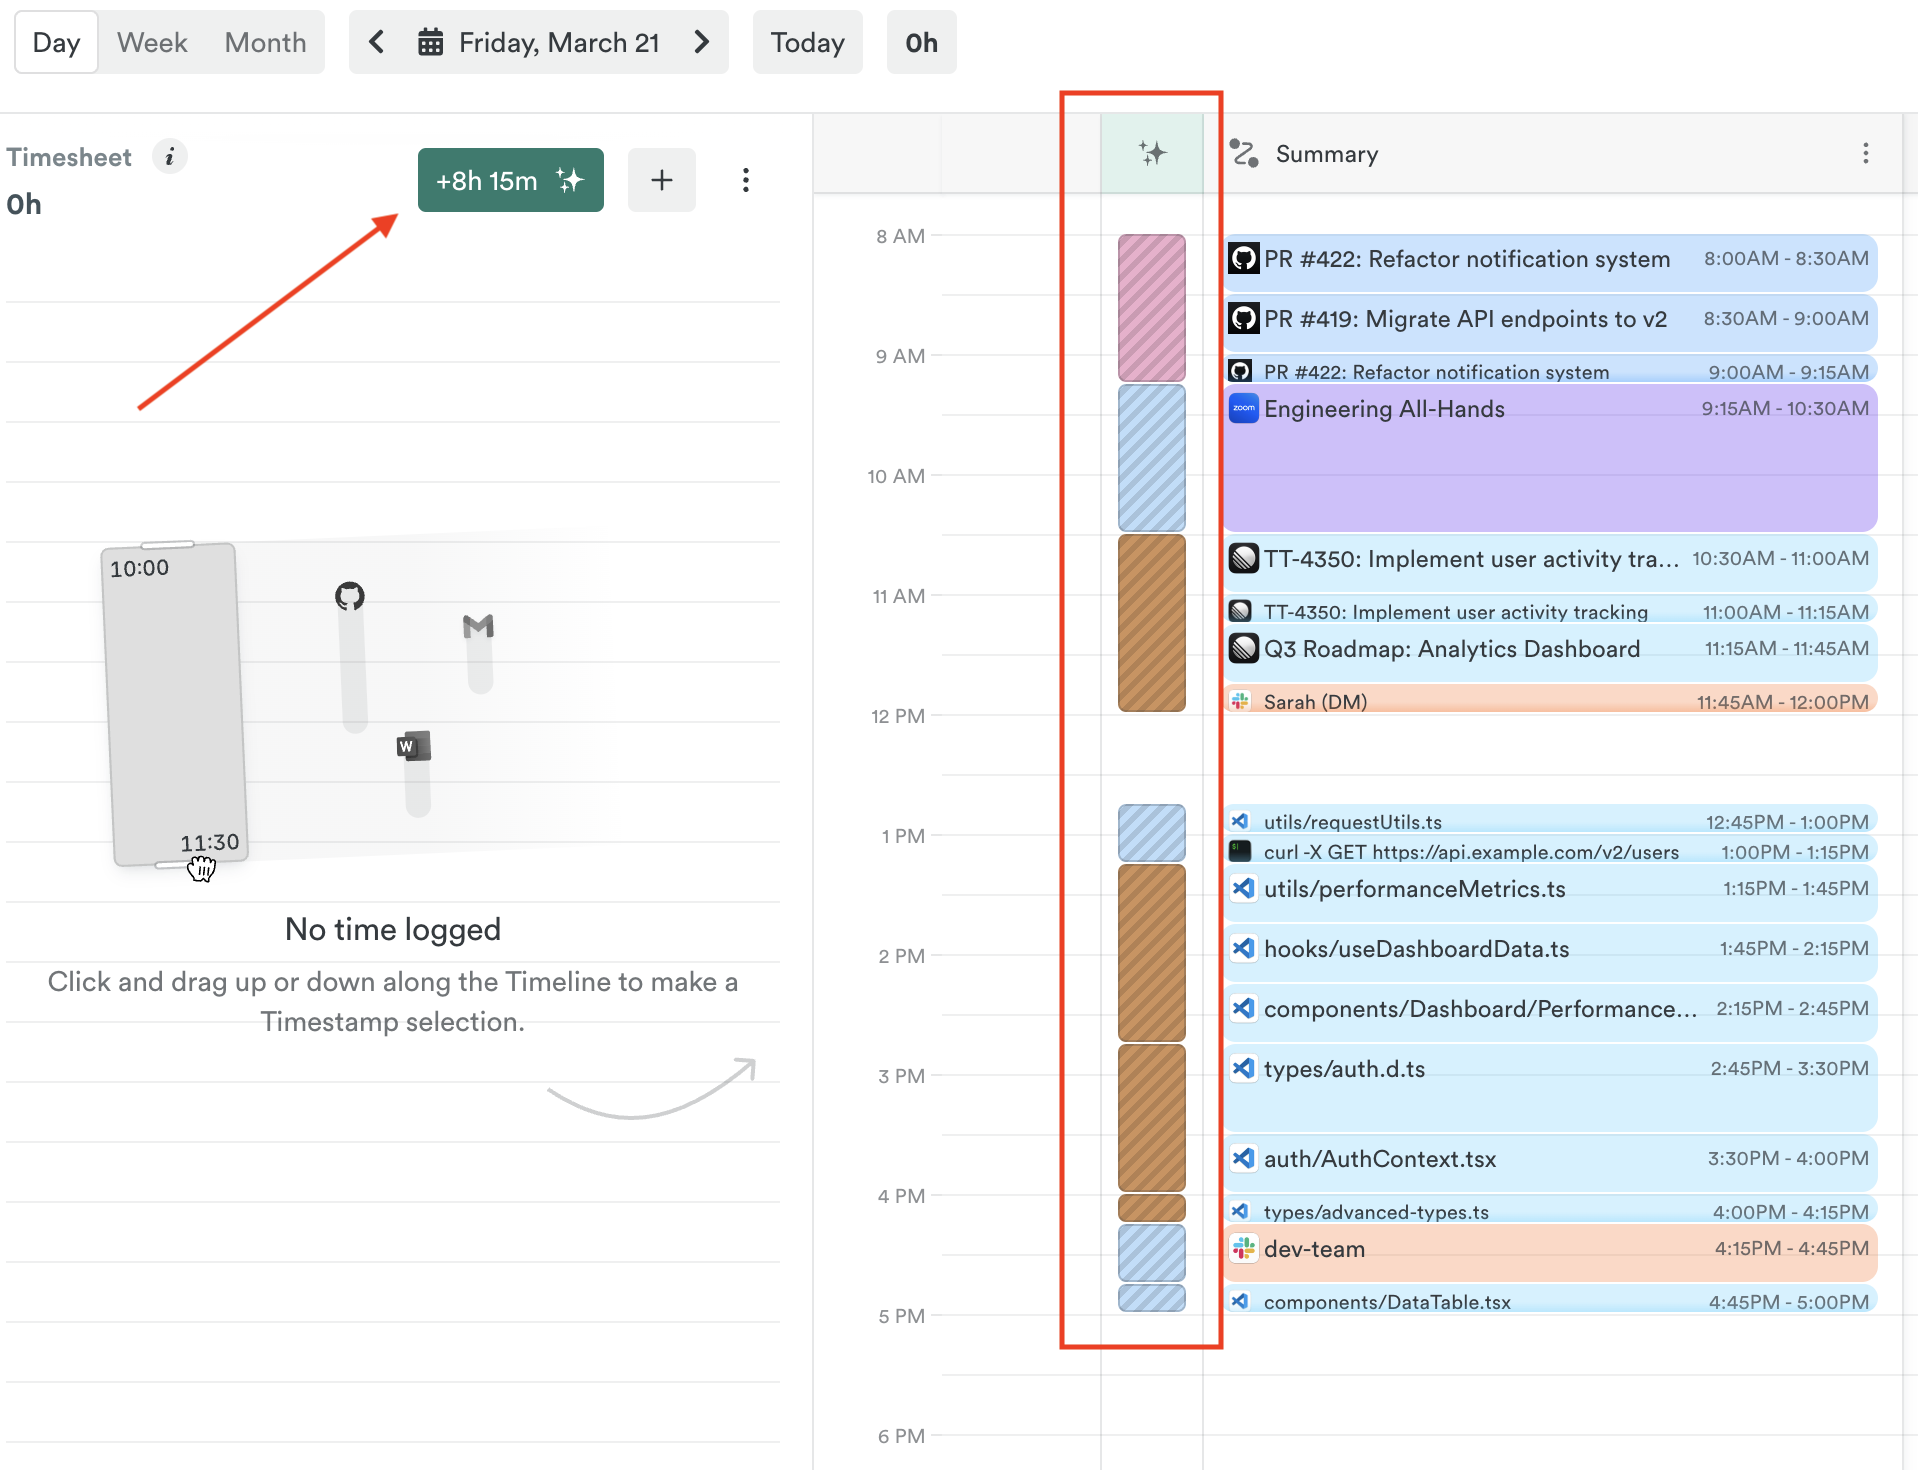
You can review, accept, or tweak the suggestions as needed—no pressure, just a little support to make time tracking easier.
Want the full scoop? Check out the Classic AI Time Tracking guide
Logging your individual activity in just a few clicks
We’re shifting from logging individual memories to selecting entire time spans they belong to, for two reasons:
First, it eliminates the idea that you must log all your memories to achieve “inbox zero”, a common misconception that causes unnecessary work.
Second, while memories have always been private, the approach of separating time entry from memory makes this clearer.
In the Legacy timeline, clicking a memory linked it to the time entry:
In the Classic timeline, clicking memories doesn’t link them to the time entry, but adds only the memory’s timespan to it:
If you need to adjust the amount of time logged, you can adjust the totals in the entry screen, or simply click and drag any of the timeframes as needed:
Hiding a specific app or activity
While we want folks to embrace the full picture of their day, it’s understandable that from time to time you might want to exclude certain apps or activities that aren’t relevant or that don’t need to be logged.
You do have the option of deleting individual memories, but it’s typically not needed nor something we’d recommend you make a part of your every day workflow. It’s important to remember that deleting a memory is permanent and can’t be undone.
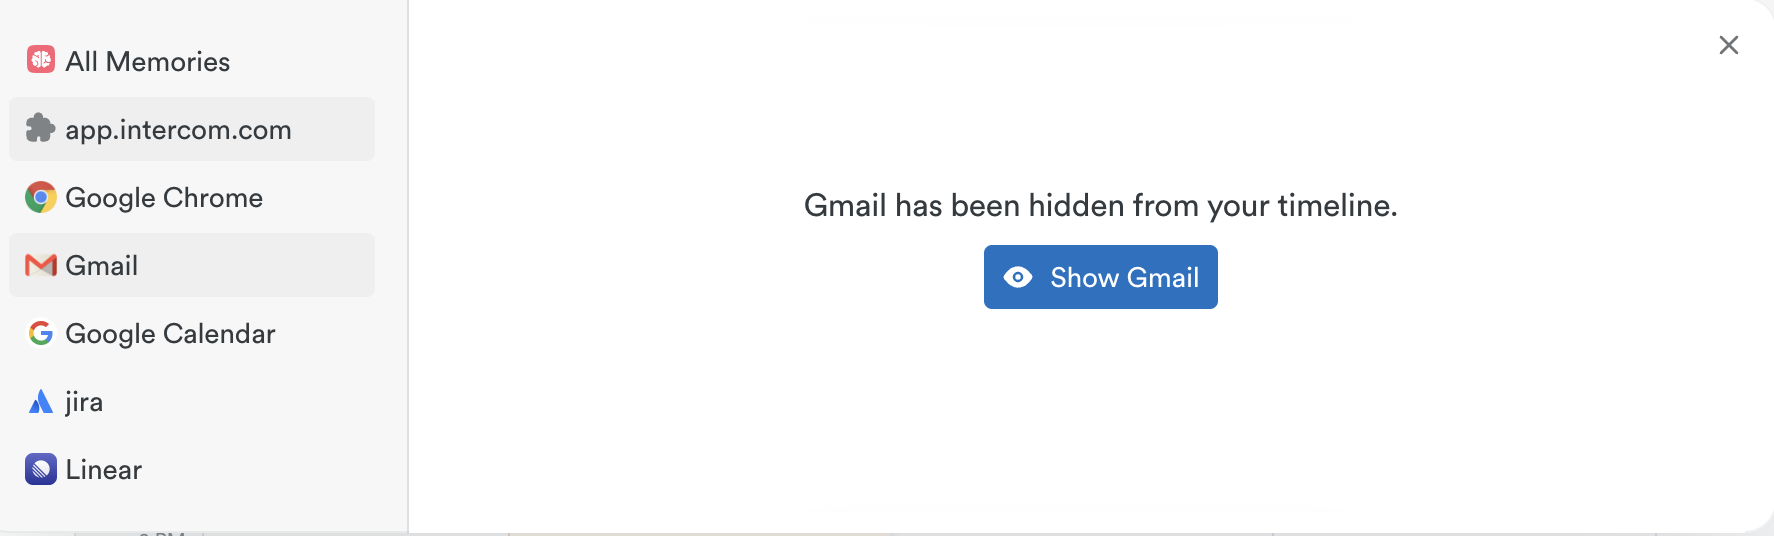
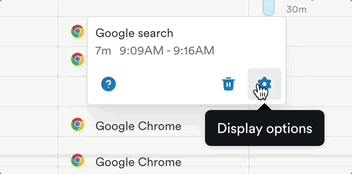
Instead of deleting it, consider hiding that app or activity until or unless needed. Just click the ⚙️ shaped Display options button again and then click the “Hide” button to hide all related activity:
All memories related to that app or activity will disappear from your timeline!
You can always choose to display those hidden items again as well—you’ll see that as an option under the general Memory & Timeline options:
You can then un-hide those memories if you choose:
Customizing your timeline experience
How to configure memories
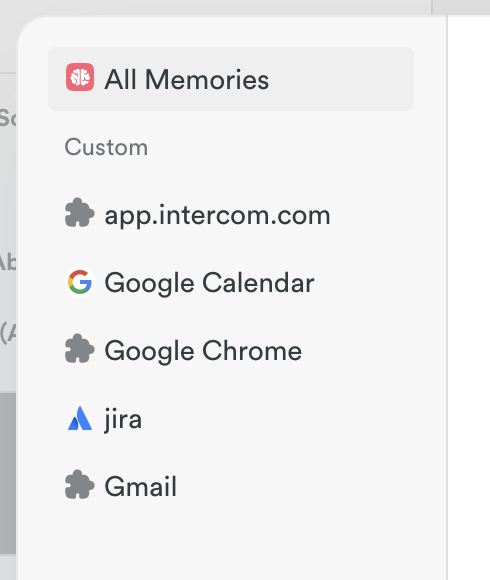
As you begin to explore the Classic timeline experience you’ll likely want to start diving into how specific apps or websites are handled and your memories arranged. To get started, hover over any of the individual memories on your timeline, click the ⚙️ shaped Display options button:
You’ll see a handy preview at the top showing you exactly how the memories from that app will display on your timeline along with a number of helpful customization options for you to choose from:
Grouping and ungrouping memories
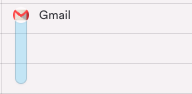
When grouped, Timely provides a unified view of the time you’ve spent on activities within an app or website and typically arranges that activity on your timeline as one continuous memory named for that specific app or website.
However we recognize that this arrangement may not suit everyone’s needs. Many have requested the ability to view memories in much more granular detail.
For example, to be able to see time spent per e-mail as separate blocks in the timeline instead of a big “Gmail” block:
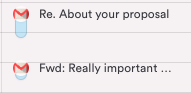
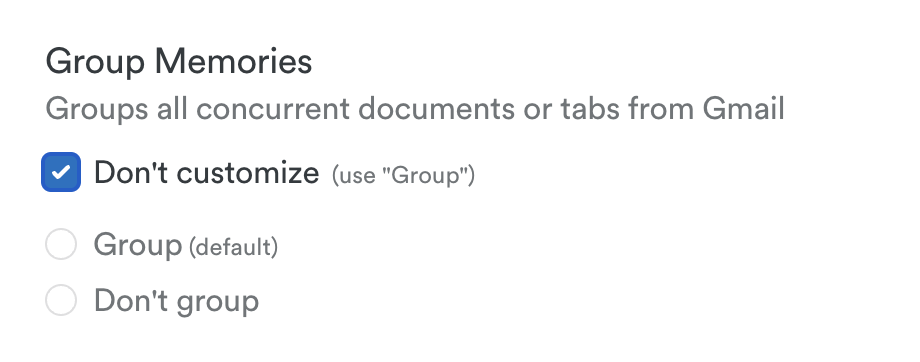
You can now easily ungroup the activities that make up that memory group by changing the grouping option for Gmail, or indeed any other app. When configuring the app or website, simply change the Group Memories setting from “Grouped” to “Don’t group”:
This will result in each e-mail title appearing as separate memories:
If you notice that your memories have “disappeared” after choosing to split, then you’ll want to double check your memory visibility settings.
If ever in doubt, you can easily revert back to your default settings by clicking the “Don’t customize” button above each category:
Memory continuity
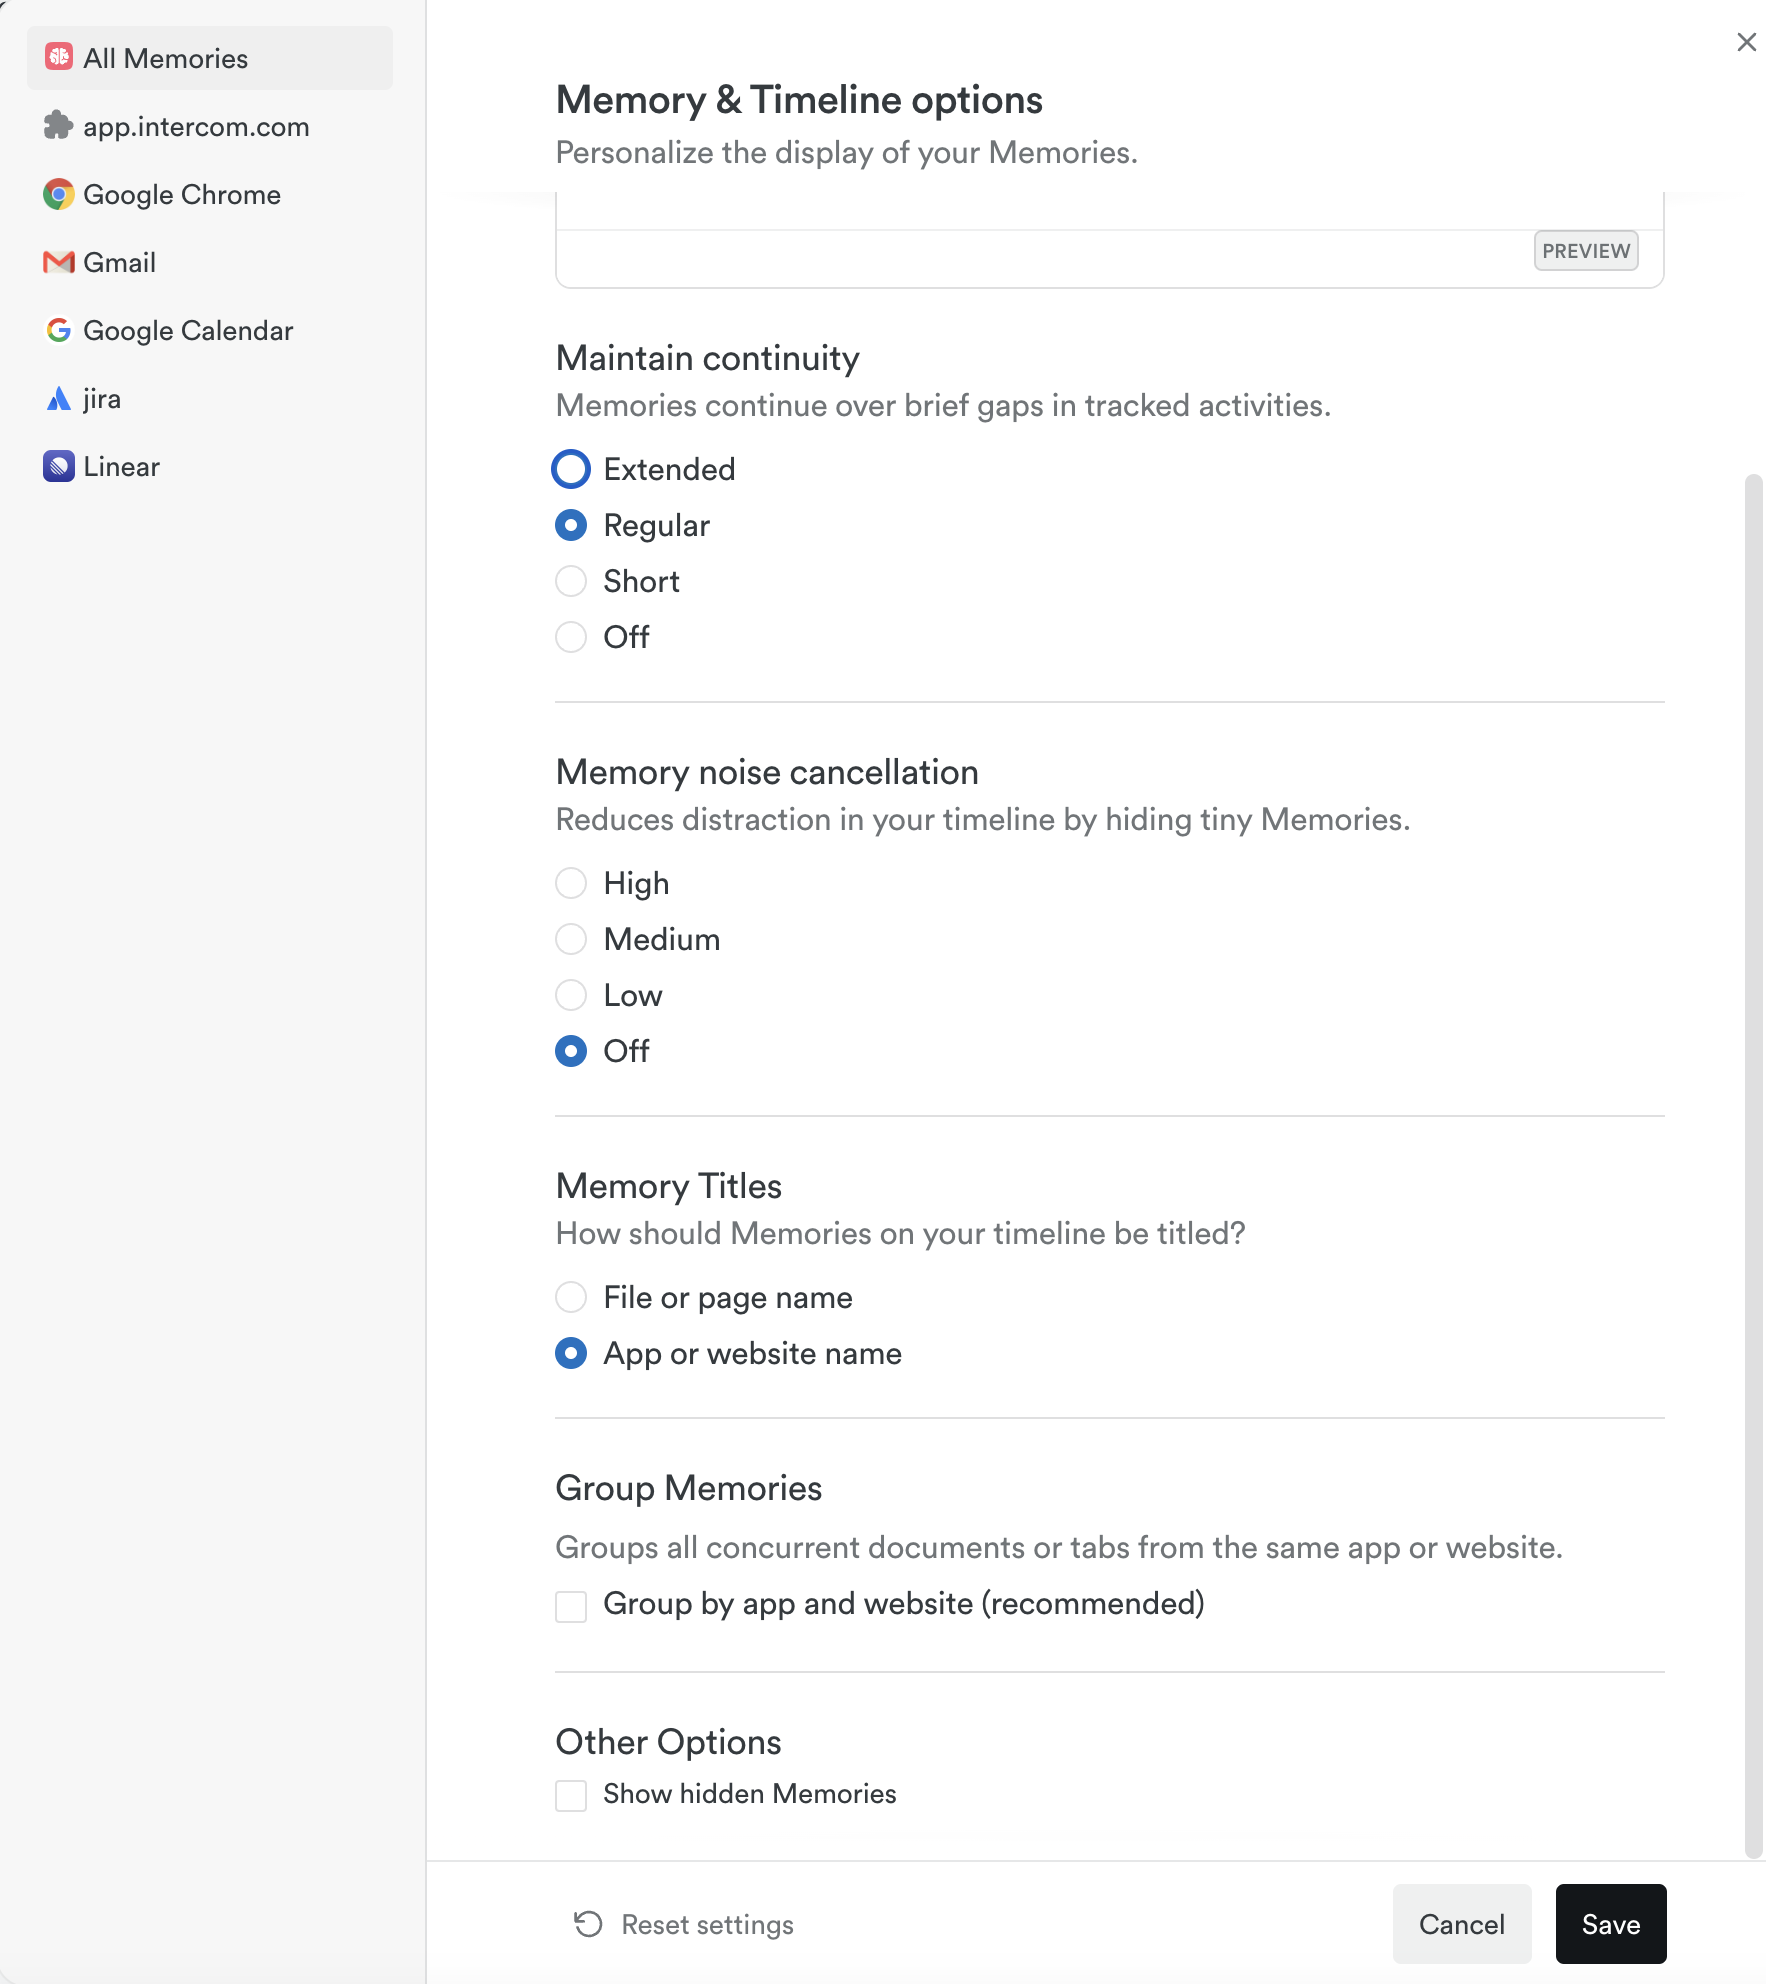
Multi-taskers rejoice! You can now configure Timely to ignore brief interruptions in your activity tracking, when switching back and forth between two tabs or apps for example, keeping a smooth continuous flow. Simply make your selection under the Maintain continuity setting:
By default this feature is configured for a “middle of the road” approach under Regular, though you can of course choose to give yourself more leeway with the Extended option, more specificity under the Short option, or simply turn this feature Off entirely for targeted accuracy.
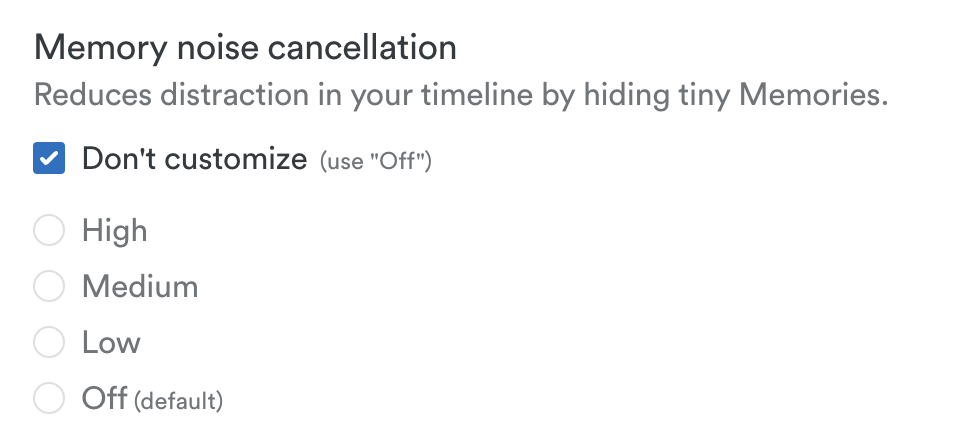
Memory noise cancellation
For those who frequently work with multiple monitors, apps, and windows, or are heavy multitaskers, we also offer a noise cancellation feature to help declutter your timeline.
This enables you to hide micro-memories that might be generated when tabbing between screens or perhaps firing off that millisecond message to a friend or colleague.
You’ll find this option under Memory noise cancellation in the configuration menu and you can select High, Medium, Low as to your preference, or turn this feature Off entirely to display all your activities in full detail.
Memory Titles
Are you a project warrior juggling dozens of files and documents and want them all visible on your timeline at a glance? Or perhaps you prefer the aesthetics of a clean, minimalist timeline? Maybe you fall somewhere in between? We’ve got you covered!
In the configuration menu you’ll see a Memory titles option where you can choose how a specific activity is displayed on your timeline. With the File or page name option you’ll be able to see at a glance the important projects and files you’ve worked on throughout the day. With the App name option, you’ll have a slightly more zen timeline with just the basics. Or you can choose to Hide that information and just display the app or website logo for a clean ultra minimalist timeline.

Create custom columns and configure them using Highlight
For those folks that see the same familiar apps or sites on their timeline day in and day out, we’ve added some helpful organization options to keep that activity gathered together in one place where you can easily log it.
By selecting the Highlight option in the configuration menu you’ll see a dedicated column appear on your timeline that gathers the activity from that app or website in one place with a dedicated button to add that time or remove it in just a click.
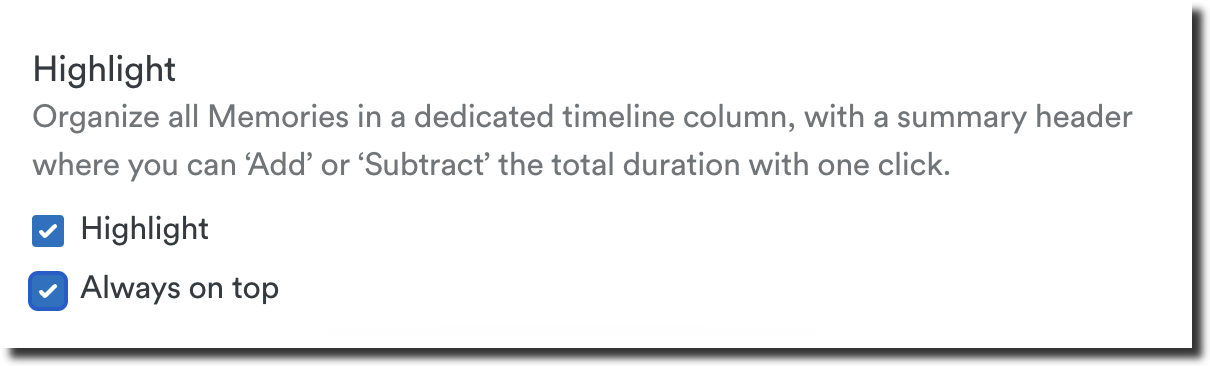
The Always on top option freezes the column associated with that app or website, in a similar fashion to freezing a column in an app such as Excel or Google Sheets. It ensures you always have the most important information at hand and at a glance.
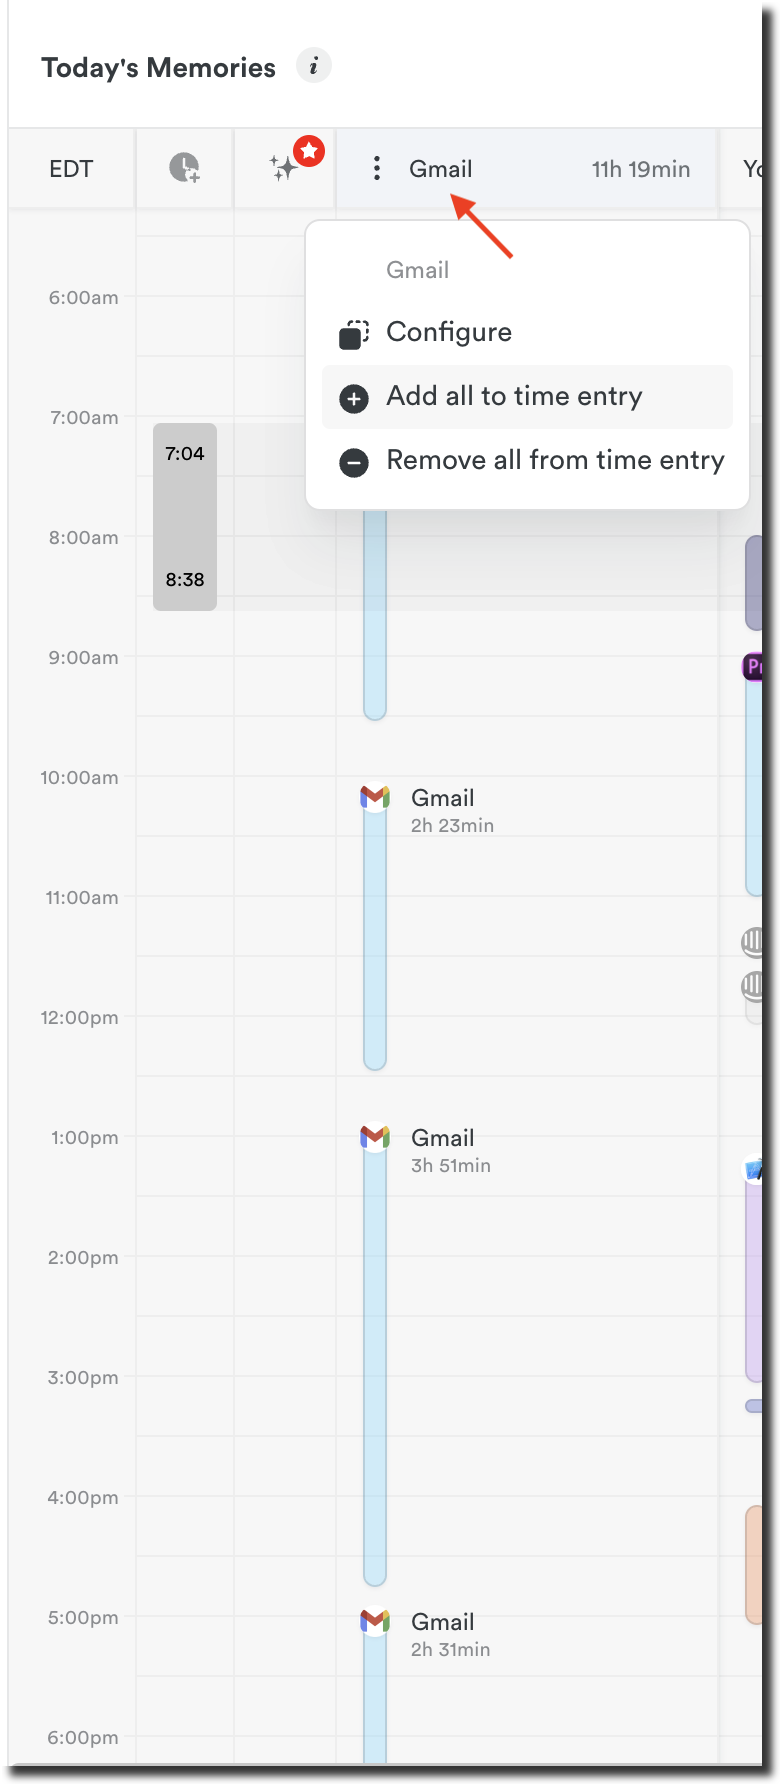
As you can see, Gmail has been chosen as one of the most important columns and is always visible, even when scrolling.
List View vs. Timeline View: Key Differences
Timely gives you the flexibility to switch between the List View and Timeline View anytime, so you can choose the format that best fits your workflow. Whether you prefer a structured, content-focused breakdown or a chronological view of your day, both options are available at your fingertips.
| Feature | List View | Timeline View |
|---|---|---|
| Grouping Method | By app & file name | By time sequence |
| Sorting | Longest memory first | Chronological order |
| Displayed Time | Total duration only | Start & end times |
| Logged Memories | Moved to bottom section | Remain in order of logging |
| Configuration | Separate from Timeline View | Independent settings |
Switching back to the Legacy Timeline Experience
We hope you’ll love exploring the Classic Timeline Experience and enjoy the many updates and enhancements it brings. However, we understand it might not be the perfect fit for everyone at this stage. If you’d like to switch back to the Legacy Timeline, it’s easy with just a few clicks.
Before you do, please consider using the “Share feedback” button to let us know what didn’t work for you—we value your input!
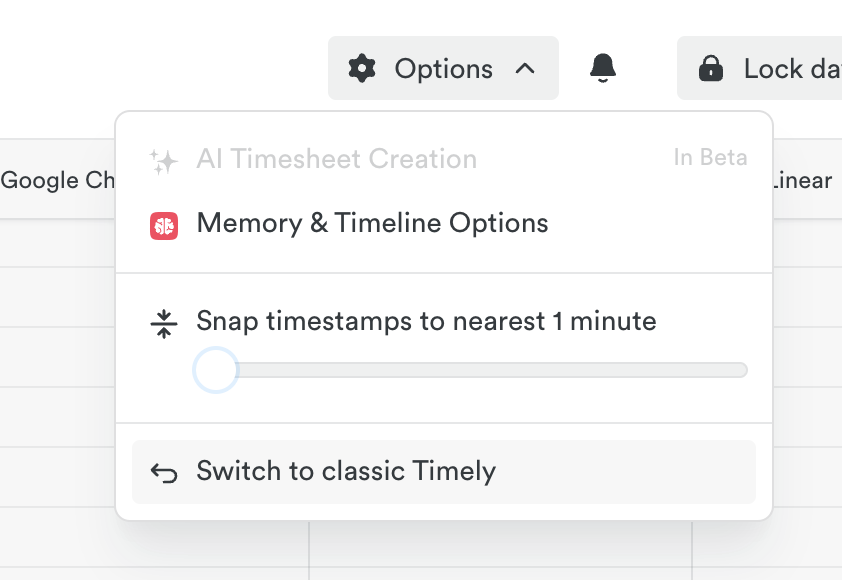
To switch back, head to Day view in the Hours section, click the “Options” dropdown, and select “Switch back to Legacy Timely.”
FAQs
When will the Classic Timeline Experience be available?
We’re rolling out the Classic Timeline Experience to all workspaces on a rolling basis. If you don’t see the opt-in button quite yet, please check back later or reach out to our Support Team for assistance.
As an Admin user or workspace owner, can I enable the Classic Timeline Experience for all users in my workspace?
No, for now the timeline experience is chosen by each individual user.
Do these changes impact reporting, timesheets, budgets, or invoices?
No, the Classic Timeline Experience is simply an improved way for folks to log their time. The resulting time entries will appear in reports, timesheets, budgets, and invoices just as they did before.
Can I completely opt-out of the Classic Timeline Experience?
For now the timeline experience is chosen by each individual user—it’s up to you if you’d like to join or not.
Will the Classic Timeline Experience replace the Legacy timeline?
At present, our goal is to ensure that the Classic features are a significant upgrade for users—while allowing them to switch back and forth between the Classic and Legacy Timeline to see what best fits their workflow. There are no immediate plans to force users to switch permanently. We want you to have the flexibility to choose what works best for you.
Last updated April 16, 2026
Have feedback for this article or need more help? Contact us now.