Create a time entry on Android
Time Tracking: Classic iOS and Android Handbook Log and plan time on-the-go with the Timely app for Android.Creating a time entry in Timely from your Android device is super simple. Let’s blast through the steps!
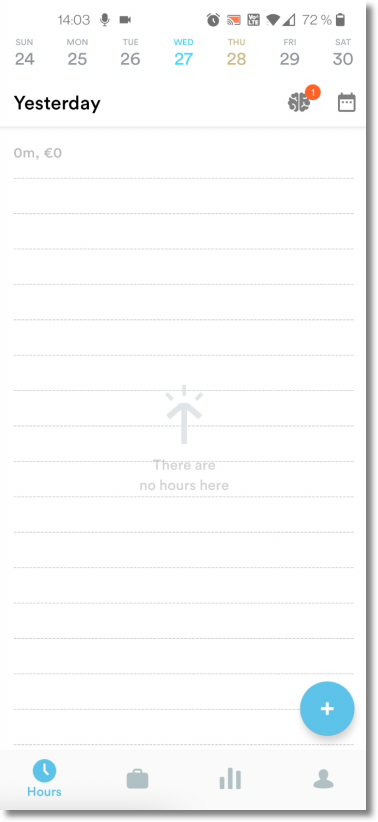
Create a new entry
Tap on the blue circle with the plus sign at the bottom-right of your screen:
Add entry details
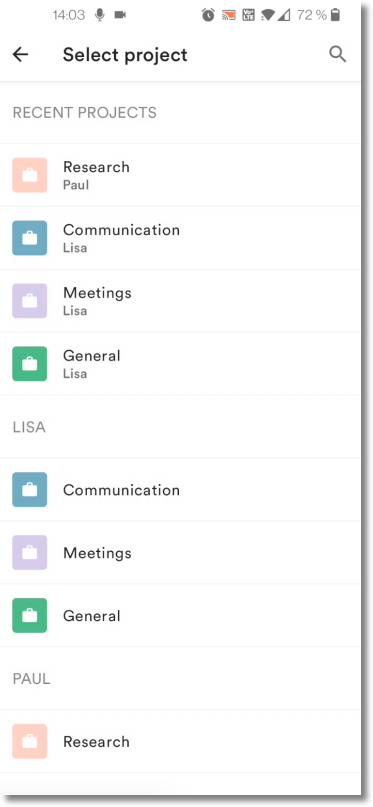
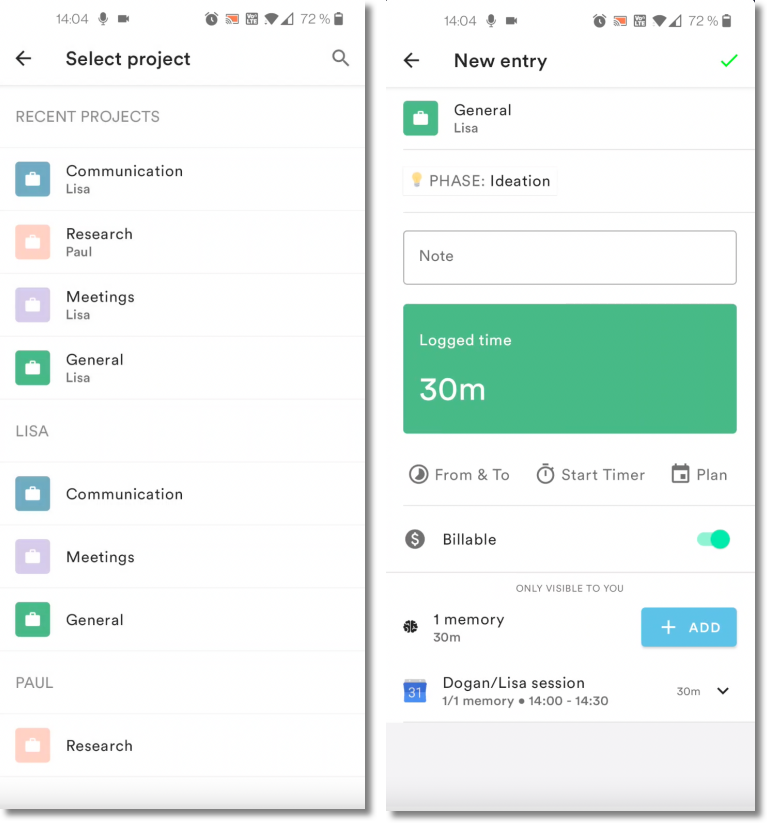
Link your work to a project:
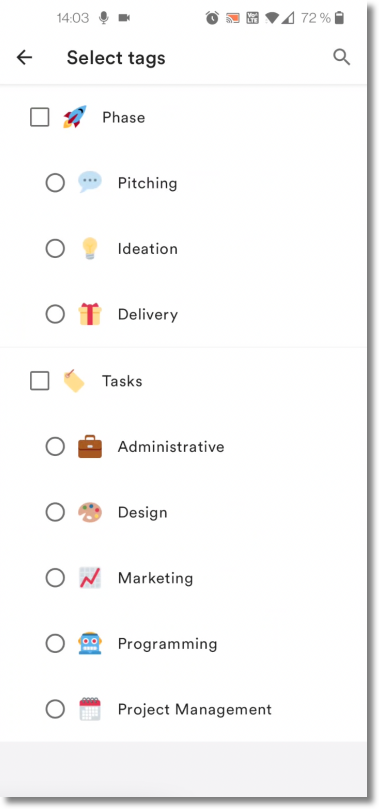
Categorize it by adding a tag:
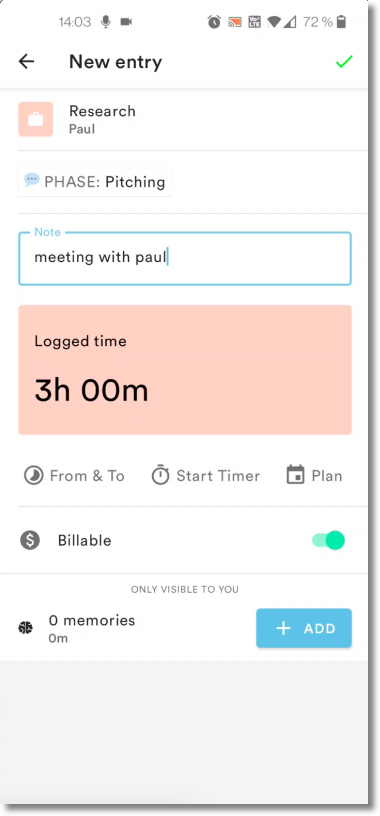
Select either “Logged” or “Planned” time for the entry:
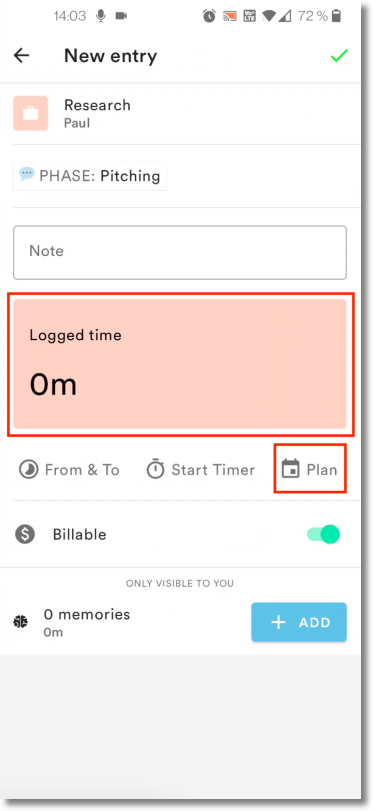
Manually enter your hours or tap the ”+ Add” button in the bottom-right corner of the screen to create an entry from memories:
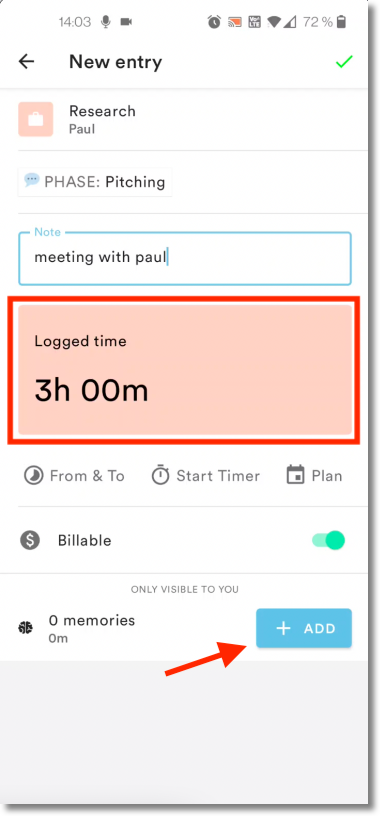
Enter notes about what you worked on:
More actions
- Tap the stopwatch to start a timer
- Tap “From & To” and add a timestamp to your entry
- Tap the three dots to move your entry to another date
Once everything looks good, just tap the green check mark to create your entry!
Create entries from a draft
If you’ve enabled automatic drafts from your computer, you’ll be able to review draft time entries from your Android device. Simply tap a draft to review the memories associated with it:
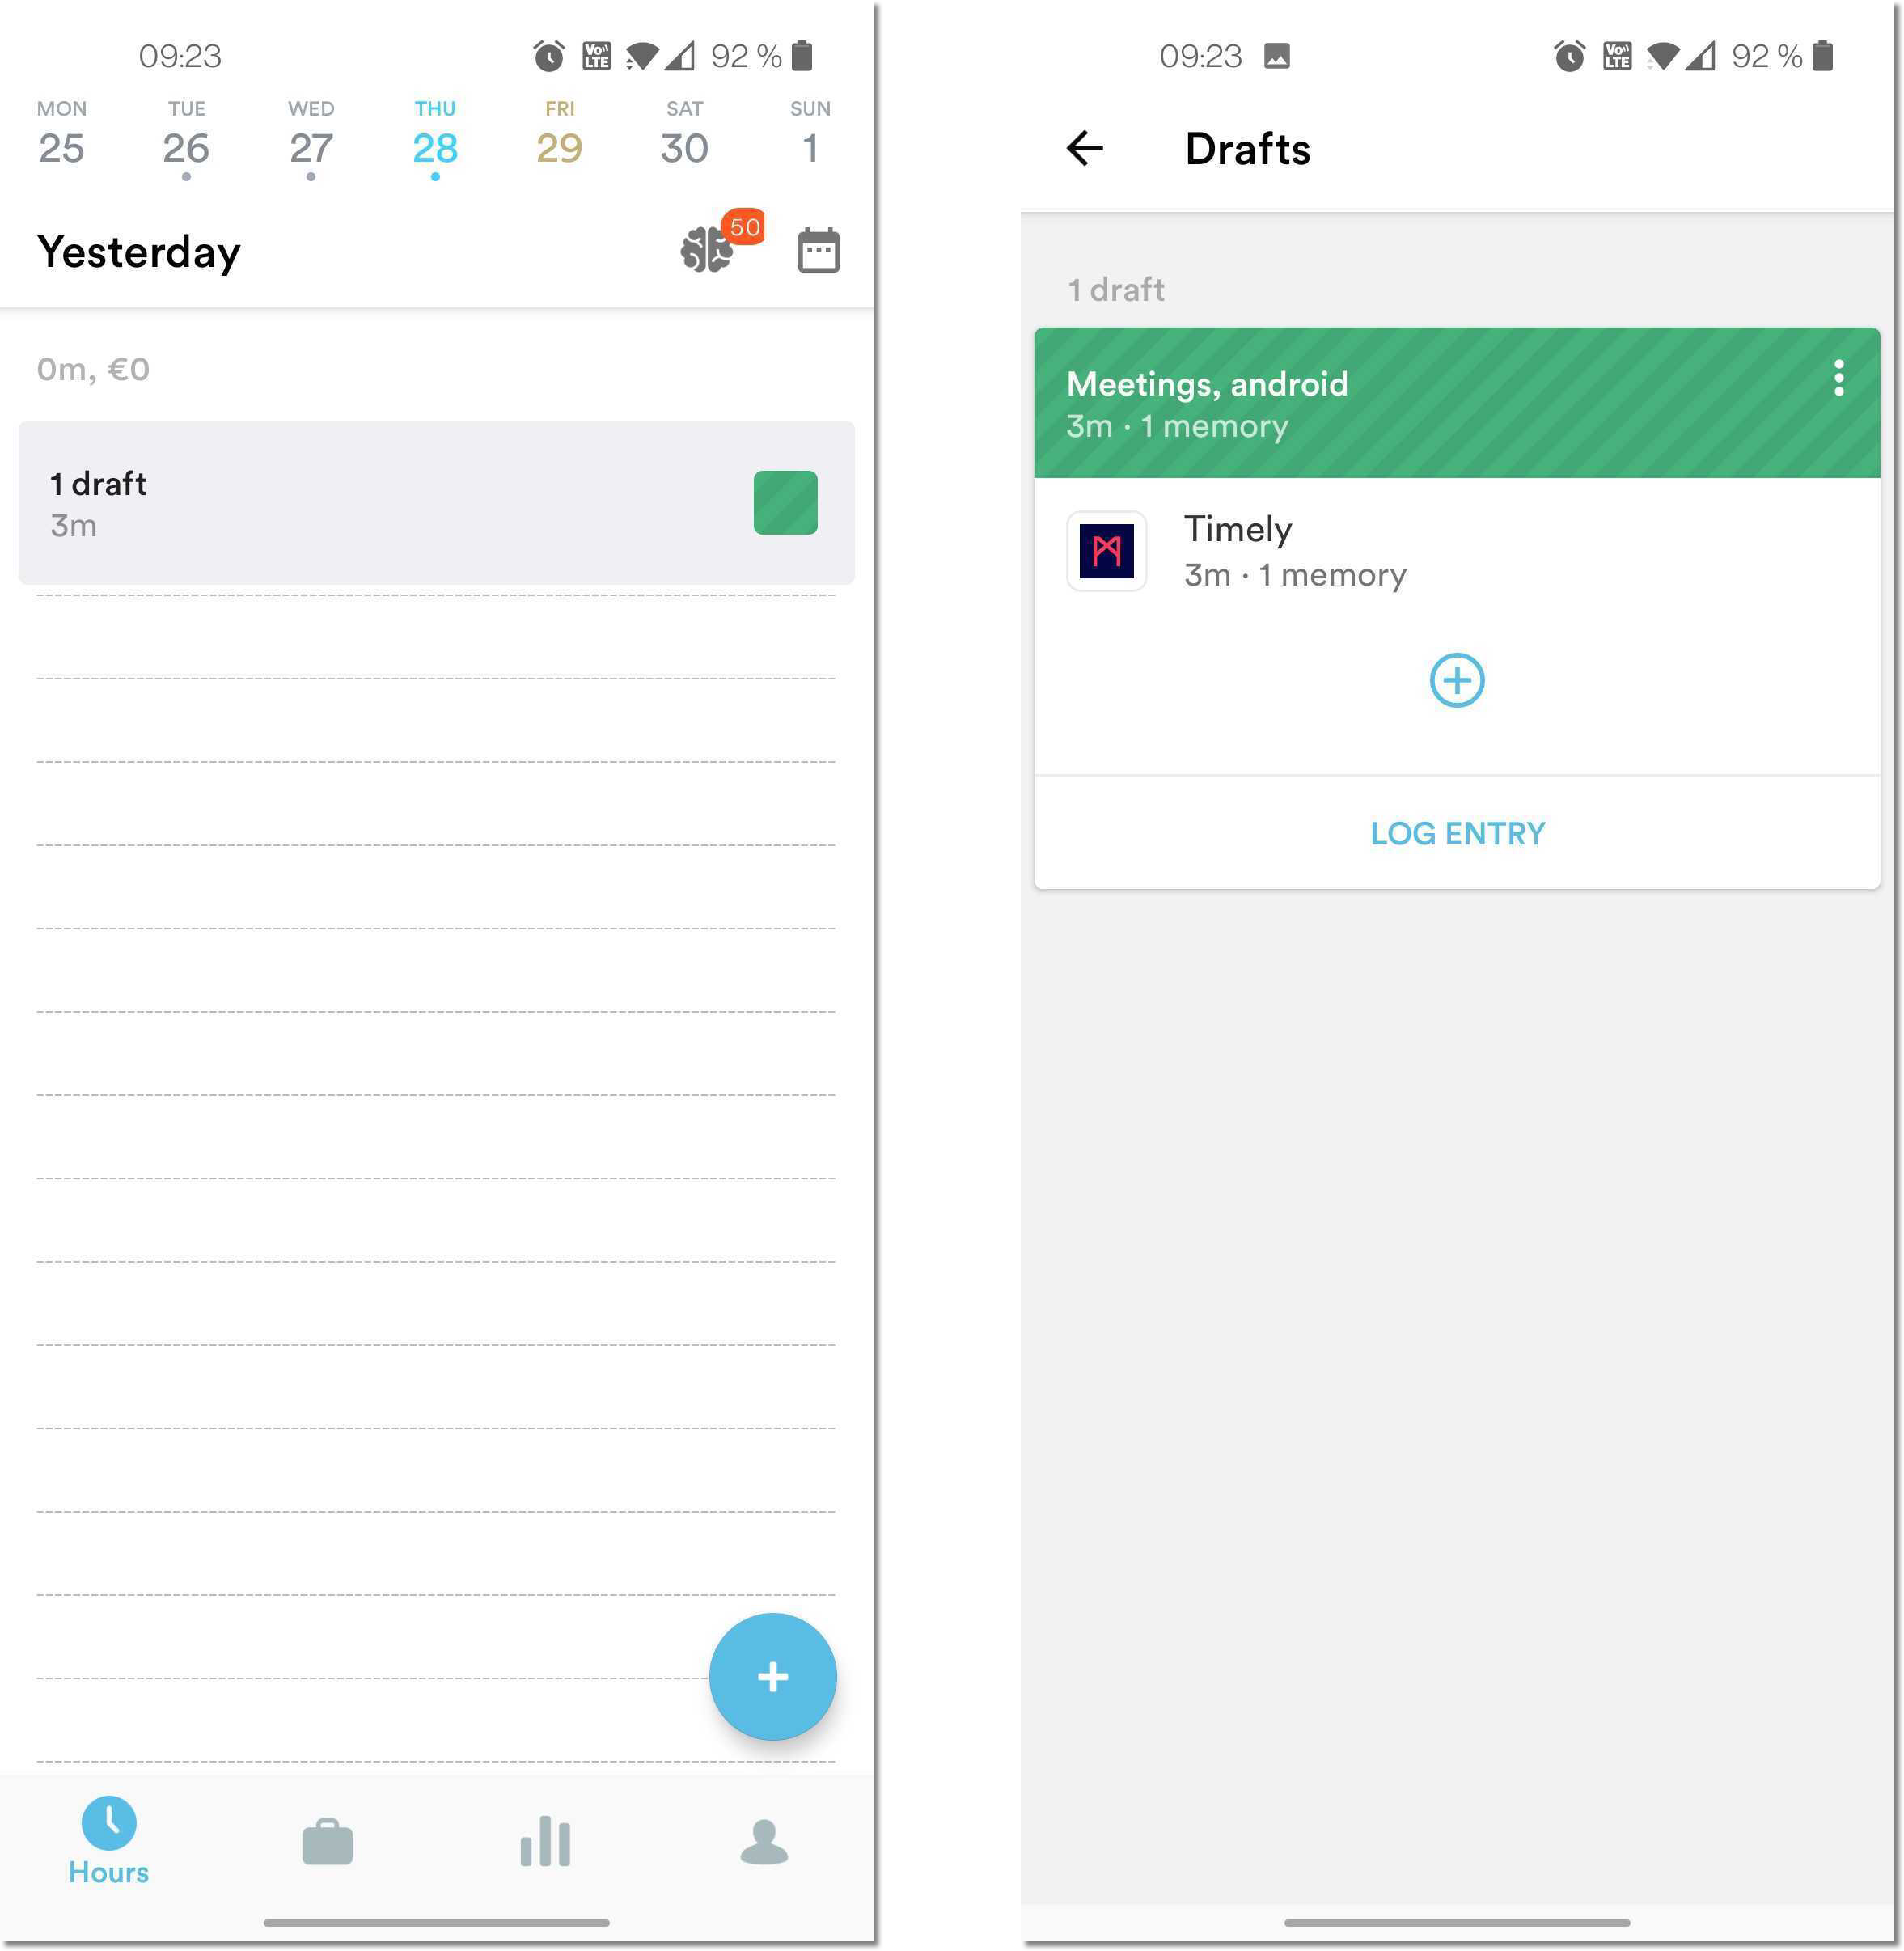
You can tap on individual memories to view their details, remove them from the entry, or ignore/delete them from your inbox. You can also tap the ”+” button to add additional memories to your draft entry. Once you’re done, tap “Log Entry” to add it to your time sheet!
Create entries from memories
If you have Memory installed on your computer, you can also create entries from your memories. To get started, tap on the brain icon to access the Memory Inbox. From there, tap to include the memories you want to add to your entry:
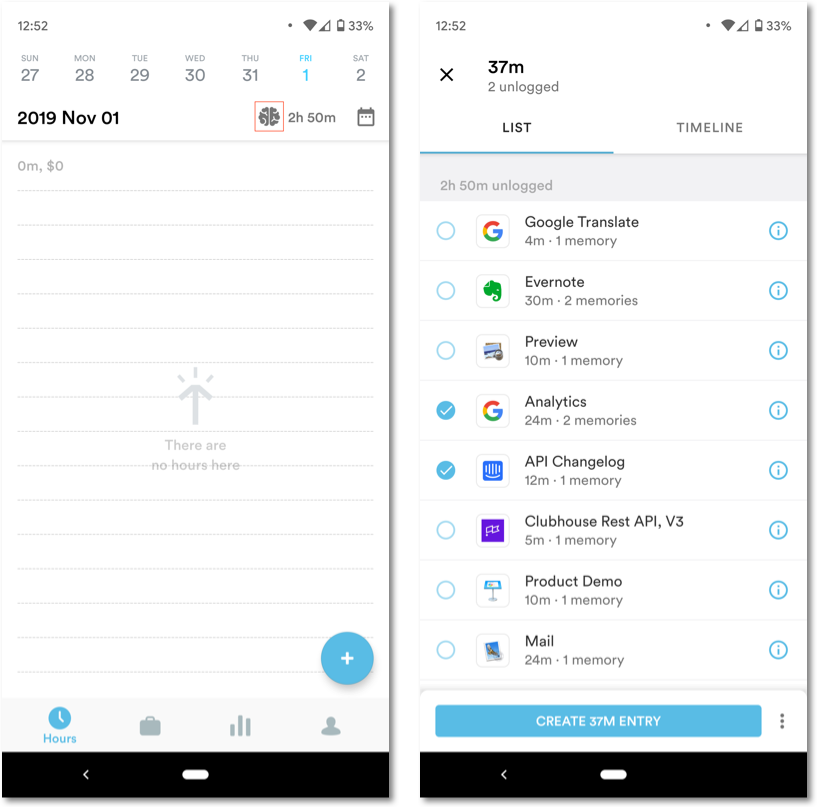
Select a project and then finalize the entry details using the steps above. Tap ”+ Add” to add or remove any other memories that may need to be included in that entry:
Create entries with multiple timestamps
Work doesn’t always happen in strict blocks of time, so Timely can accommodate even the most hectic of schedules using multiple timestamps.
Simply click the “+TIMESTAMPS” button when creating a new entry and enter in the specific From/To times that you’d like to record.
FAQs
How do I delete an entry from Timely for Android?
Tap on the entry, then tap the red trash can to delete the entry.
What Android OS versions are compatible with Timely?
Android 8.0+
Last updated April 14, 2026
Have feedback for this article or need more help? Contact us now.